

Essential Tips for Perfect Clear Ice in Your Home Bar
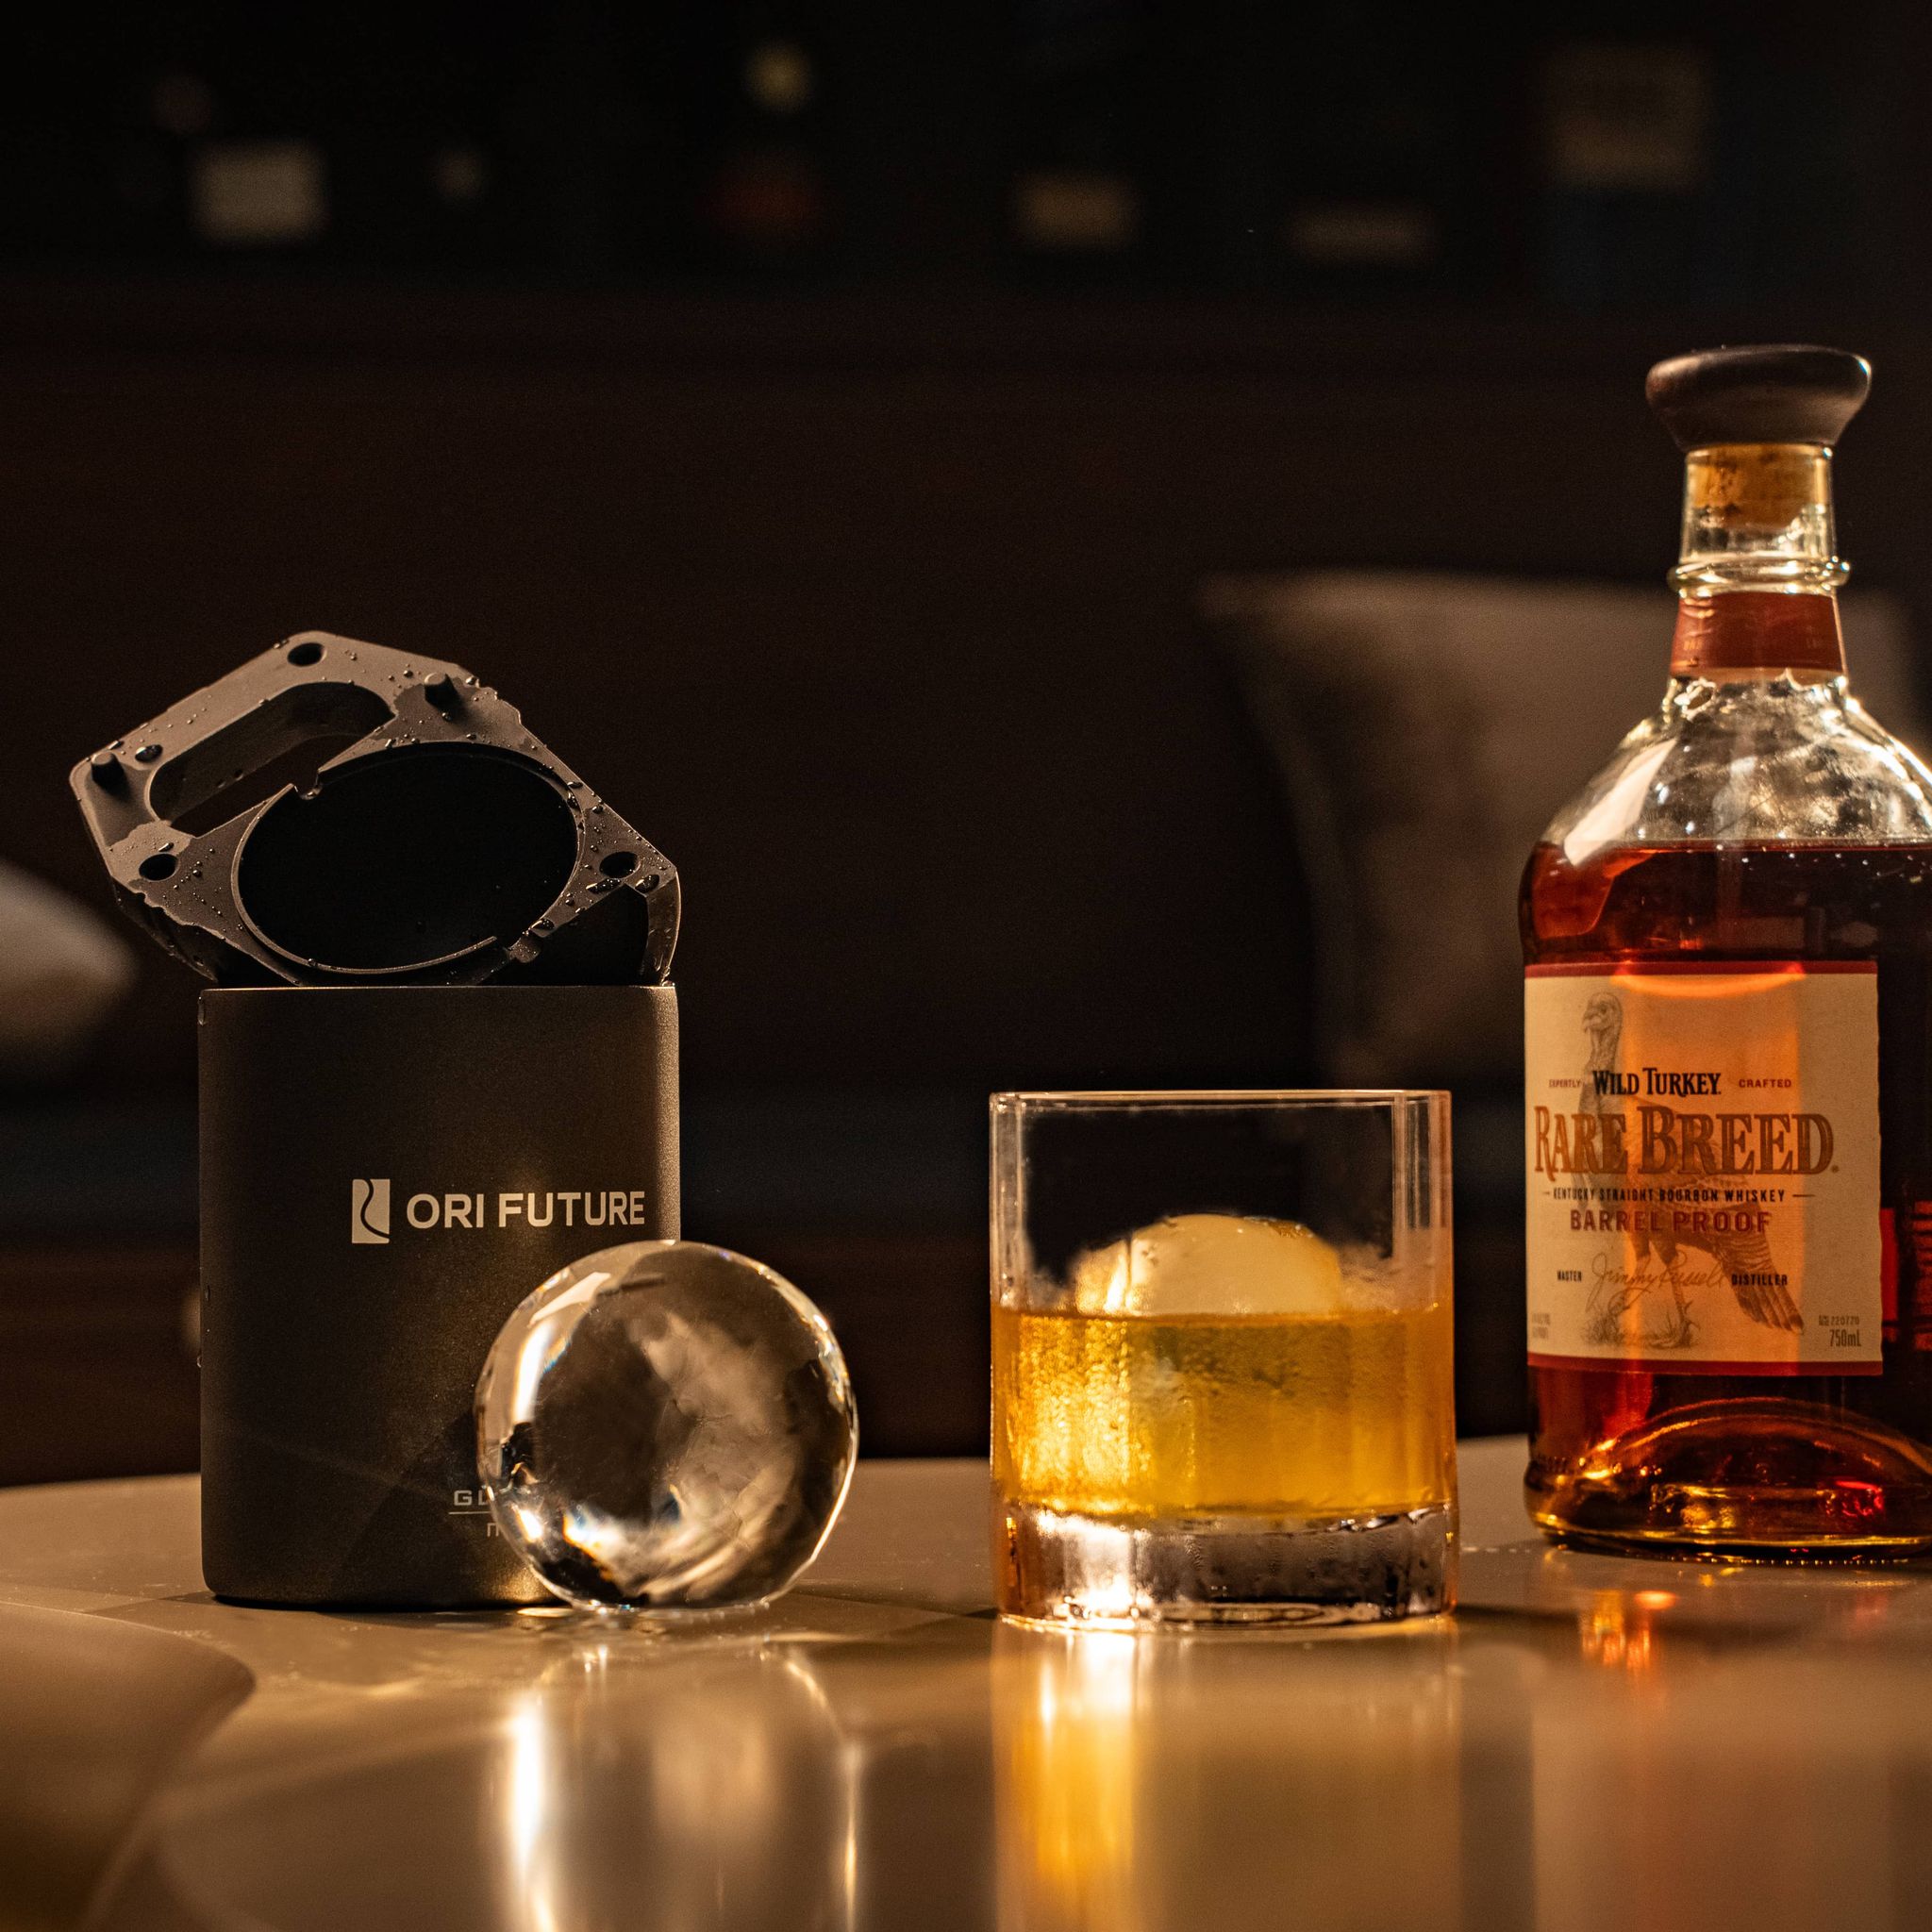
Ever wonder why the ice at your favorite bar looks crystal clear while your homemade cubes come out cloudy? You are not alone. The good news? You can make clear ice at home without boiling or distilled water. The real secret lies in how water freezes, not what you add to it.
This post debunks common myths, explains directional freezing, and shares three practical methods. You will also pick up tips for serving perfect ice in your 12 cocktails of christmas. Get ready to elevate every drink you pour.
Key Takeaways
Boiling or distilling water does not ensure clear ice; how you freeze it matters most.
Cloudy ice forms when dirt and air bubbles get trapped in the middle as it freezes.
Directional freezing forces impurities down, so clear ice stays on top.
You can make clear ice at home using a cooler, a store-bought maker, or a setup you build yourself.
Clear ice melts slowly. It keeps your holiday drinks from getting watered down and makes them look professional.
Why Your Ice Turns Cloudy
The Boiled Water Myth
You have probably heard this one before. Boil your water first, and your ice will turn out crystal clear. It sounds logical, right? Heat kills impurities. Sadly, that logic falls apart in your freezer.
Boiling does drive off most dissolved gases like oxygen and nitrogen. With fewer dissolved gases present, fewer air bubbles become trapped during freezing, which leads to clearer ice. Boiling can also reduce some suspended impurities. However, it does not fully remove minerals. Those minerals still concentrate in the last part of the water to freeze, creating that cloudy center you are trying to avoid.
Here is the real problem. Boiling water and then freezing it right away can actually increase trapped air. Hot water holds less gas, but as it cools in your freezer, it reabsorbs air from the surrounding environment. You end up back where you started. A practical trick is to boil the water, let it cool, and boil it again. This removes as much dissolved gas as possible. Even then, you still need the right freezing method to get truly clear ice.
The Distilled Water Myth
Now let us talk about distilled water. Many people believe it is the magic bullet for perfect ice. Distilled water lacks minerals, so it should freeze clear, right? Not quite.
Distilled water still contains dissolved gases. Oxygen and nitrogen sneak back in during storage or pouring. When you freeze distilled water in a standard tray, those gases form bubbles. The result is the same cloudy ice you get from tap water. You just paid more for it.
The takeaway is simple. Neither boiling nor distilling solves the problem on its own. The real culprit is how your freezer works. It freezes water from all sides at once. Impurities and gases get pushed toward the middle with nowhere to go. That is why you see a cloudy center every time. The solution is directional freezing, and we will cover that next.
The Real Cause of Cloudy Ice
Impurities and Trapped Air
Here is what happens every time you fill a standard tray and pop it in the freezer. Your freezer surrounds that tray with cold air on all sides. Ice starts forming on the top surface, the bottom, and every wall at once. As those ice crystals grow inward, they push everything that is not pure water ahead of them. Air bubbles, dissolved minerals, and gases all get shoved toward the middle.
Homemade ice is often cloudy because it has a myriad of tiny bubbles and other impurities. In a typical ice cube tray, as freezing begins and ice starts to form inward from all directions, it traps whatever is floating in the water: mostly air bubbles, dissolved minerals and gases. These get pushed toward the centre of the ice as freezing progresses and end up caught in the middle of the cube with nowhere else to go.
That concentrated core of trapped stuff scatters light. You see it as a cloudy center. The first part to freeze is actually clear. The last part to freeze holds all the junk. This is why you can never get clear ice without a cloudy center using a regular tray.
Tap water makes this worse. Cloudy ice cubes can be a subtle clue that minerals, dissolved solids, or fine particulates are present in your water. Hard water leaves behind even more visible cloudiness and can affect taste.
Speed matters too. When water freezes quickly, multiple fast-growing crystals surround and trap impurities rather than pushing them away. Slower, layered freezing gives air time to escape before it gets locked in.
How Directional Freezing Works
Now for the good news. You can fix this problem by controlling the direction in which water freezes. Instead of letting your freezer attack from all sides, you make the water freeze from the top down. This approach is called directional freezing.
Directional freezing is a method of producing clear ice in which water is frozen progressively from one direction — usually top to bottom — rather than from all sides at once. This pushes dissolved gases and impurities ahead of the freezing front and out of the ice structure, resulting in a transparent, dense block.
Think of it like a snowplow pushing snow down a road. The freezing front moves downward. It shoves air bubbles and minerals ahead of it into the water below. Those impurities never get trapped in the ice lattice. They stay in the liquid water. By the time the whole block freezes, all the cloudy stuff sits at the very bottom. You simply cut that part off or let it melt away.
The top portion stays perfectly transparent. You get that pure, crystal-clear ice look you see at nice bars. The key is patience. Fast freezing ruins the process. Slow, steady freezing lets the impurities move freely.
Industrial ice makers use this exact principle. They freeze water slowly in layers at controlled temperatures. Air escapes. Impurities get flushed away. The result is crystal clear ice every time.
You can achieve the same thing at home. The next sections will show you three practical methods. Each one uses directional freezing to give you big clear ice that looks professional and melts slowly. No boiling required. No distilled water needed. Just a smarter approach to creating clear ice.
How to Make Clear Ice at Home: Method 1
Open-Face Cooler Technique
You do not need fancy gear to make clear ice at home. A small cooler and your freezer can deliver impressive results. This approach uses the insulated cooler technique to slow down freezing and promote directional freezing from the top down.
The cooler's walls insulate the water on all sides except the top. Your freezer air hits only the surface. Ice forms there first and pushes impurities downward. The result is a large block with a cloudy bottom layer you can easily remove. This leaves you with big clear ice for your drinks.
Step-by-Step Instructions
Here is how to make clear ice at home with this simple setup:
Find a small cooler that fits in your freezer. A six-pack size works well.
Fill the cooler with room-temperature water. Leave about an inch of space at the top.
Place the cooler in your freezer with the lid off. Do not cover it.
Wait 18 to 24 hours. The top layer will freeze clear while the bottom stays cloudy.
Remove the cooler and let it sit for a few minutes. The block should slide out.
Use a knife or saw to cut away the cloudy bottom section. Keep the clear top portion.
Chop the clear block into cubes or carve shapes for your glass.
This method requires no special equipment. You probably already own a cooler. The process takes patience, but the payoff is crystal clear ice that melts slowly. You can also try this technique to make clear ice in your freezer at home without any additives or boiling.
For best results, use filtered water. It reduces the mineral load and gives you crystal-clear ice with less waste. Once you master this method, you will never go back to cloudy trays again.
Method 2: Commercial Clear Ice Makers
Types of Clear Ice Makers
You have a few choices if you want bar-quality ice without doing it yourself. Countertop directional freezing units use pumps or trays to move water around while it freezes. Only pure water turns to ice, and the dirt gets washed away. These machines make truly clear cubes or spheres. Undercounter or cabinet models hold more ice and have storage bins. They use the same directional freezing method and work well for wet bars and kitchens. Modular systems with external chilling split the cooling unit from the freezing chamber. They give you factory-level clarity and volume, but most homes cannot use them. Simulated clear ice refrigerator trays use slow-freeze settings or filtered water without real directional freezing. They almost never give you true see-through clarity. The results are uneven and the ice stays partly cloudy.
Type of Home Clear Ice Maker |
How It Works |
Clarity Result |
|---|---|---|
Countertop directional freezing units |
Pumps or trays inside move water around while it freezes, so only pure water turns to ice and the dirt gets washed away |
Makes truly clear cubes or spheres |
Undercounter/cabinet models |
Bigger built-in units that hold more ice and have storage bins, often using the same directional freezing method |
More clear ice at once, good for wet bars and kitchens |
Modular systems with external chilling |
The cooling unit is separate from the freezing chamber for more control and room to grow |
Factory-level clarity and volume, but most homes cannot use them |
Simulated clear ice refrigerator trays |
Slow-freeze settings or filtered water without real directional freezing |
Almost never truly see-through; results are uneven and ice stays partly cloudy |
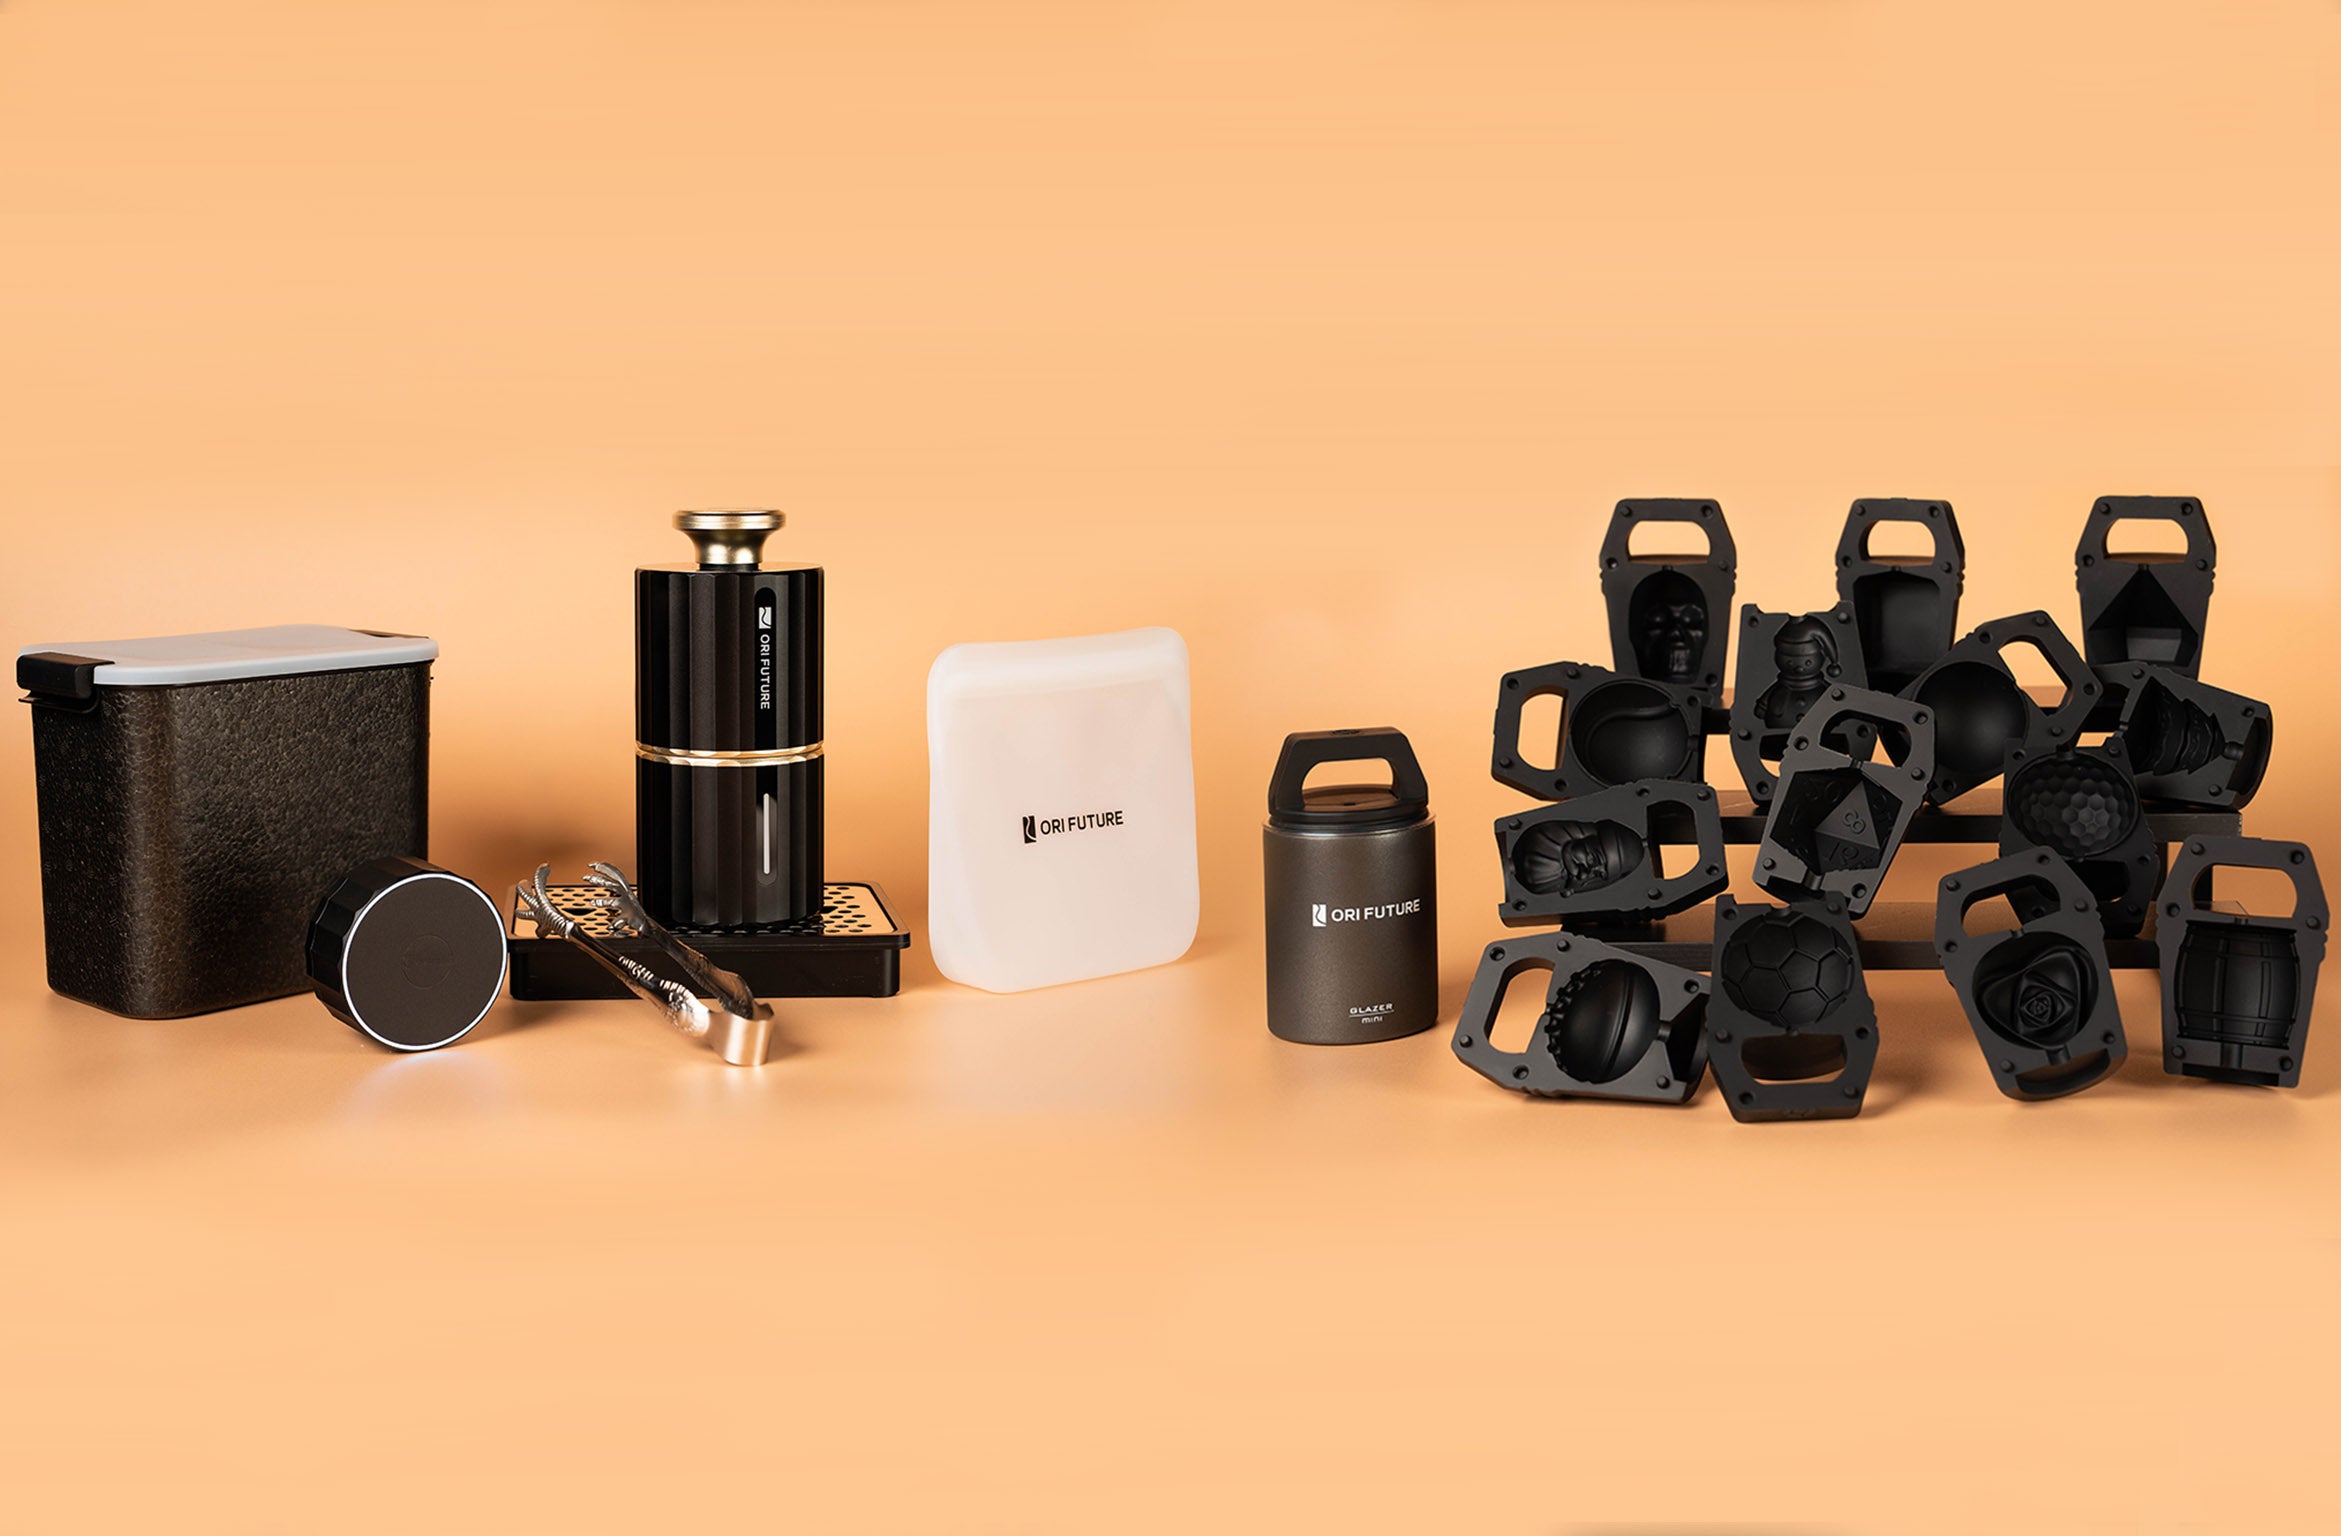
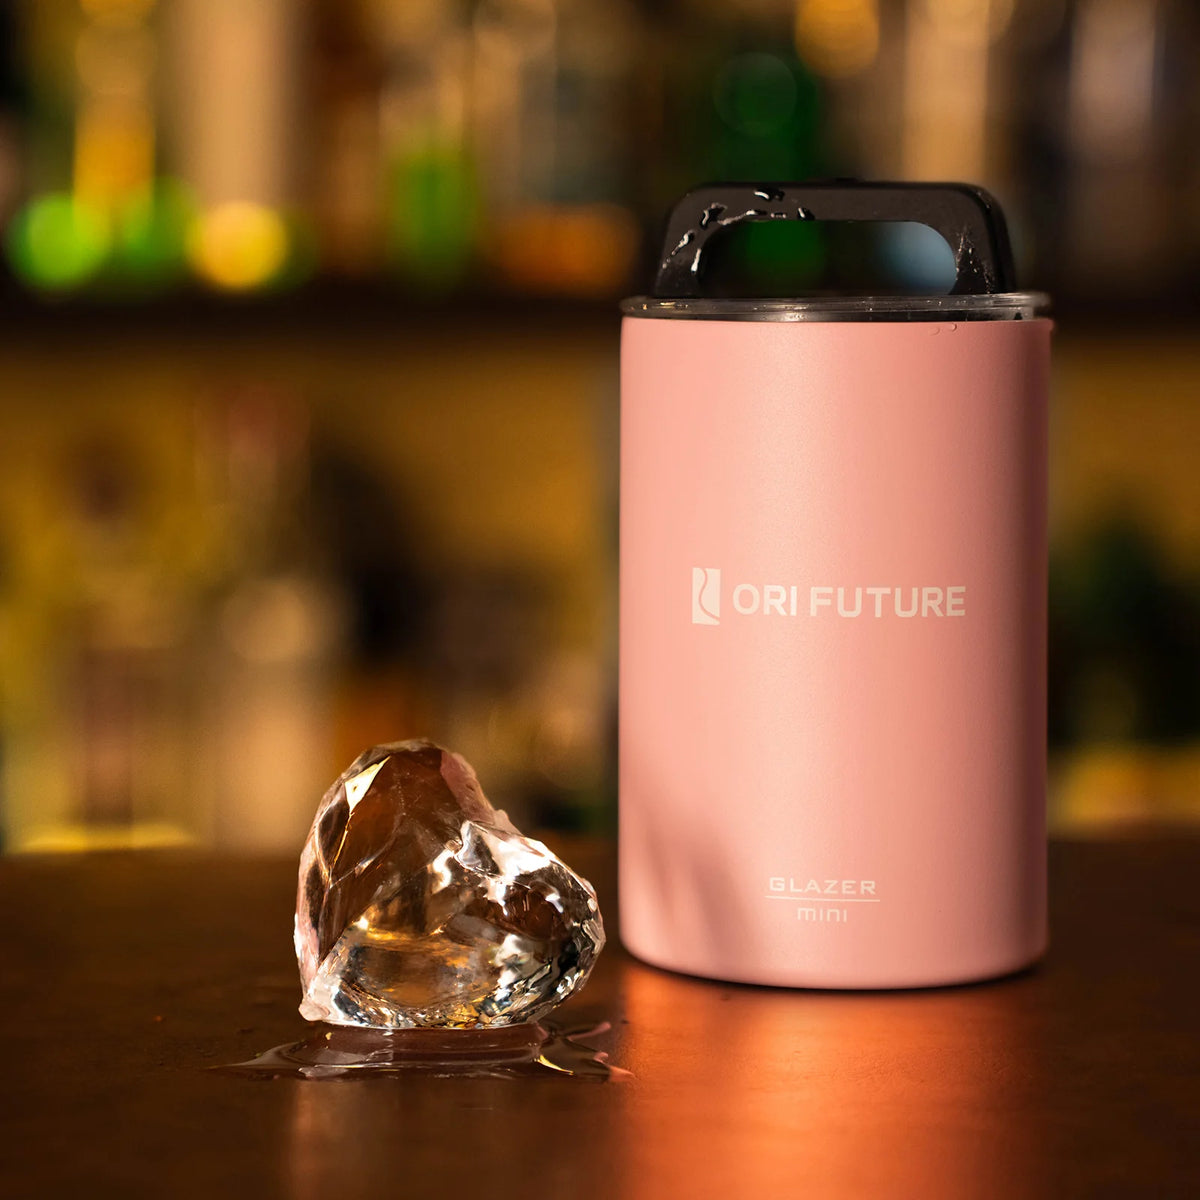
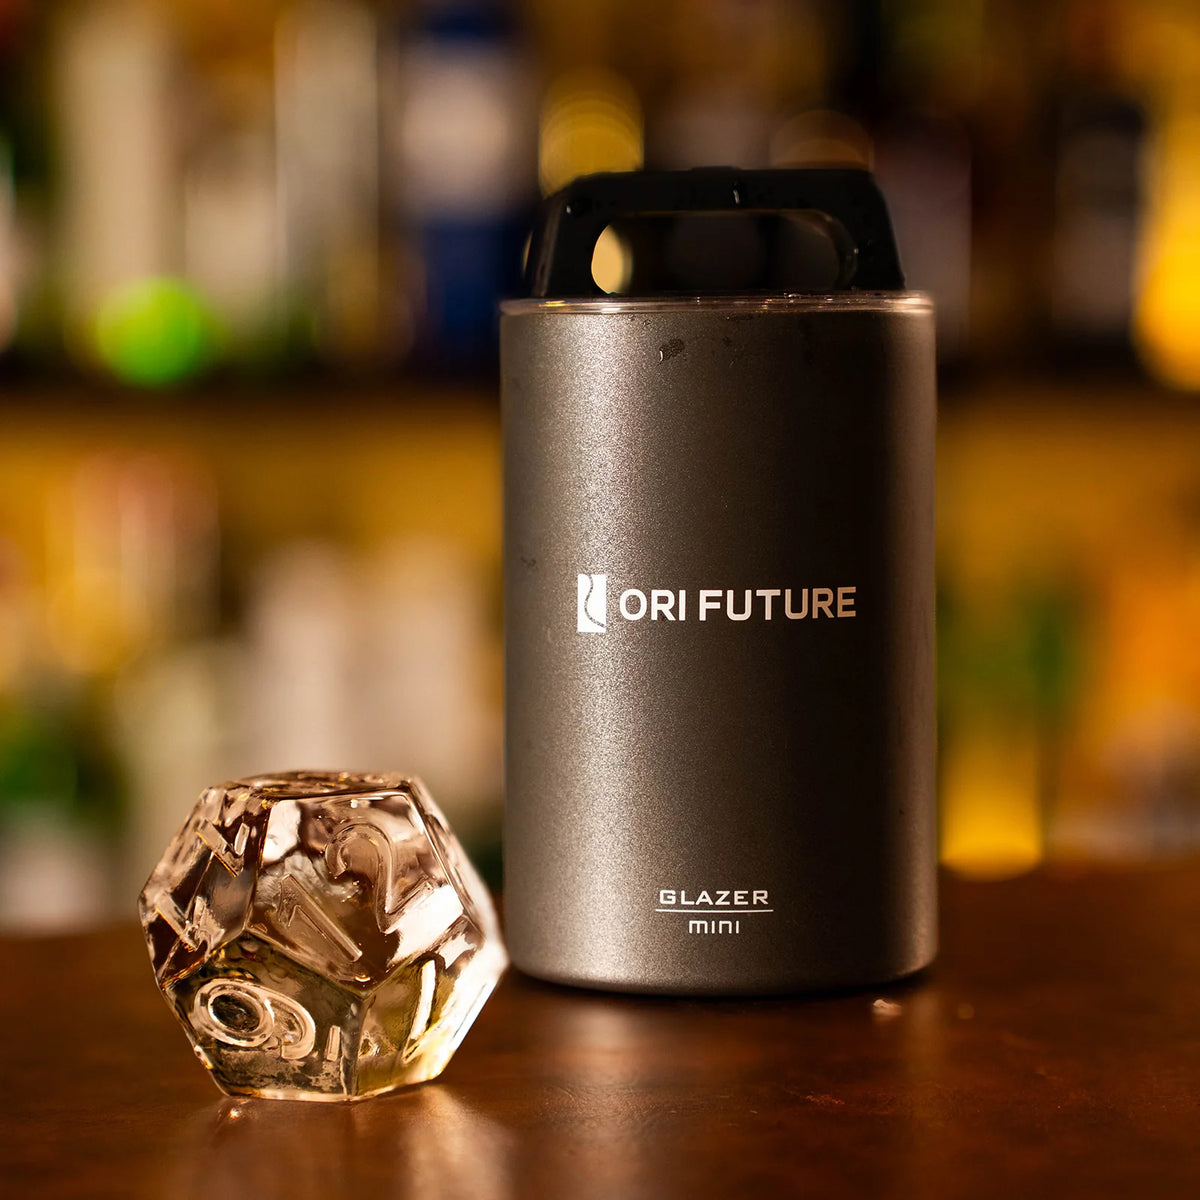
Product Spotlight: GLAZER mini Classic Ice
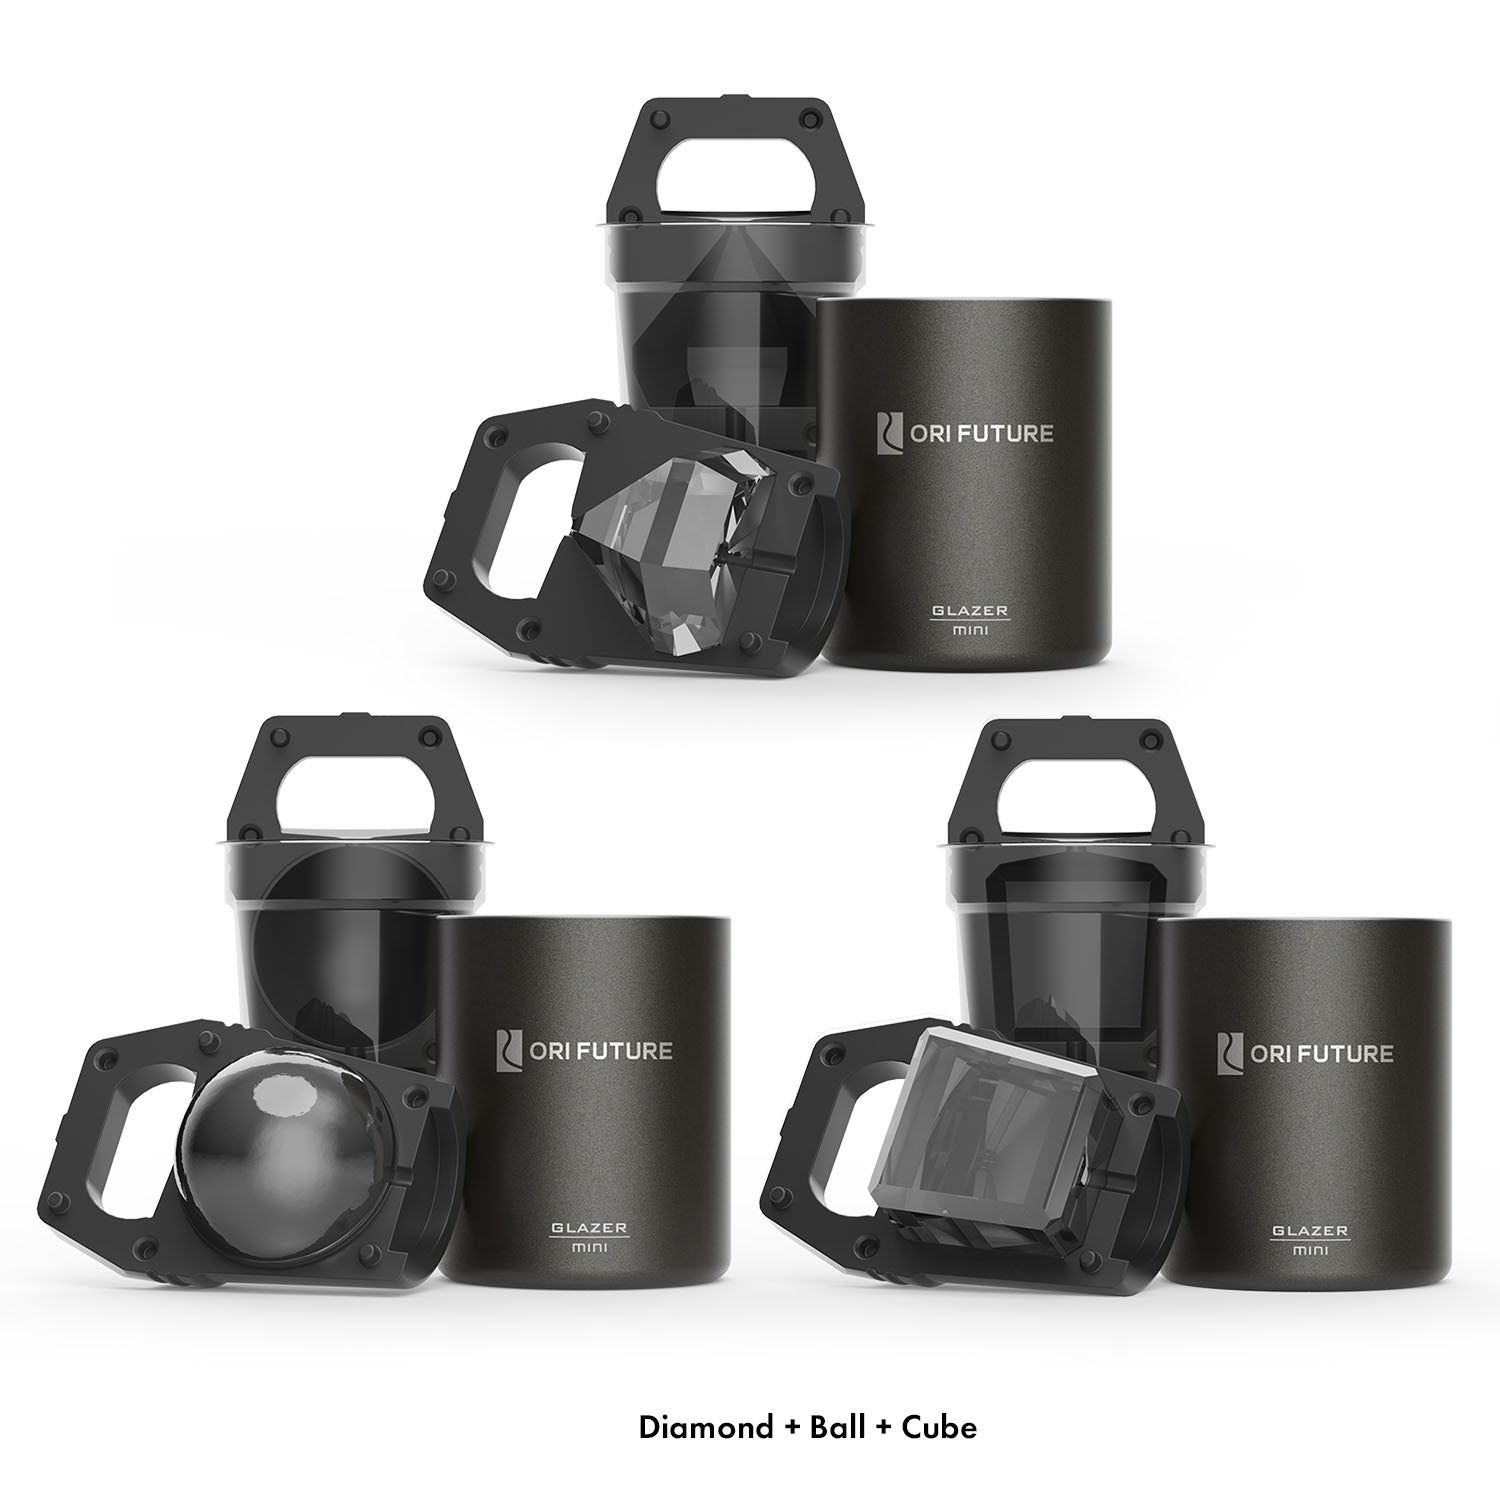
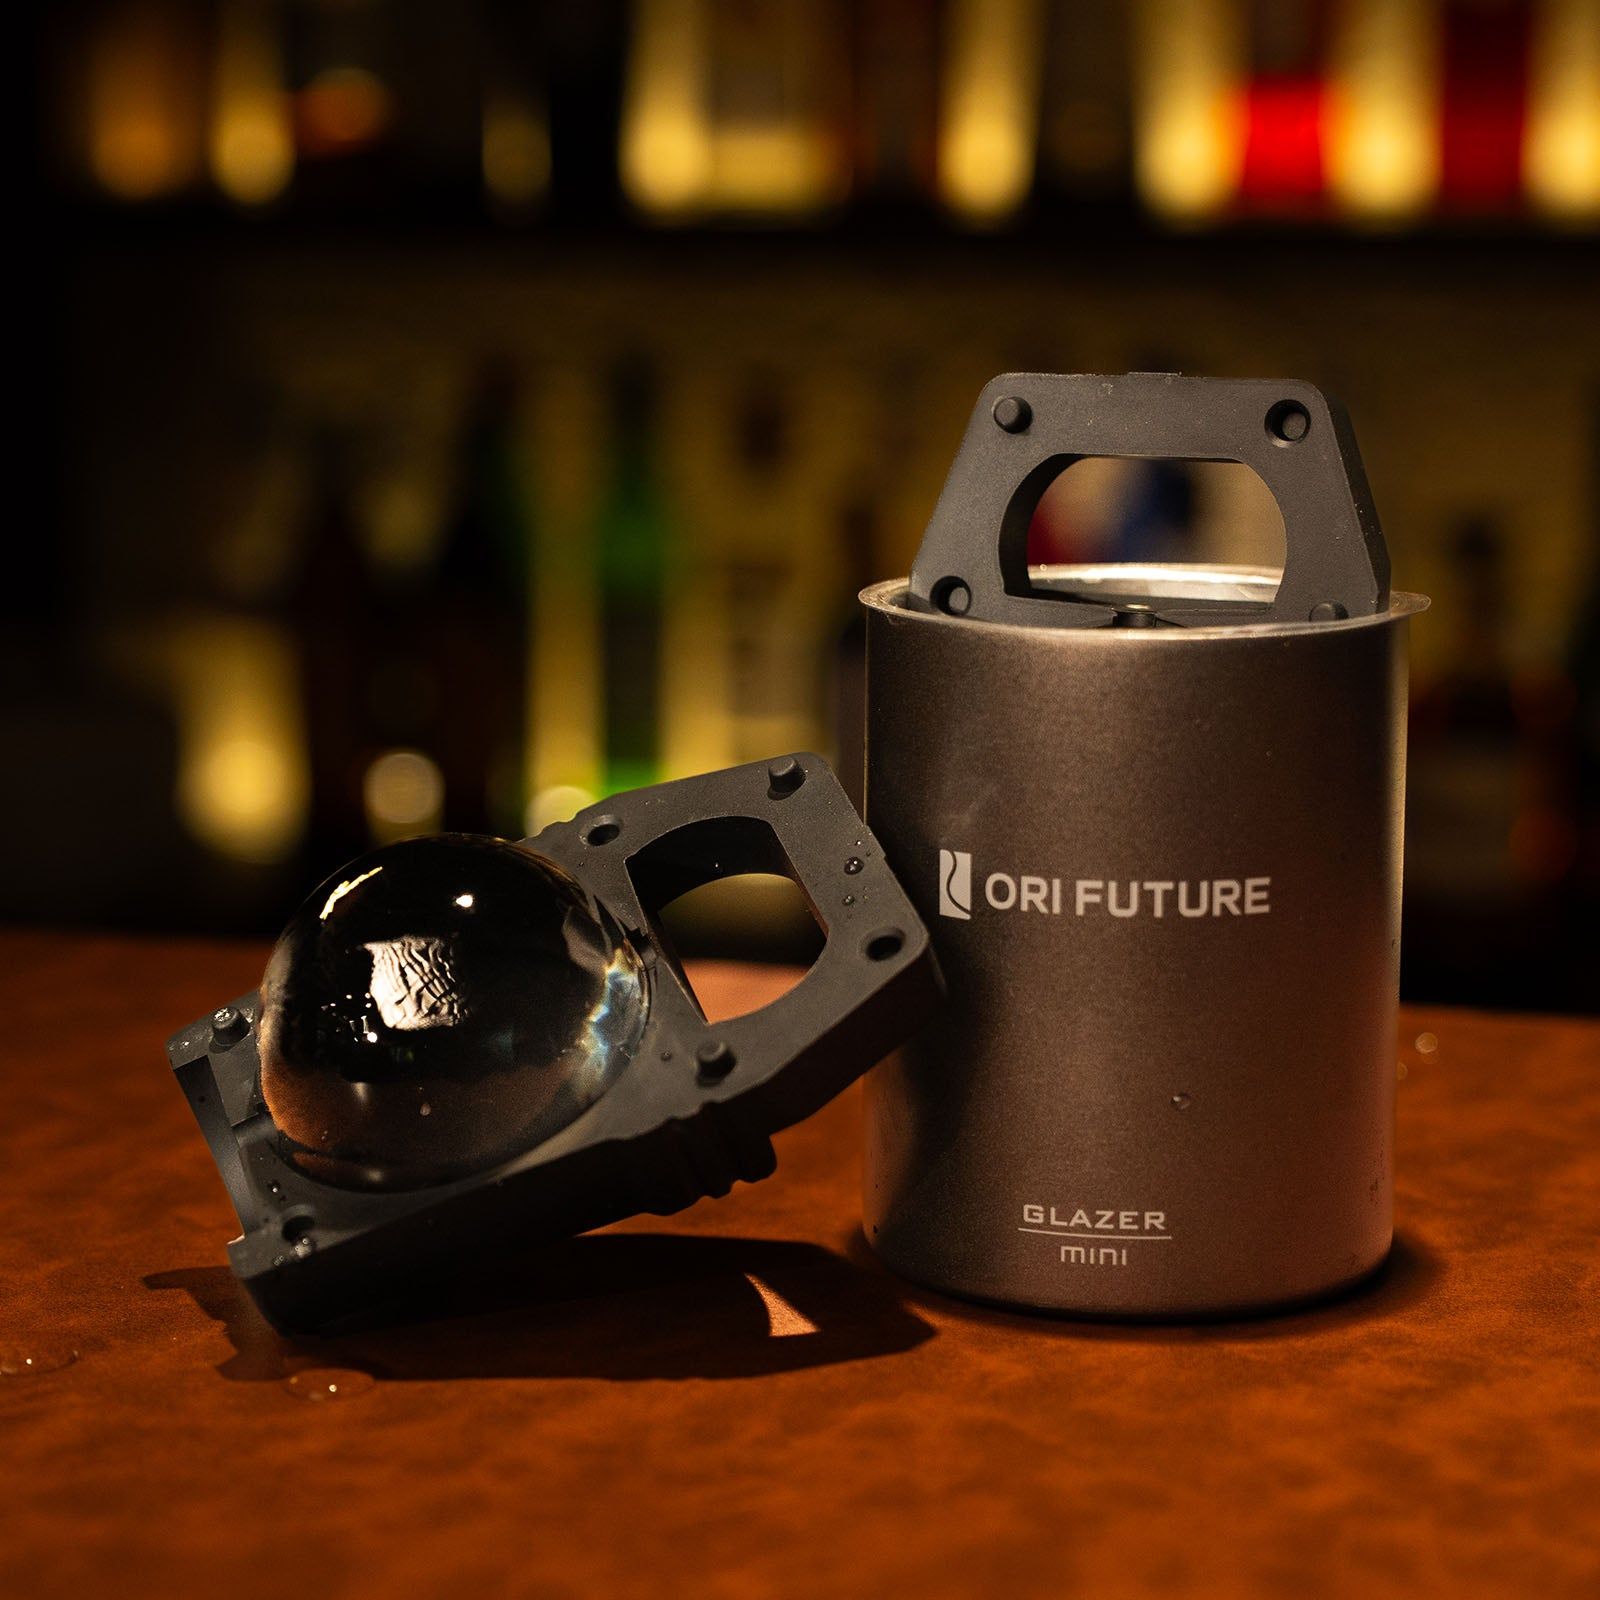
ORI Future brings you the GLAZER mini Classic Ice, a top pick for anyone who wants to make clear ice at home. This clever mold uses a special slow-freeze system. It sends air and minerals away from the serving shape. You get thick, pure ice that melts slowly and never waters down your drink.
The multi-layered design is what makes it work. A food-grade stainless steel body keeps the cold in better. A BPA-free silicone mold and a special plastic liner work together so the ice pops out easily with no leftover bits. You can pull out a perfect shape without tapping, soaking, or fighting with it.
The GLAZER mini has all the classic shapes. Pick spheres, cubes, diamonds, or barrels. Sets like the Whiskey Lover Set, Signature Mix, and Ultimate Collection let you try all 14 unique shapes for any event.
Customers love how it works. One user said, "The cubes come out solid, slow melting, and a really nice size for whisky or cocktails." Another praised how simple it is: "The first one I did came out really well. So happy with it and was very easy to take out of the mold."
The GLAZER mini comes with a 12-month warranty and special shipping deals. It is more than a mold. It is your way to crystal-clear ice and a better home bar.
Method 3: DIY Directional Freezing
Building Your Own Setup
You can make a simple directional freezing setup with things you probably already have. Get a plastic container with a 3x3 inch base and a height of 6 inches. Cut soft packing foam at 2 inches thick, or use rigid foam building insulation like Owens Corning Foamular at 1 inch thick. Cut five pieces to cover the four sides and the bottom. Leave the top open. Large rubber bands hold the insulation in place. Put the container in its insulating jacket and freeze it with the lid off.
This budget-friendly approach costs nothing beyond materials you may have on hand. The cooler method produces the clearest ice of any home technique. It uses directional freezing to push impurities into a bottom reservoir. You get crystal clear ice without spending a dime on machines.
Tips for Best Results
Start with room-temperature water. Avoid overfilling the container. Leave about an inch of headspace so expanding ice has room to grow. Allow a full 24 hours for freezing. A properly frozen block yields about 70 to 80 percent usable clear ice. You can also use filtered water and remove the block after 2 to 3 days, before the cloudy bottom forms at all.
Your freezer temperature matters a lot. Check this table for guidance:
Freezer Temperature |
Effect on Ice Clarity |
|---|---|
Below 0°F (-18°C) |
Freezes too quickly; traps air bubbles, causing a hazy top layer |
15°F to 30°F (-9.4°C to -1.1°C) |
Recommended sweet spot for a slower, controlled freeze that yields glass-like clarity |
15°F to 22°F (-9°C to -5°C) |
Ideal range to encourage bubbles to be pushed downward and out |
~30°F (-1°C) |
A slightly warmer setting that slows the freeze, giving impurities time to be pushed away |
This method requires patience, but the payoff is big clear ice that melts slowly. You now know how to make clear ice at home without boiling or distilled water. If you want to make clear ice at home with even less effort, clear ice trays and commercial makers remain solid options. But for pure satisfaction, nothing beats pulling a crystal-clear ice block from your own freezer.
Clear Ice for Your 12 Cocktails of Christmas
Why Clear Ice Matters for Holiday Drinks
Your holiday party deserves better than cloudy ice that ruins a good pour. When you serve your 12 cocktails of christmas, every detail counts. Clear ice makes those festive drinks look professional and taste better from the first sip to the last.
The science is simple. Clear ice melts slower than cloudy ice. That means your 12 cocktails of christmas stay undiluted longer. Nobody wants a watered-down eggnog or a weak old fashioned halfway through the evening. Big clear ice cubes and spheres keep the drink at the right strength while chilling it perfectly.
Clear ice is better for cocktails and whisky pours because it does not introduce off-flavors. Cloudy ice holds trapped minerals and air that release as it melts. Your expensive bourbon deserves better. Clear ice for whisky keeps the spirit clean and crisp. The same goes for clear ice for cocktails that feature delicate flavors.
Serving Tips for Festive Gatherings
Presentation matters when you host. Use large clear ice cubes or big ice cubes and spheres in your punch bowl. They look stunning and melt slowly. A single clear ice cube in a coupe glass elevates even a simple champagne cocktail.
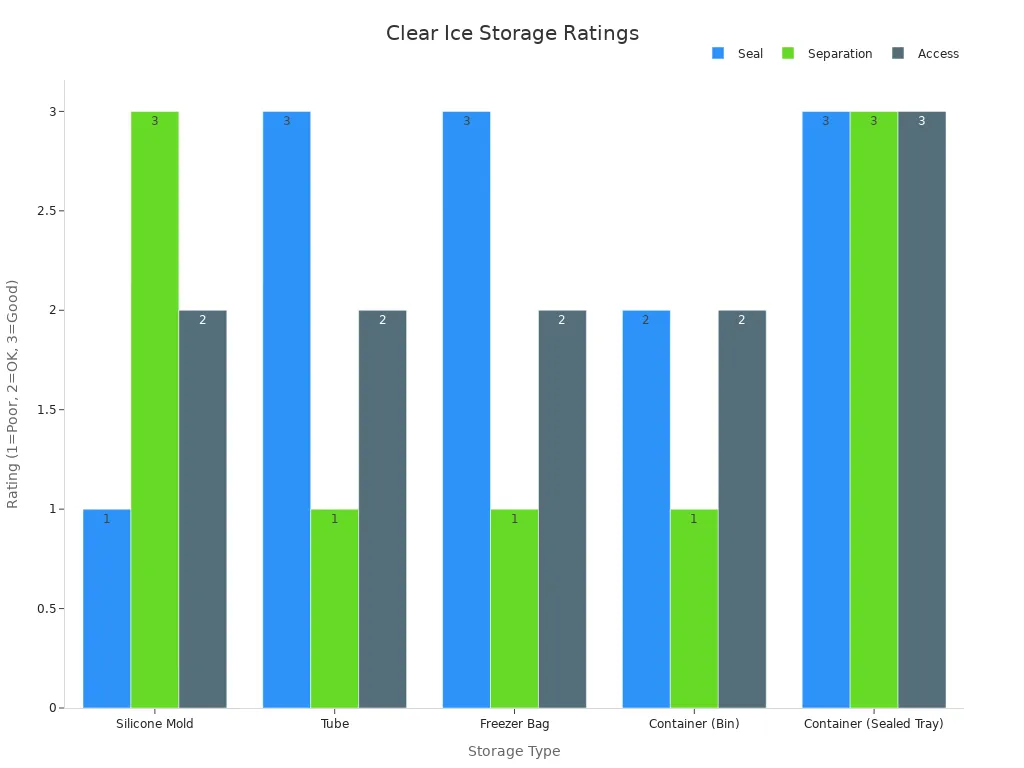
Storage keeps your ice pristine until party time. Metal containers work best for large events. They stay cold for 24+ hours and resist odors. A Corkcicle Ice Personal Ice Bucket is a solid choice for parties. Plastic bins work but can crack over time. Glass looks nice but breaks easily. Skip styrofoam and plastic bags for anything beyond short-term use.
Storage Type |
Seal |
Separation |
Access |
|---|---|---|---|
Silicone Mold |
Poor |
Good |
OK |
Tube |
Good |
Poor |
OK |
Freezer Bag |
Good |
Poor |
OK |
Container (Bin) |
OK |
Poor |
OK |
Container (Sealed Tray) |
Good |
Good |
Good |
A sealed tray gives you the best seal, separation, and access. Keep your big clear ice away from smelly foods. Seal it tight. When cubes freeze together, let them temper slightly or tap along the seam with a serrated knife.
You do not need boiled or distilled water to get crystal-clear cubes. This is achievable right in your kitchen. Pick the method that fits your space and budget. The open-face cooler needs only a small cooler and your freezer. Commercial makers like the GLAZER mini do the work for you. DIY directional freezing costs almost nothing but rewards your patience. Good ice takes time, so plan ahead. Your reward is big clear ice. That ice melts slowly and never waters down a drink. That is why clear ice better for cocktails matters so much. Make clear ice at home, and every pour feels special — especially during the holidays.
FAQ
How long does it take to make clear ice at home?
Most home methods need patience. The open-face cooler technique takes 18 to 24 hours. DIY directional freezing setups work best with a full 24-hour freeze. Commercial molds like the GLAZER mini follow a similar slow-freeze timeline. Plan ahead if you want clear ice ready for a party.
Can I use tap water for clear ice?
Yes, you can use tap water. The directional freezing method pushes minerals and air bubbles to the bottom. You cut that cloudy section away. Filtered water reduces the mineral load and gives you better results with less waste. No boiling or distilling needed.
Why does my ice still look cloudy after trying these methods?
Your freezer might be too cold. Temperatures below 0°F freeze water too fast and trap air bubbles. Aim for 15°F to 30°F for a slower, controlled freeze. Also, make sure you leave headspace in your container. Expanding ice needs room to push impurities downward.
What is the best way to store big clear ice?
Use a sealed tray or metal container. These keep your ice pristine and prevent it from absorbing odors. A sealed tray gives you the best seal, separation, and access. Keep your ice away from smelly foods. When cubes freeze together, let them temper slightly before separating.
Do I need special equipment to start making clear ice?
Not at all. A small cooler and your freezer handle the job. You can also build a DIY directional freezing setup with foam insulation and a plastic container. If you want less effort, commercial makers like the GLAZER mini do the work for you.
