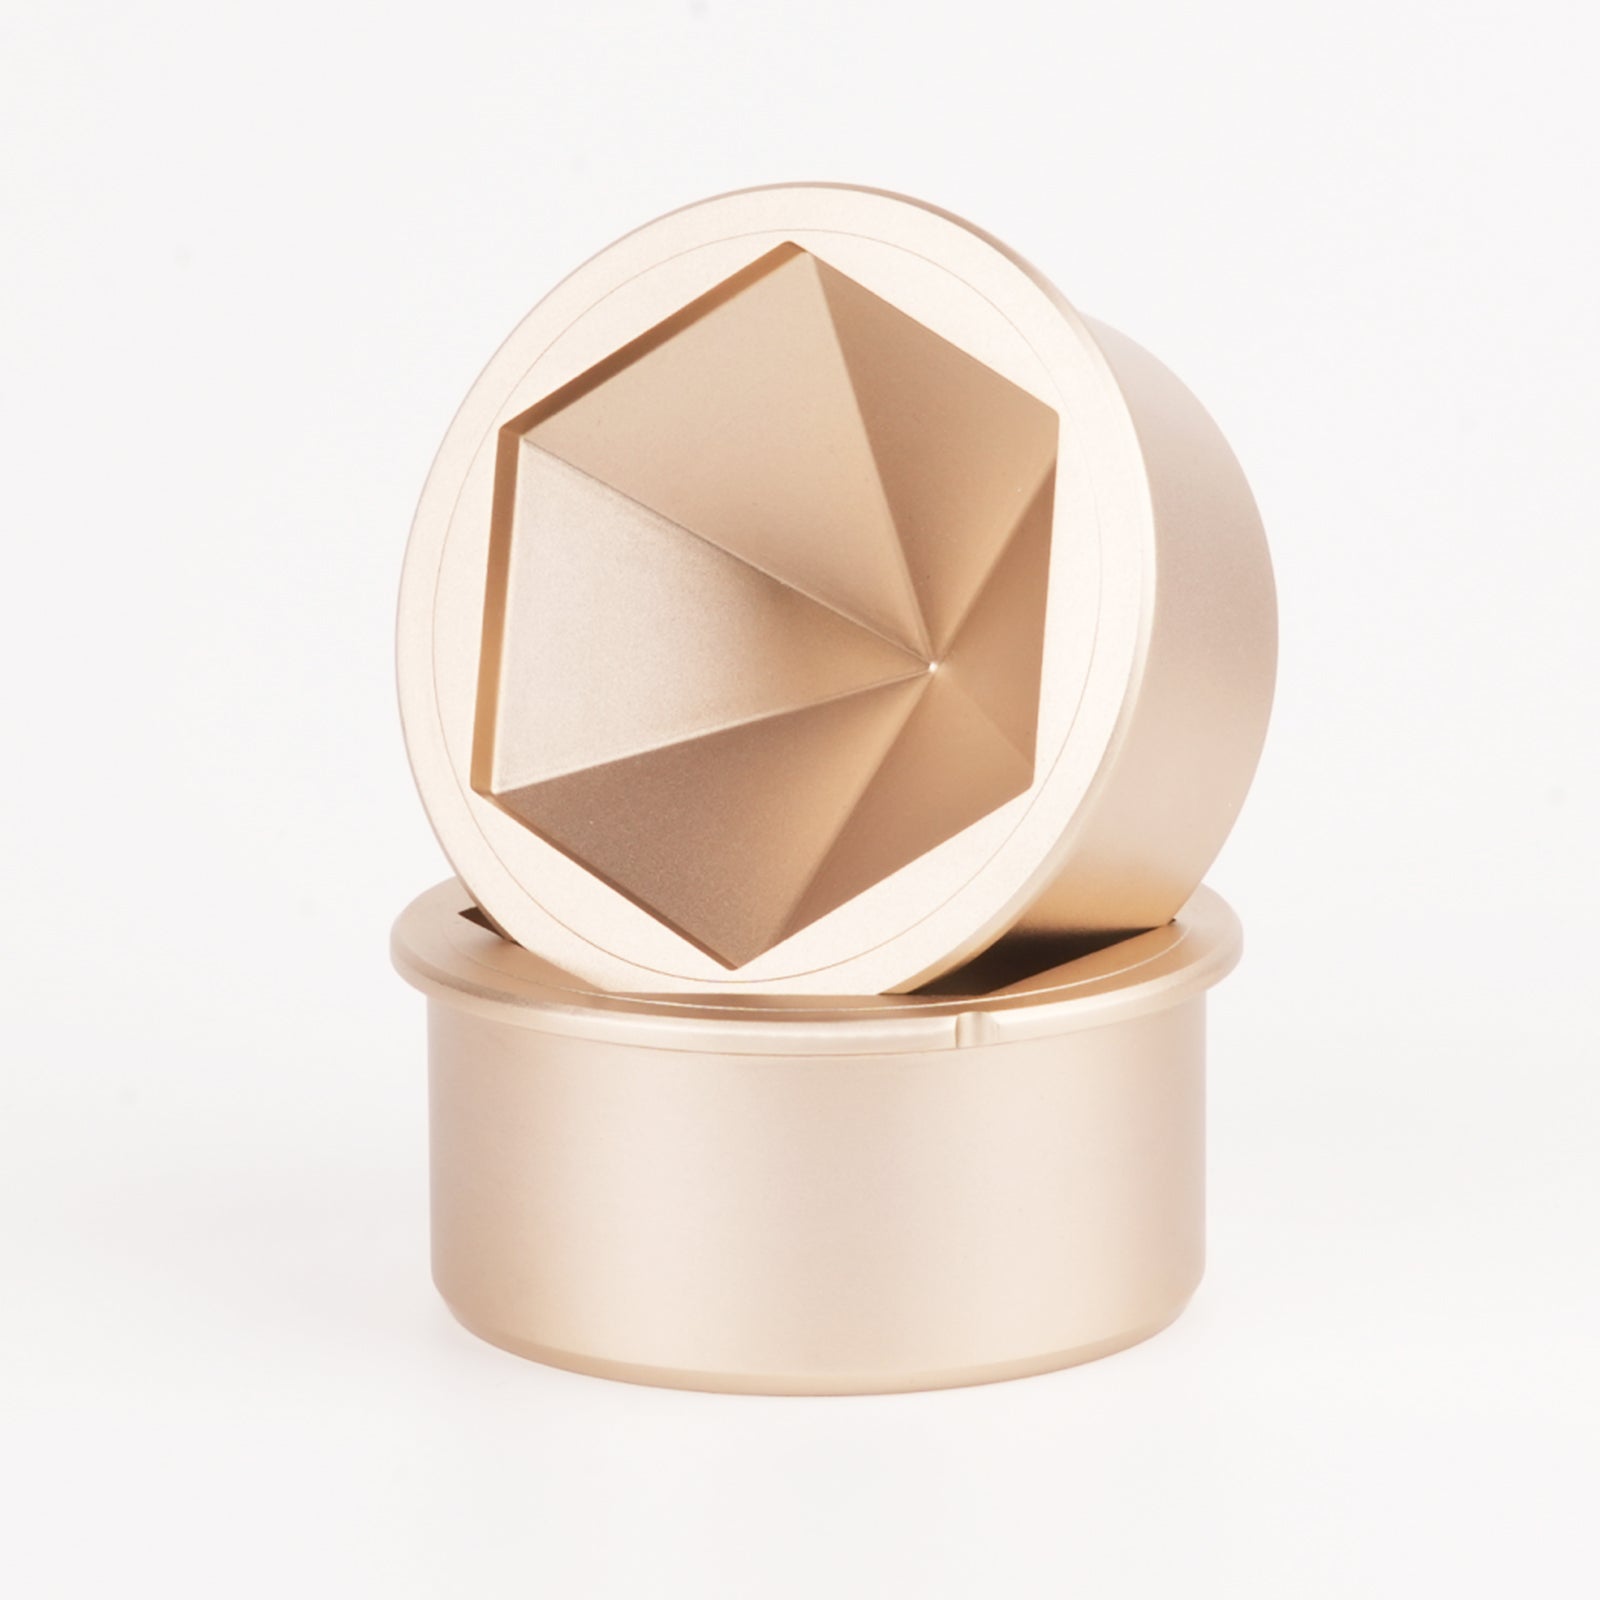
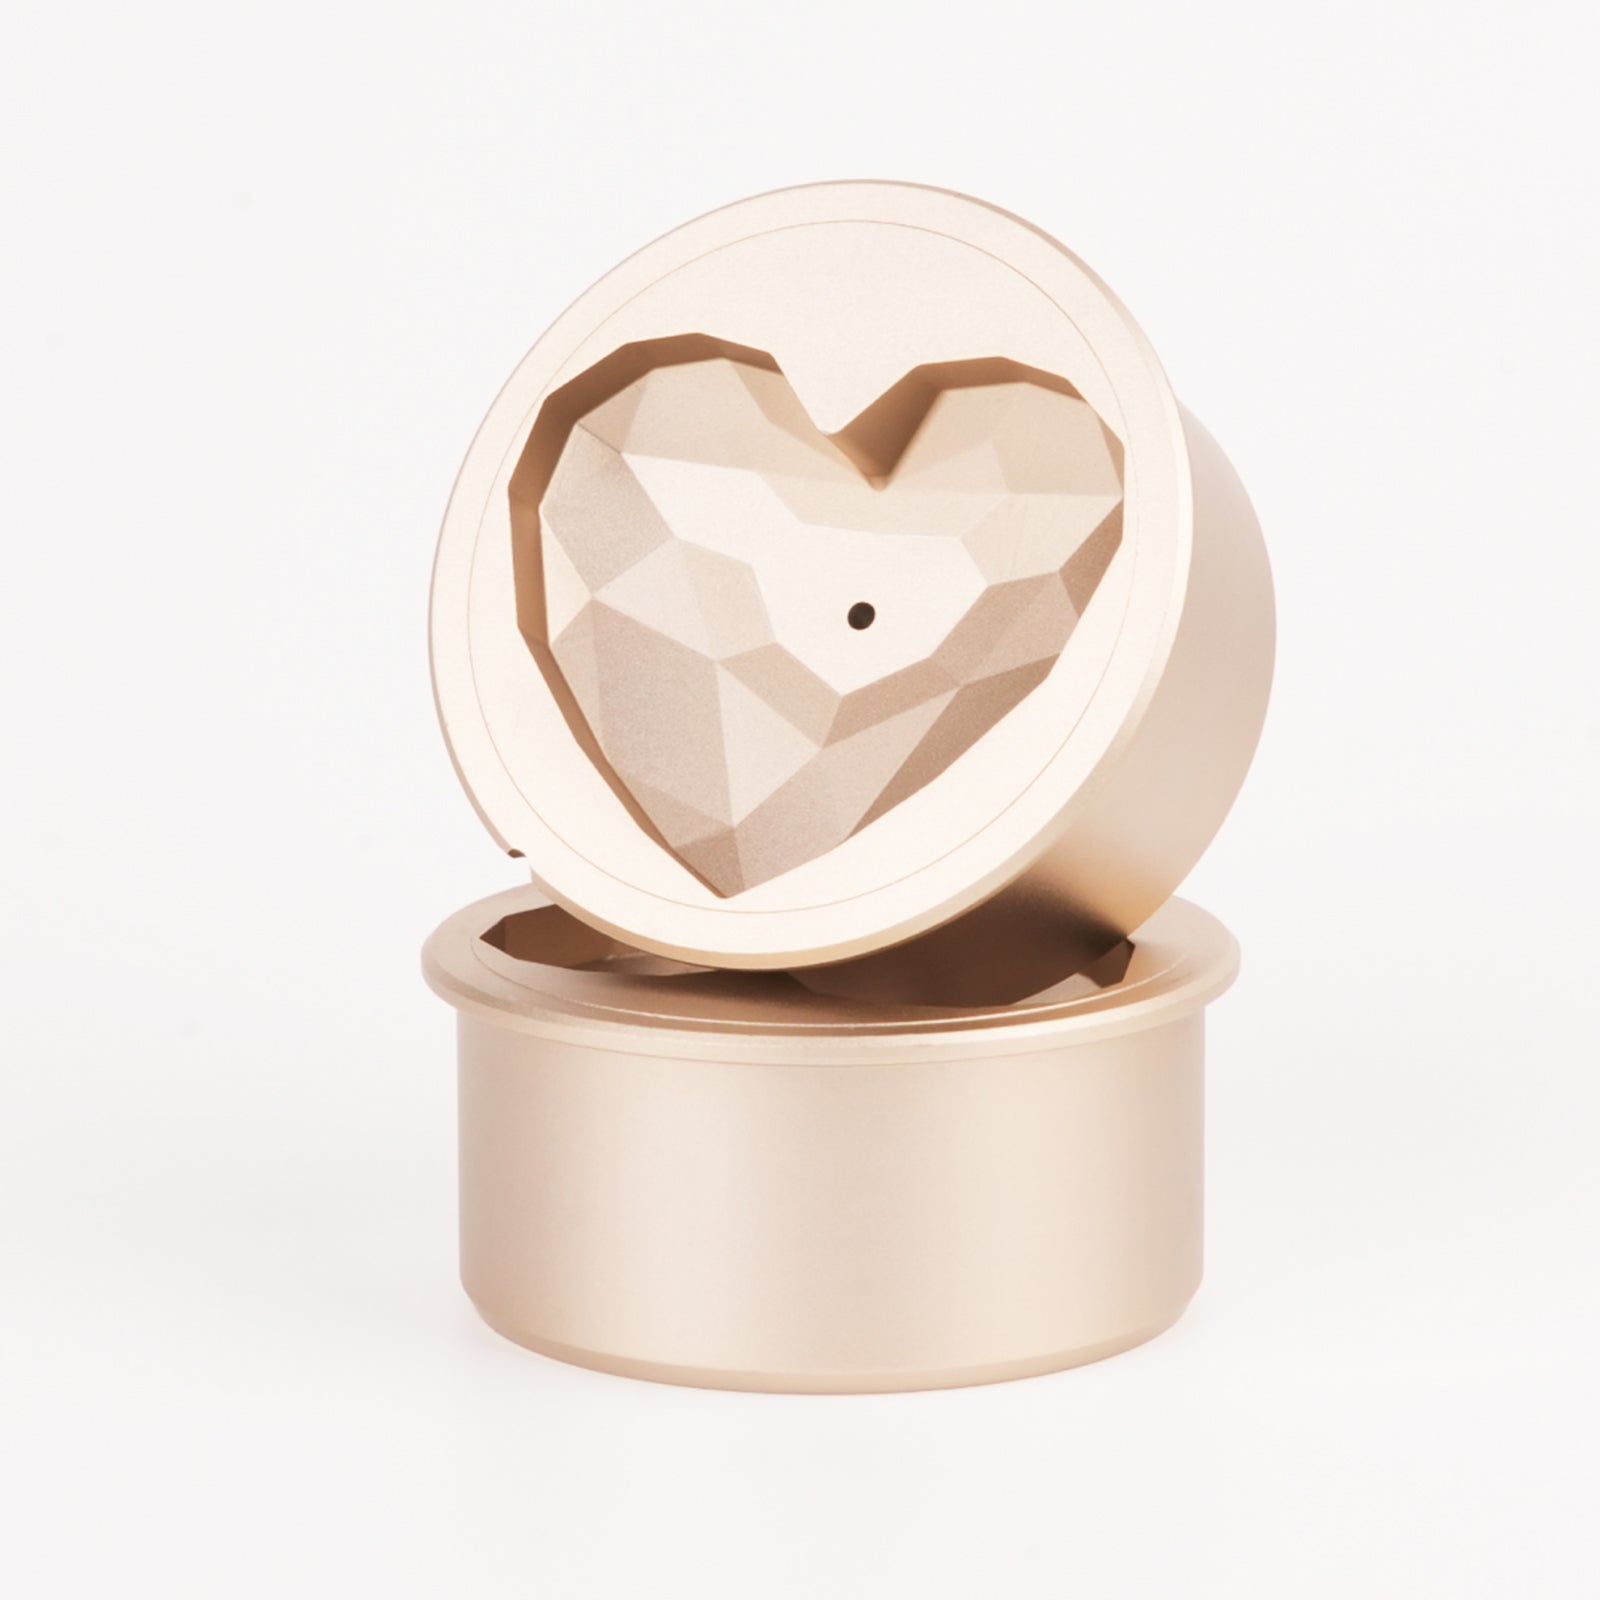
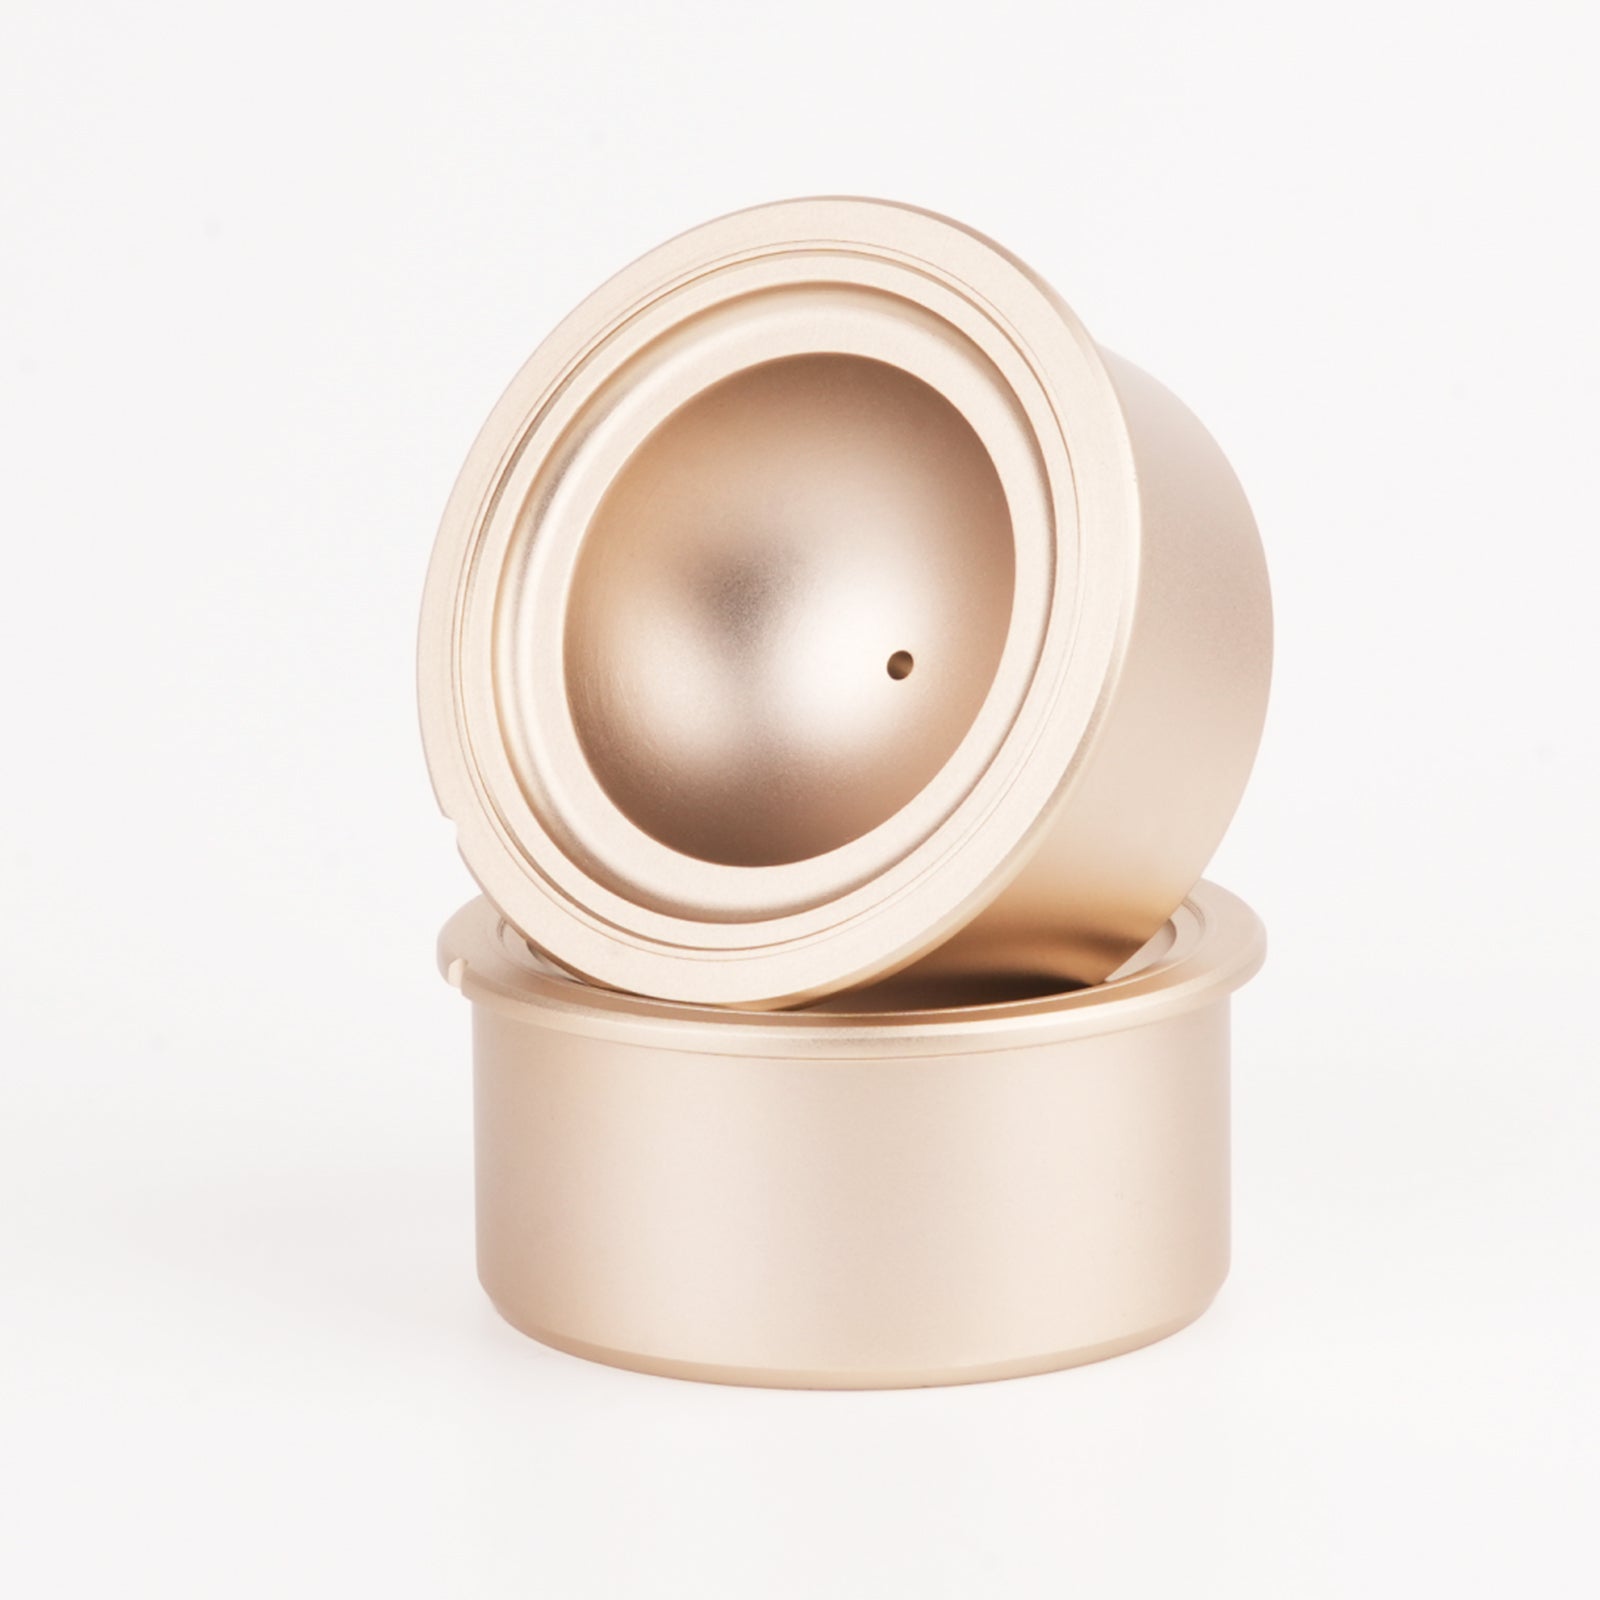
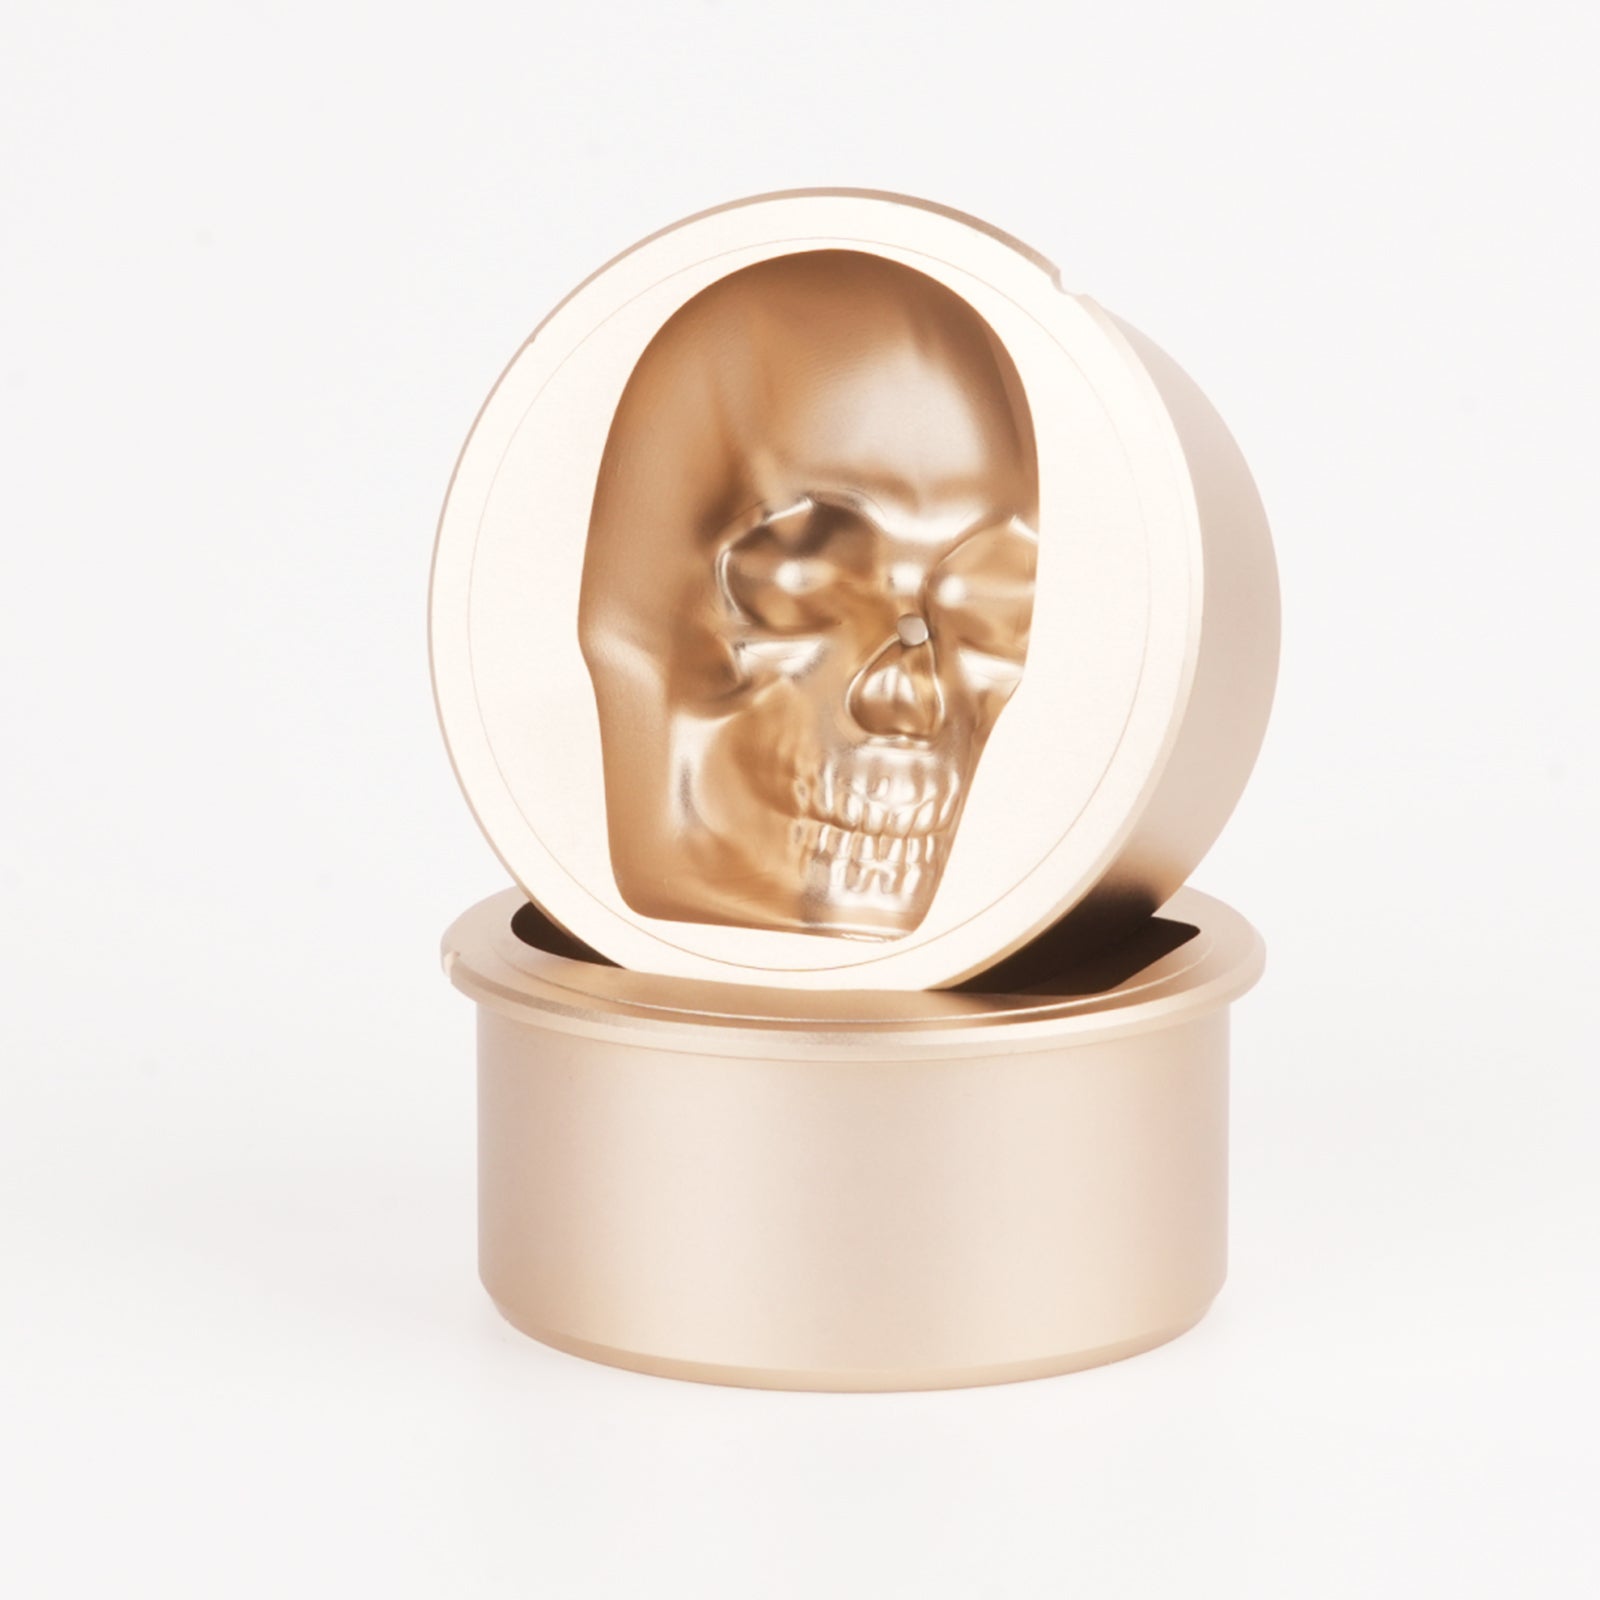
After we completed the update of the industrial design, we immediately started the stacking design of the internal structure and the selection of the molding process and materials of the exterior parts. This was a big systematic project. Due to limited space, we would like to focus on sharing the following interesting things with you, so that everyone can have a better understanding of the development process of GLAZER Press.
- Product shell
- handle
- Rotary Switch Button
Product shell
The first is its shell. The aluminum alloy shell adopts a one-piece design. For this purpose, we used a special metal mold when conducting PVT test production. The picture below shows the blank we produced through the mold. Next, we need to cut it into the corresponding length, and use a high-precision composite lathe for surface precision processing, so as to ensure the sealing effect. In order to ensure product quality and cost, we must ensure that every process is worthwhile and efficient.


In order to ensure GLAZER Press remains consistent with the original design as much as possible, after contacting with professional surface treatment suppliers, we finally chose aluminum alloy anodizing treatment after conducting some sample testings.
Handle design
Considering the production cost, we deleted some features of the design. Although this will make the designer unhappy, such things will always happen (I mean: conflicts between manufacturing engineers and industrial designers). The solution is to compromise and find a middle ground.
In the original design, there are many stripes on the Handle. These vertical stripes echo the stripes on the shell, which will increase the integrity and consistency of the product. Unfortunately, such a design would make it difficult to produce. On the contrary, if there are no "stripes", the processing difficulty will be greatly reduced, which also means a reduction in cost, so we chose to delete these "stripes".
In terms of materials, we also made some comparisons. The plastic (PA66) + electroplating process can achieve the appearance effect, but compared to aluminum alloy, the touch feel seems to be worse. So we finally chose to use all aluminum alloy to make the handles.

Switch button
Regarding the switch design of GLAZER Press, this is a place worth introducing. We hope that through the introduction of the R&D journey, we can help our readers understand the story between GLAZER Press and us more comprehensively. So, if you have any good suggestions, please Let us know in the comments below.
In the initial design, GLAZER Press did not have any switches. It was envisioned to reduce the user's difficulty of use by using multi-sensor fusion, which would make it more intelligent. However, we ignored the difficulty of integrating complex systems and the safety risks behind such a design. After many "minimum viable solution verifications", we decided to add a switch and leave the choice of whether to heat the product to our user.
At this time, how to design the switch becomes a problem again. From an engineering perspective, the simplest way is to add a red boat-shaped switch under the power cord, just like most home appliances you see.


