
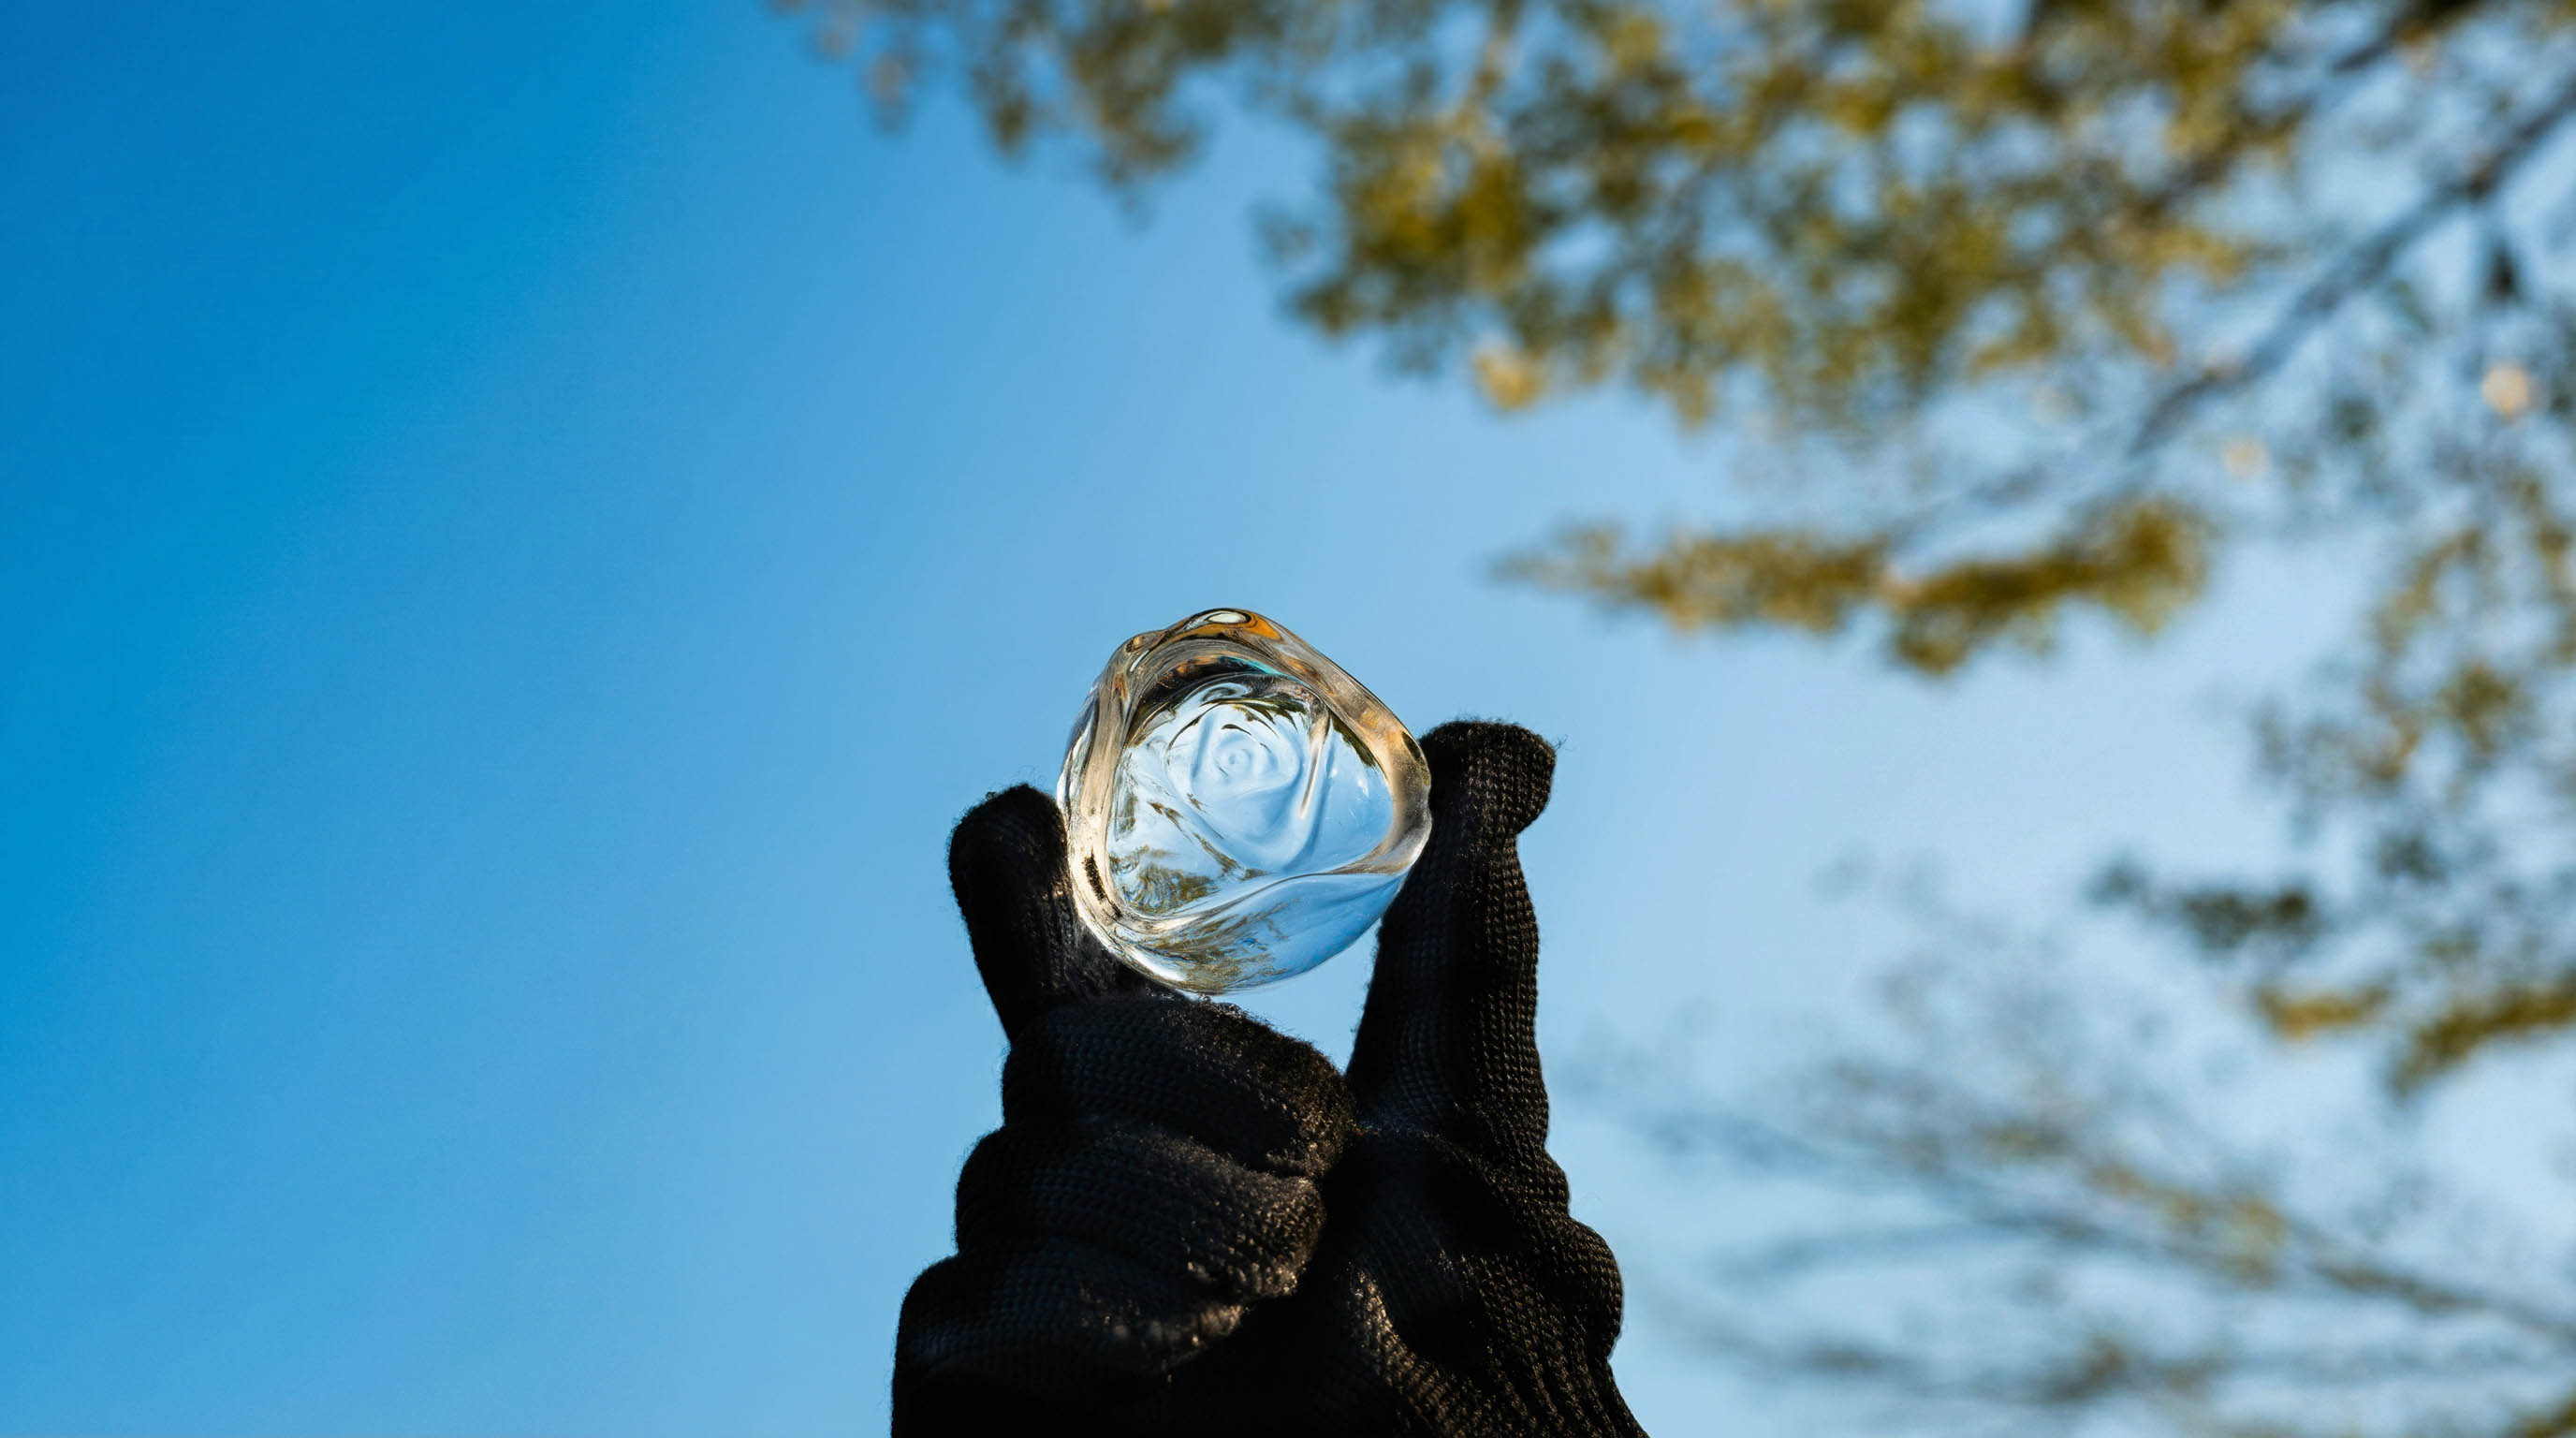


Unlock Perfect Clear Ice Every Time with GLAZER mini

Imagine putting perfect clear ice in your favorite drink at home. The GLAZER mini helps you make ice like a pro every time. The trick is to use pure, filtered water and keep your mold clean. The GLAZER mini clear ice maker is special because it freezes ice carefully and lets you take it out easily. Here are some features you will like:
|
Feature |
What It Means for You |
|---|---|
|
Effortless Clarity |
Beautiful, clear ice shapes |
|
Minimalist & Compact |
Saves room in your freezer |
|
Precision Freezing |
No bubbles or cloudy ice |
|
Customizable Molds |
Cool shapes for any event |
Want advice for perfect ice? Just follow a few easy steps and you can make clear ice at home that will wow your friends. The GLAZER mini is also a great gift for anyone who enjoys cold drinks.
Prep for Clear Ice Maker

Getting ready to make clear ice with your glazer mini is simple, but a few smart steps make all the difference. Let’s break it down so you get the best results every time.
Filtered or Distilled Water
You want your clear ice to look amazing and taste pure. The water you use matters a lot. Tap water often has minerals and chemicals that can make ice cloudy and give it a strange taste. If you use filtered water, you remove things like chlorine and heavy metals. Distilled water goes even further, taking out all minerals and impurities. Both choices help you get crystal clear ice that won’t mess with your drink’s flavor.
-
Cloudy ice forms when water freezes too fast, trapping air bubbles and impurities.
-
Clear ice comes from high-quality, filtered water, so your drinks taste fresh.
-
Unfiltered tap water can leave your ice with a weird taste and a cloudy look.
With the glazer mini clear ice maker, you get the most out of your water choice. Try both filtered and distilled water to see which you like best.
Pre-Chill Water
Here’s a quick tip: pre-chill your water before pouring it into your clear ice mold. Cold water freezes more evenly and helps prevent bubbles from forming. This step makes your clear ice even clearer. Just pop your filtered or distilled water in the fridge for a bit before you start. You’ll notice the difference in your finished ice.
Regular Cleaning
Keeping your glazer mini and clear ice mold clean is key for perfect clear ice. Food-grade stainless steel makes cleaning easy and safe. If you skip cleaning, you might get slime or scale buildup, which can ruin your ice.
|
Source |
Recommended Cleaning Frequency |
|---|---|
|
Crownful |
At least once every three months |
|
Tork Global |
Every 3-6 months |
|
Easy Ice |
Twice a year (professional) |
You can use a gentle cleaner like affresh® ice machine cleaner or mix distilled white vinegar with water. Clean all parts, including the release cup, to keep your clear ice mold in top shape. This way, your glazer mini always makes clear ice that looks and tastes great.
Using GLAZER mini

Ready to make stunning clear ice at home? You can do it with your glazer mini. Let’s walk through the steps so you get perfect results every time.
Assembly & Setup
Setting up your glazer mini is quick. Take the clear ice mold out of the box. Make sure all parts are clean and dry. Place the mold on a flat surface. Attach the plastic release cup to the base. This cup helps you remove the ice easily later. You don’t need any tools. The design fits right into your freezer, so you won’t have to rearrange anything.
Tip: Always check that the mold is fully assembled before you add water. This keeps leaks away and helps your ice freeze in the right shape.
Water Filling Tips
You want your clear ice to look flawless. Start by pouring chilled, filtered or distilled water into the clear ice mold. Fill slowly to avoid trapping air bubbles. Stop when the water reaches the fill line. Don’t overfill, or the ice might spill over the edges.
-
Pour water gently to keep bubbles out.
-
Use cold water for better clarity.
-
Fill to the marked line for the best shape.
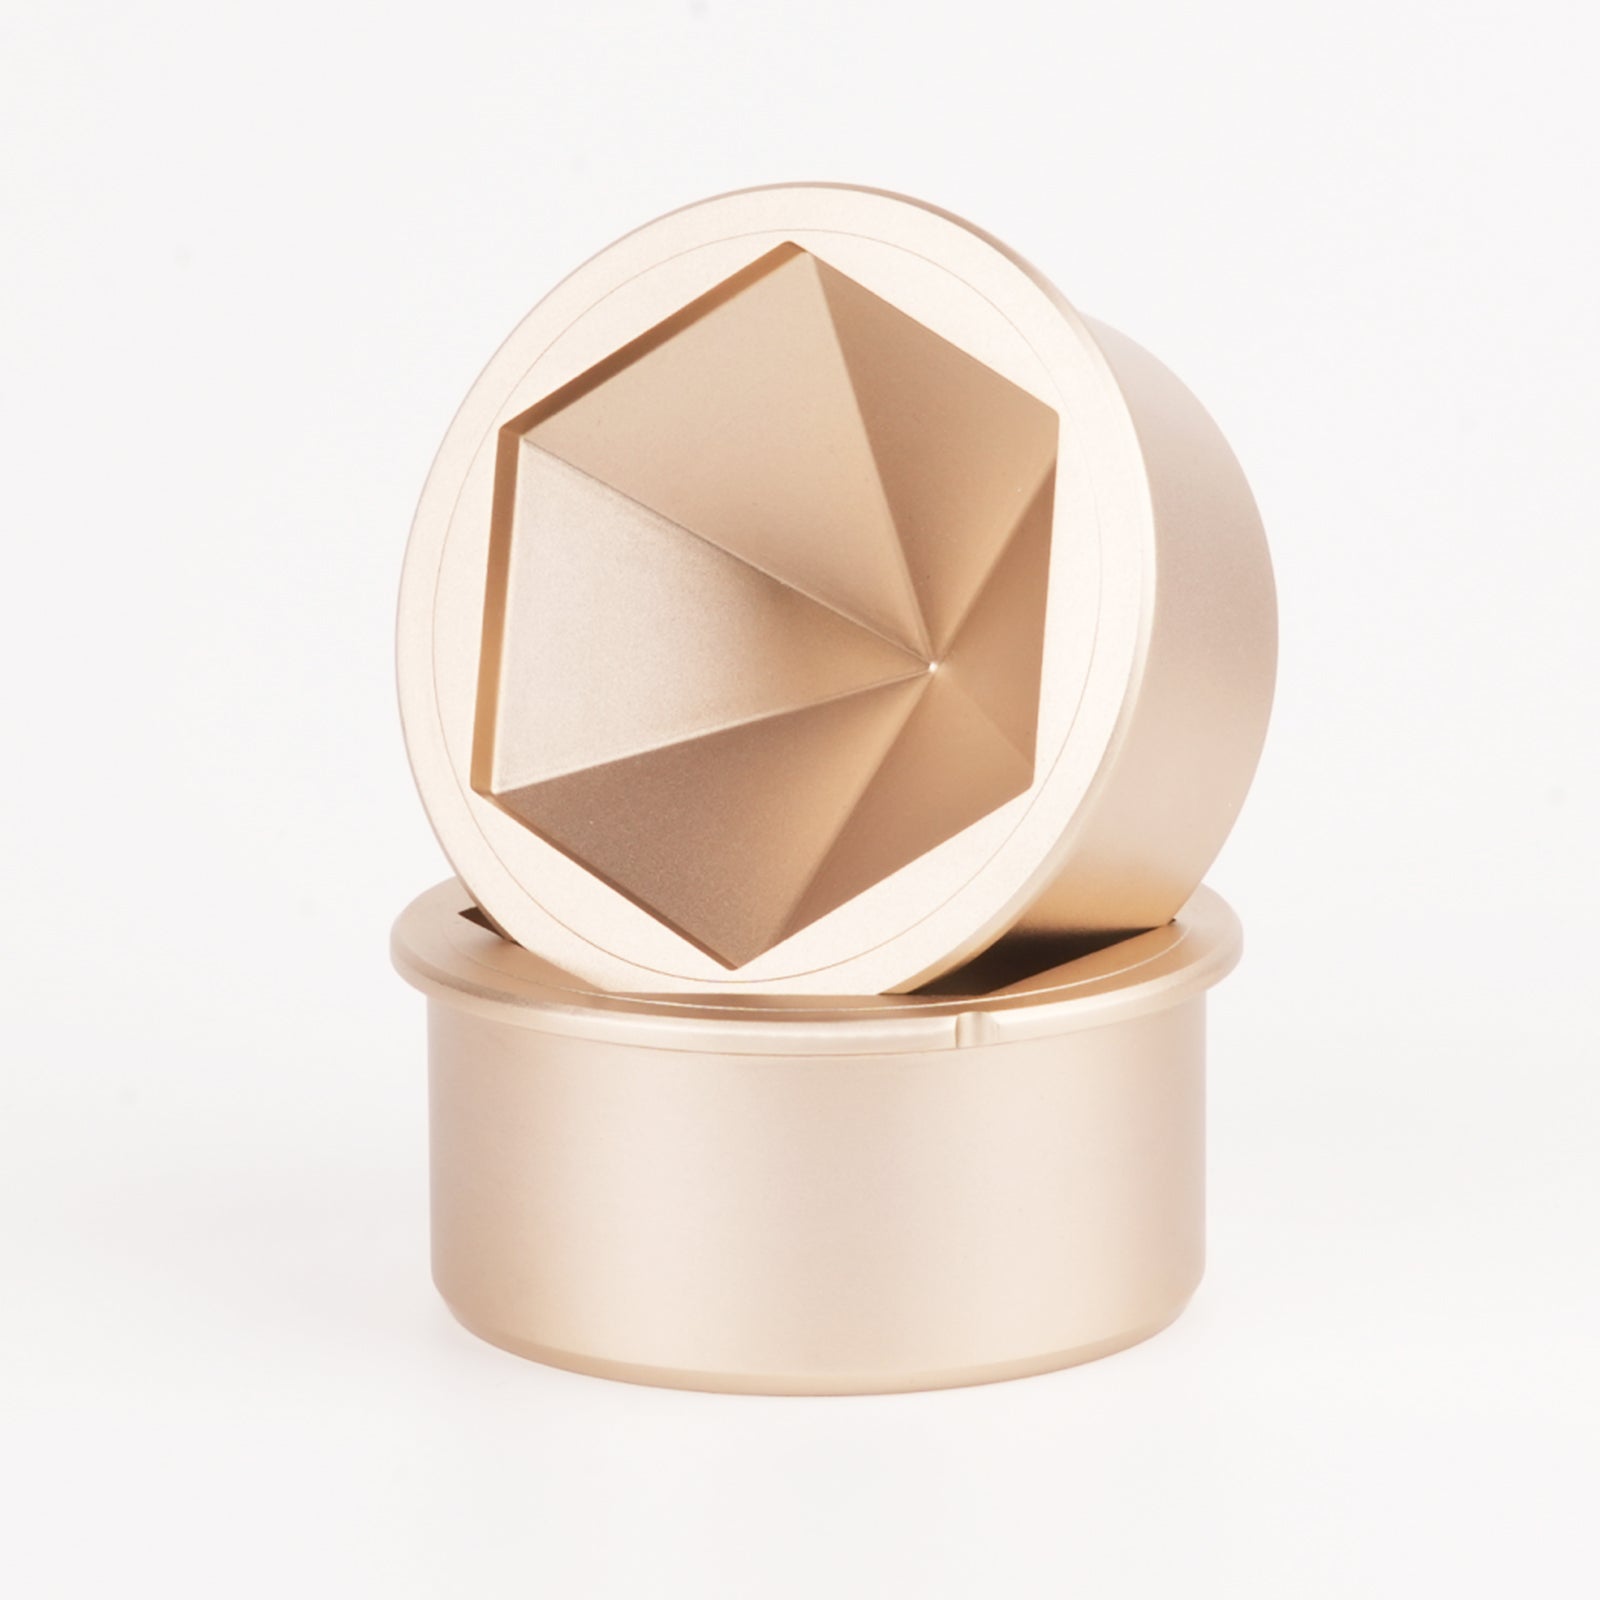
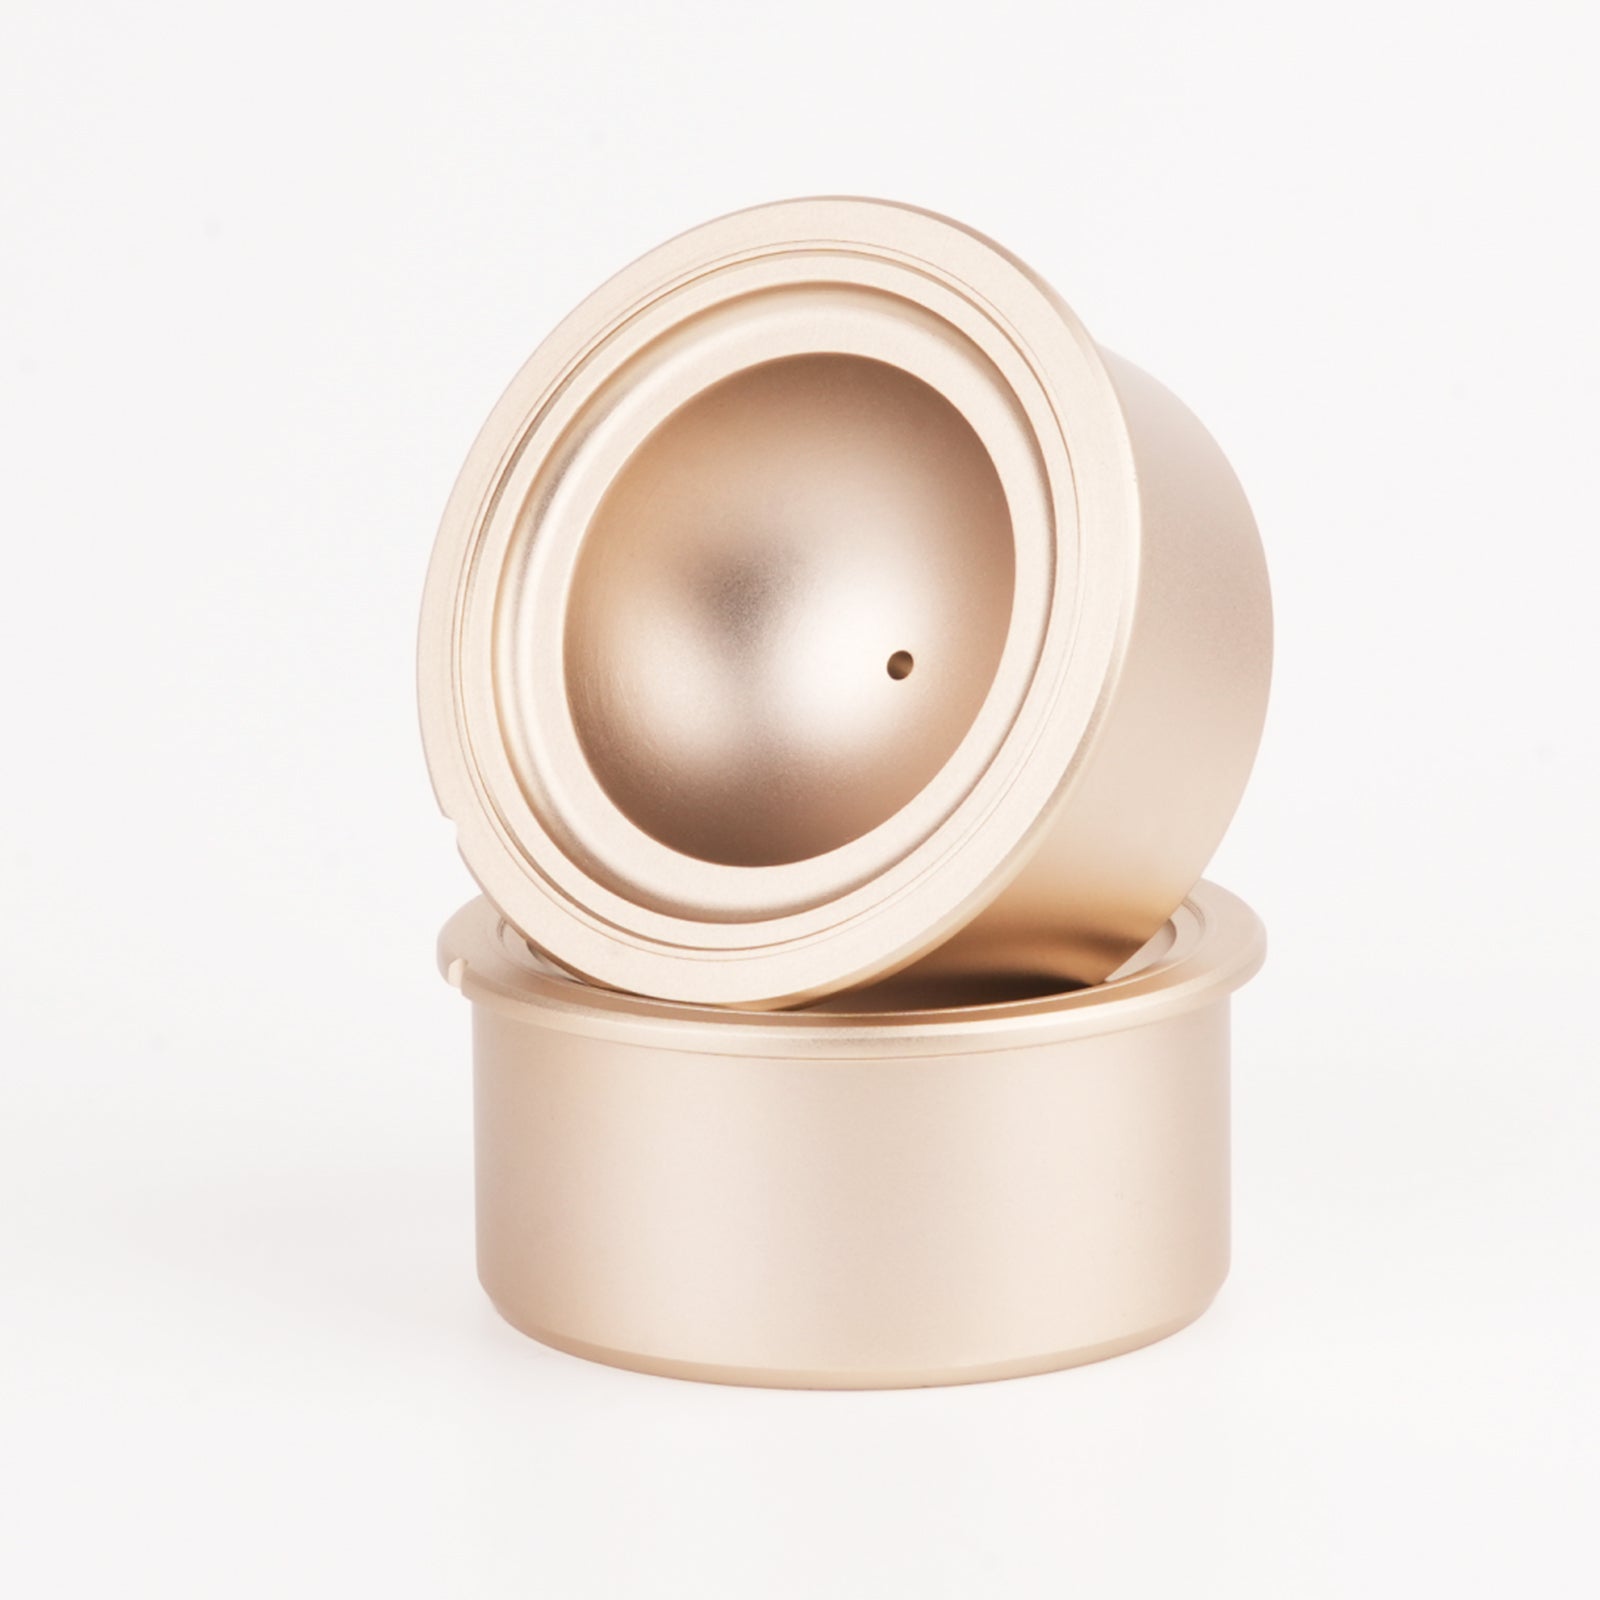
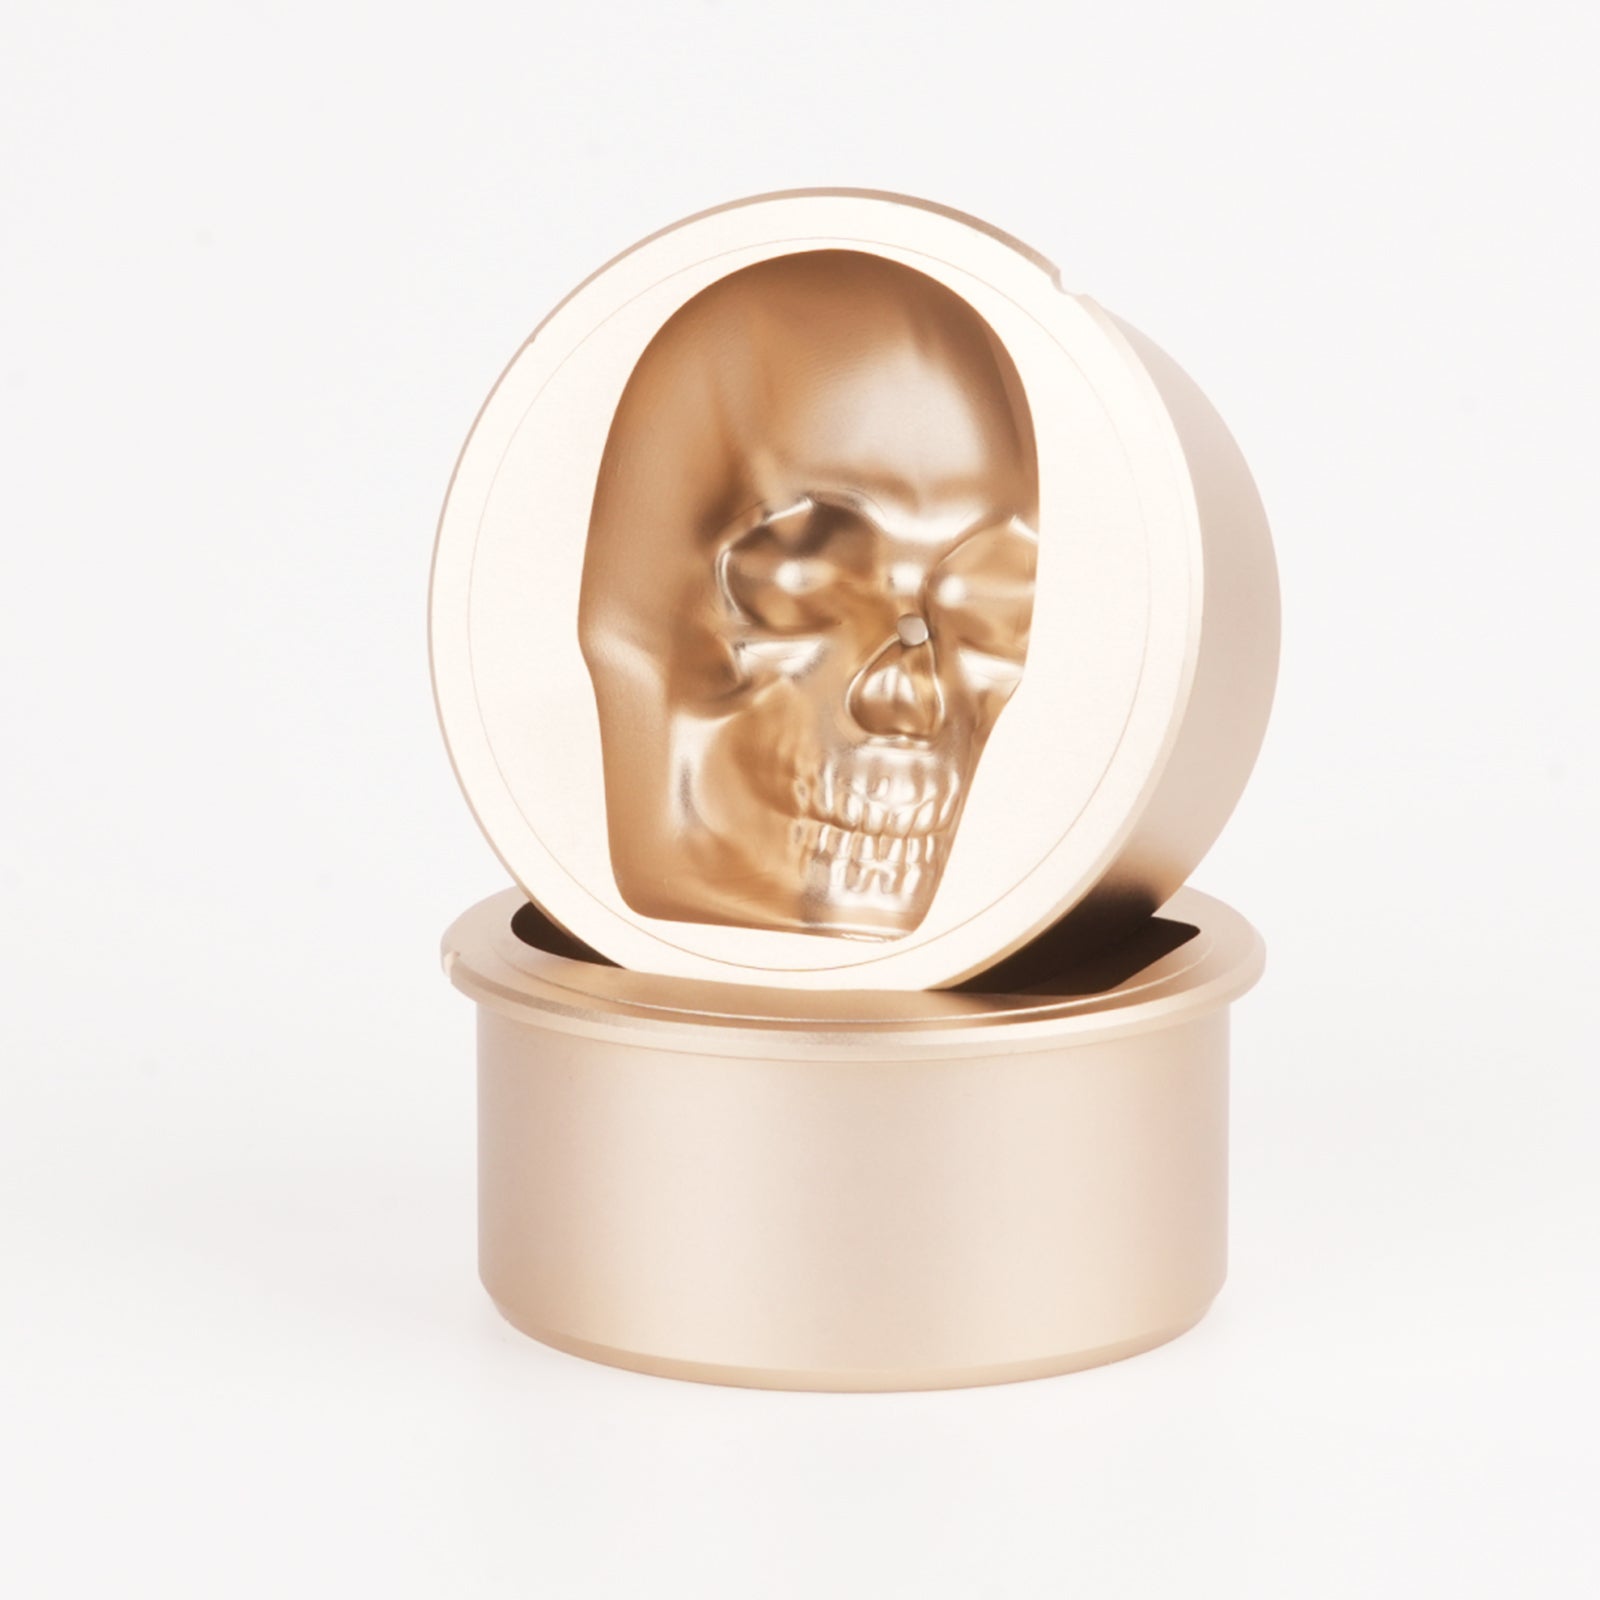
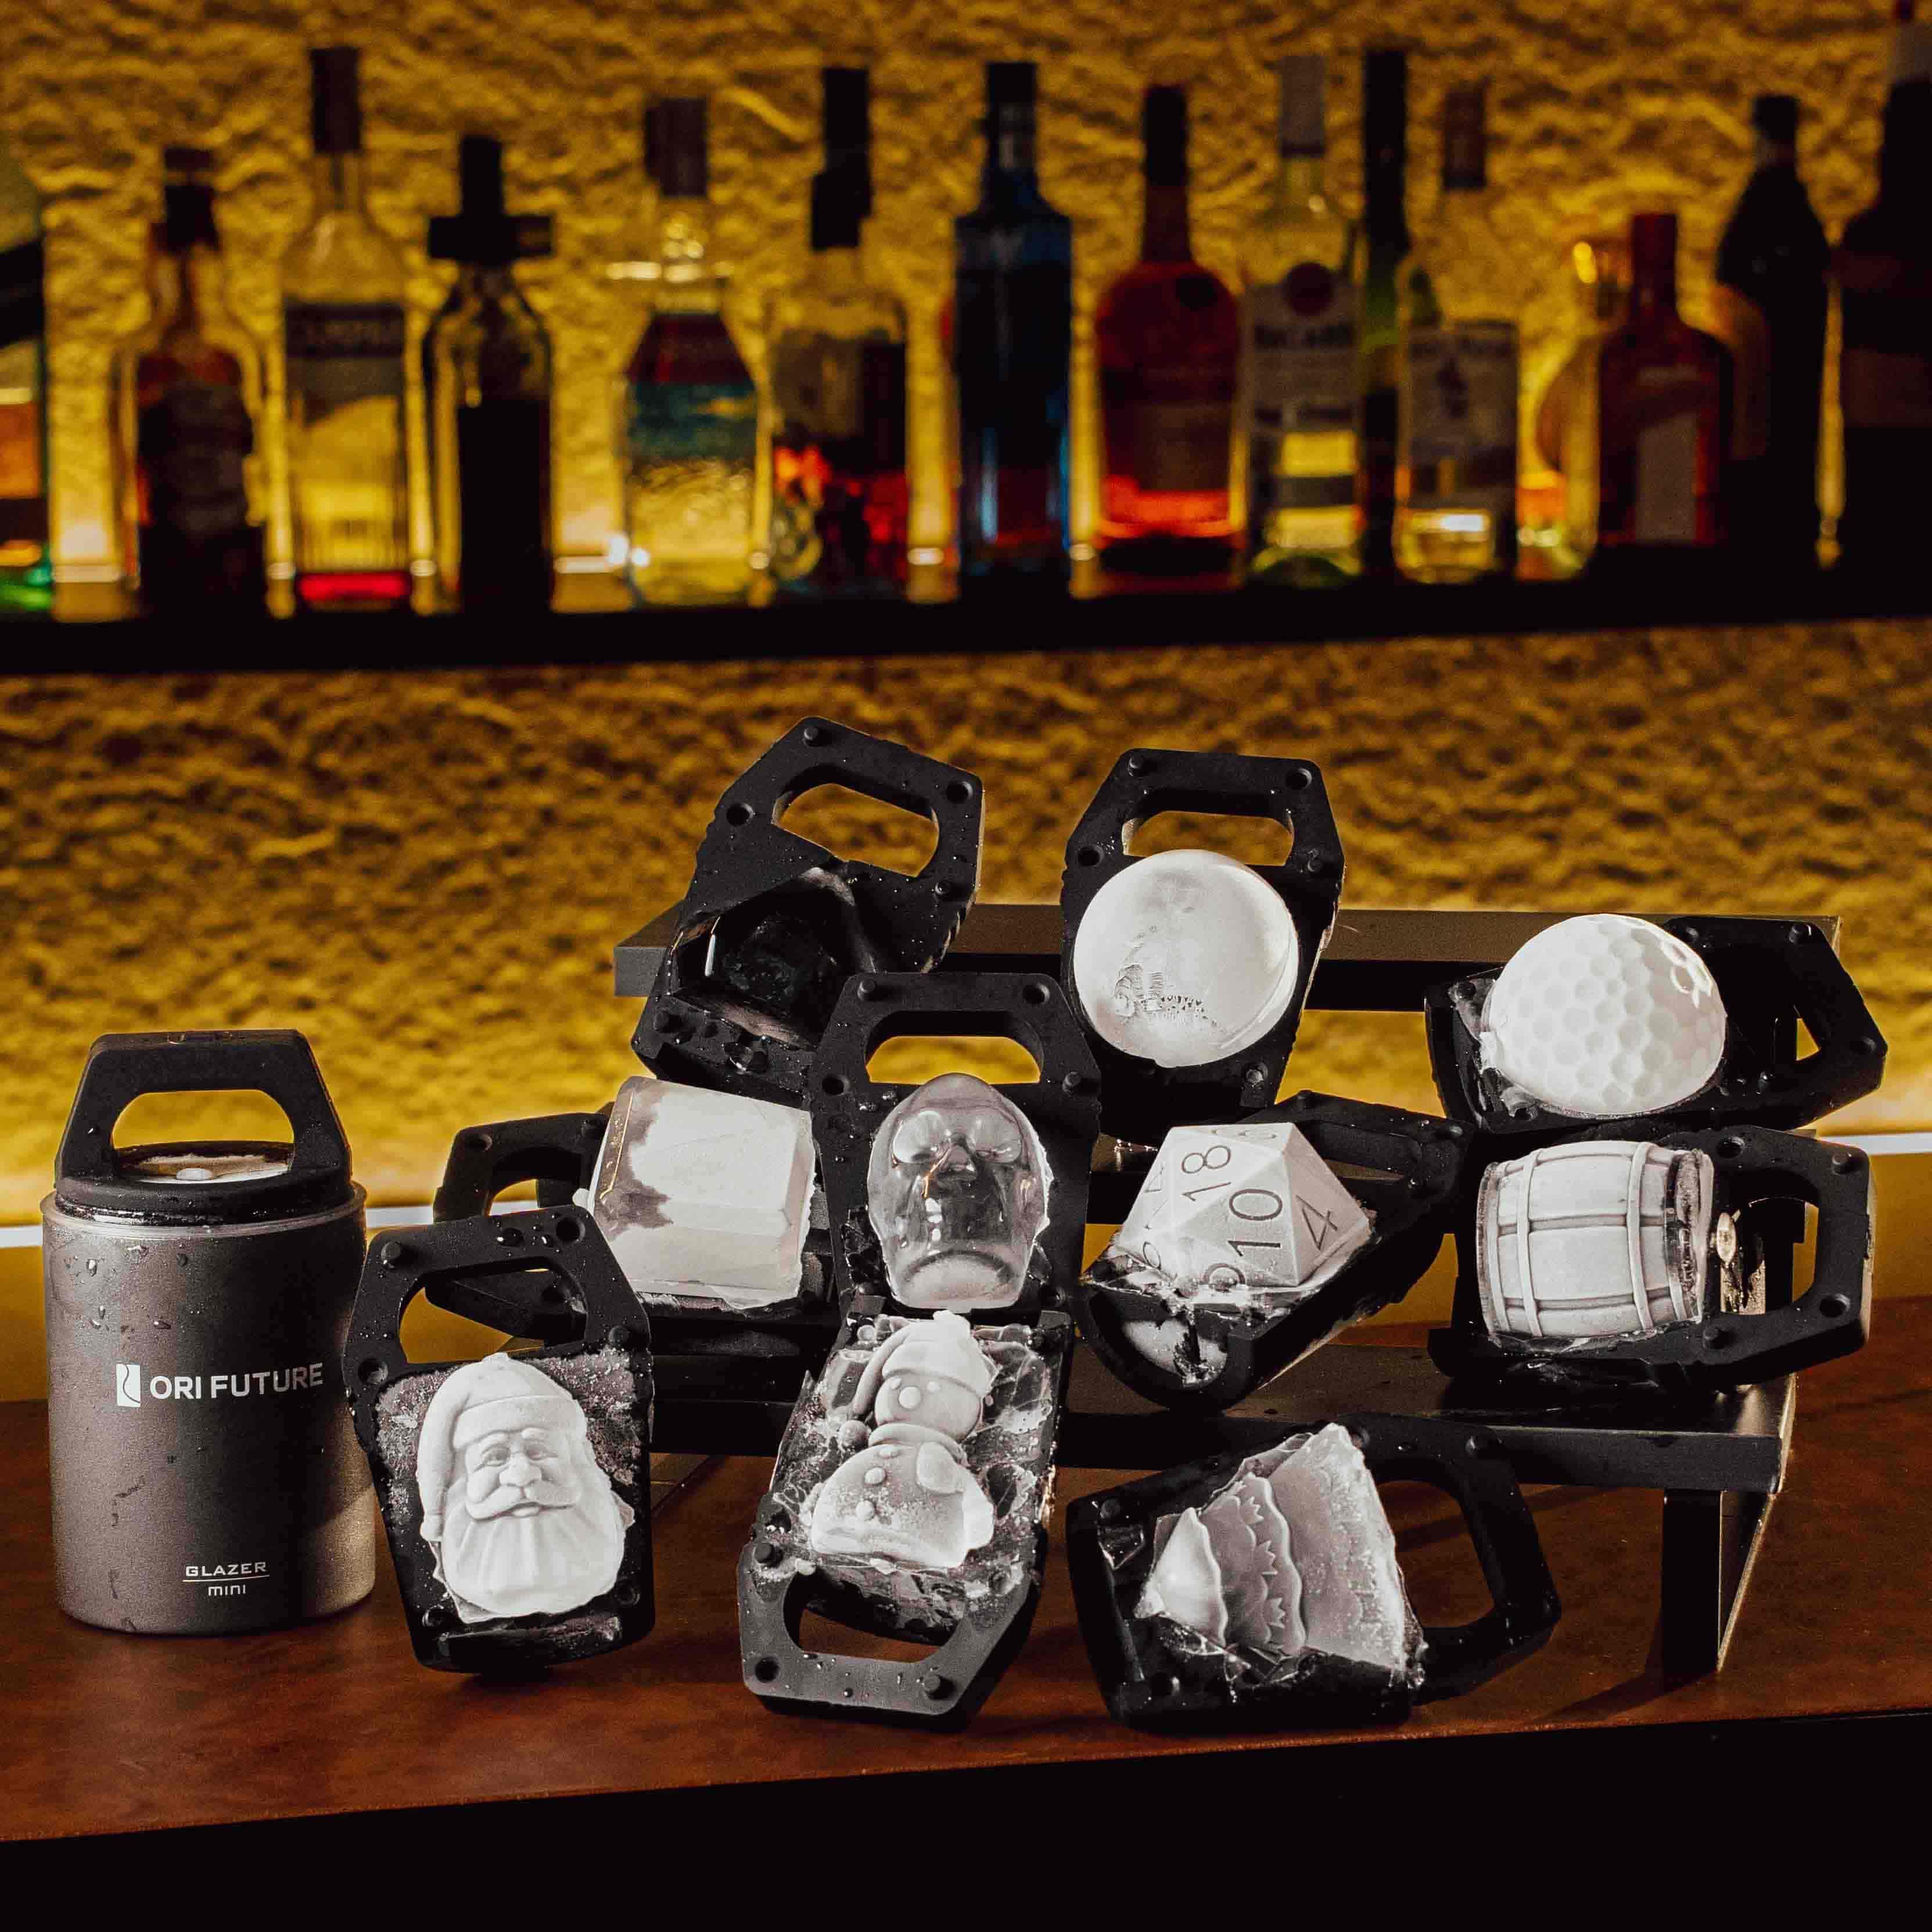
If you want to try something fun, pick a unique mold shape. The glazer mini lets you choose from spheres, cubes, diamonds, D20s, boats, and even skulls. Each shape looks amazing and stays clear when you follow these steps.
Freezing Time & Temp
Now it’s time to freeze your ice. Place the clear ice maker in your freezer. Set the temperature to the coldest setting. Most freezers work best at 0°F (-18°C). Leave the mold in for 18 to 24 hours. This slow freezing process uses directional freezing technology. It pushes air and impurities away from the ice as it forms, so you get crystal-clear ice every time.
-
Directional freezing controls how ice forms.
-
Impurities move away from the freezing front.
-
Air bubbles get pushed out, leaving only clear ice.
When the time is up, take the glazer mini out of the freezer. Remove the release cup and pop out your ice. You’ll see how clear and beautiful it looks. Try different shapes for parties or special drinks. Each one brings a new look to your glass.
|
Shape |
Clarity Level |
Best For |
|---|---|---|
|
Sphere |
High |
Whiskey, cocktails |
|
Cube |
High |
Iced coffee, soda |
|
Diamond |
High |
Fancy drinks |
|
D20 |
High |
Game night |
|
Boat |
High |
Summer parties |
|
Skull |
High |
Halloween, fun |
With your glazer mini, you can make clear ice that stands out. The clear ice mold gives you options for every occasion. Your drinks will look professional, and your guests will notice the difference.
Pro Tips for Clear Ice

Want your clear ice to look flawless every time? You can use a few advanced tricks to make your ice shine. These tips help you get the most out of your glazer mini and make your drinks look amazing.
Avoid Air Bubbles
Air bubbles can ruin the look of your clear ice. You can stop them with a few simple moves:
-
Pour water gently into your clear ice mold. Fast pouring traps air.
-
Use distilled or boiled water. This keeps bubbles and impurities away.
-
Freeze your water slowly. Lowering your freezer’s temperature gives bubbles time to escape.
-
Try boiling distilled water once or twice. Let it cool before pouring. This removes dissolved air and makes your ice even clearer.
If you follow these steps, your glazer mini will give you ice that looks like glass.
Remove Impurities
Impurities make ice cloudy and change the taste. You want your clear ice to be pure and beautiful. Here’s how you can do it:
-
Use distilled water. It has no minerals or dissolved gases.
-
Boil your water before freezing. This kills bacteria and removes gases.
-
Let boiled water cool slowly. This helps impurities settle at the bottom.
When you use your clear ice maker with pure water, you get ice that looks and tastes great.
Store & Handle Ice
How you store and handle your clear ice matters. If you want your ice to stay clear and last longer, check out this table:
|
Factor |
Impact on Ice Quality |
|---|---|
|
Temperature Control |
Keeps ice clear and stops melting |
|
Humidity |
Can cause impurities to form |
|
Regular Cleaning |
Keeps ice free from dirt and germs |
|
Preventive Maintenance |
Makes your clear ice maker last longer |
Always use clean hands or tongs when you handle ice. Store your ice in a sealed container to keep it fresh. If you want to impress friends, try themed ice sets with your glazer mini. You can make skulls for Halloween or diamonds for fancy parties. The clear ice mold lets you create fun shapes for any event. These make great gifts, too!
Troubleshooting Clear Ice Maker
Even when you follow all the steps, you might run into a few bumps with your glazer mini. Let’s look at some common problems and how you can fix them.
Fix Cloudy Ice
Cloudy ice can sneak up on you. Here are some reasons why your clear ice might look cloudy:
-
Trapped air bubbles get stuck during freezing and make the ice look white.
-
Minerals like calcium and magnesium in your water can cause cloudiness.
-
Cracks in your ice cubes can make them look less clear.
-
Small ice cubes often have more air bubbles.
-
Freezing water too fast traps air and impurities.
You can get clearer ice by using filtered or distilled water. Pour the water slowly into your clear ice mold to keep bubbles out. The glazer mini uses directional freezing, which pushes air and minerals away from the ice as it forms. This method copies how lakes freeze in nature. If you still see a cloudy bottom, trim it off after freezing and keep the clear top.
Prevent Sticking & Breaking
Sometimes your clear ice sticks to the mold or breaks when you try to remove it. Here’s how you can avoid that:
-
Let the clear ice mold sit at room temperature for a few minutes before you try to take the ice out.
-
Use the plastic release cup that comes with the glazer mini. It helps the ice slide out easily.
-
Don’t use hot water or force the mold open. This can crack your clear ice.
Tip: Always handle your clear ice with care. Use tongs to keep it looking perfect.
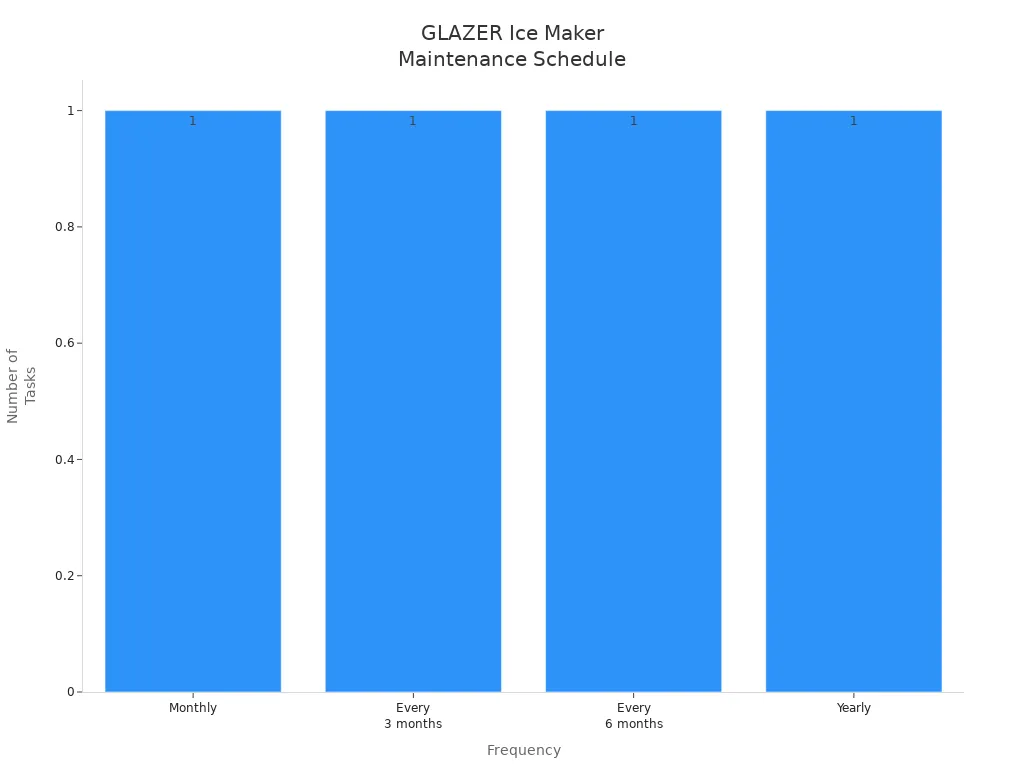
Maintenance Reminders
Keeping your clear ice maker clean and well-maintained helps you get great results every time. Here’s a simple schedule you can follow:
|
Frequency |
Maintenance Task |
|---|---|
|
Monthly |
Clean the ice bin and check water lines |
|
Every 3 months |
Replace water filters |
|
Every 6 months |
Deep clean all components |
|
Yearly |
Professional inspection and maintenance |
You should also make sure there is enough space around your glazer mini for air to move. Clean the clear ice mold with a food-safe cleaner. Check the water flow if you notice any changes in ice quality. Regular care keeps your clear ice sparkling and your drinks looking amazing.
You can make great clear ice at home with the glazer mini. Just use clean water, chill it first, and wash your mold often. Clear ice looks cool in drinks and feels fancy. Try making different shapes or themed sets to wow your friends.
When you post your ice online, you can give others ideas and make your parties more fun.
-
Clear ice melts slower, keeps drinks tasting good, and makes your home bar special.
-
The glazer mini is small, so it fits anywhere and lets you make each drink your own.