

How to Prevent Cloudy Ice in Your Freezer
You open the freezer, grab a scoop of ice, and stop. The cubes look white and cloudy. Not what you wanted for your drink.
Here is the good news. Trapped air and minerals cause that haze. You can fix it with a few simple changes. Start with better water. Slow down the freezing process. Give your freezer a little care.
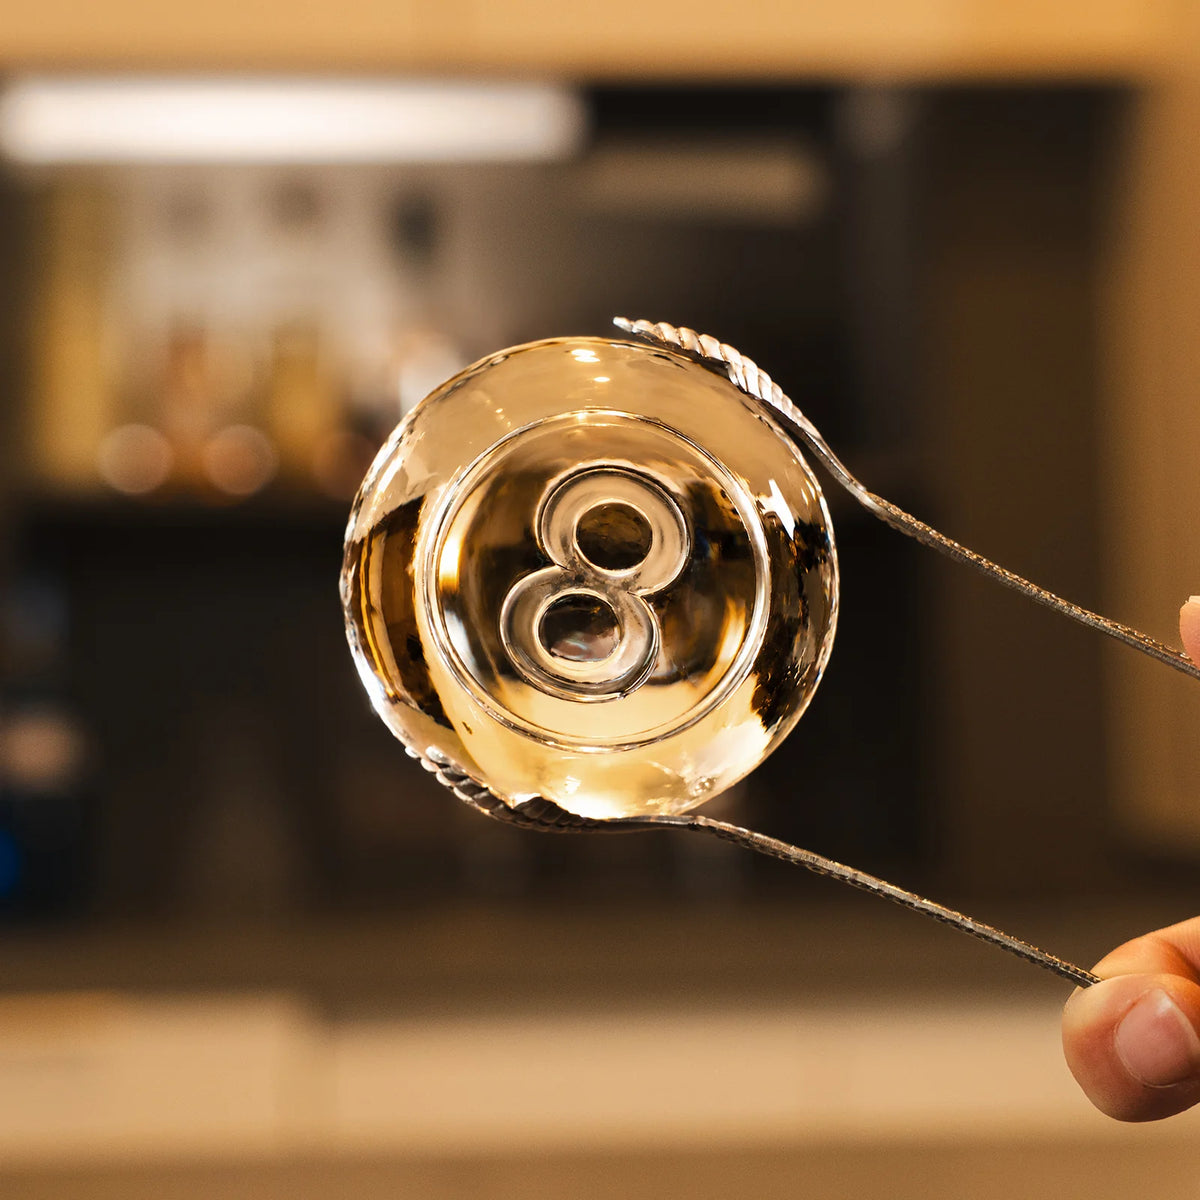
The payoff is worth it. Crystal clear ice looks stunning in the glass. It tastes cleaner too. Best of all, it melts slower, so your drink stays cold without getting watered down. You might even think about giving it as one of those thoughtful bourbon christmas presents. Once you see clear ice, you will never go back to cloudy cubes again.
Key Takeaways
Use distilled or filtered water to get rid of minerals and gases that make ice cloudy.
Use directional molds and keep your freezer at 0°F to 5°F to slow down freezing.
Keep your freezer clean and tidy so smells don't get into your ice.
Clear ice tastes better and melts slower. It keeps your drinks cold without watering them down.
Try one change at a time, and soon you will enjoy clear ice at home.
Why Ice Turns Cloudy
Trapped Air and Minerals
Your tap water is not just water. It holds dissolved gases and tiny bits of minerals. Calcium and magnesium are the usual suspects. According to Huemann Water Conditioning, hard water areas carry high levels of these minerals. As the water freezes, they concentrate in the center of the cube. The result? A white, hazy look you can spot from across the room.
Cloudy ice is mostly about what gets trapped during freezing. Tap water contains dissolved gases plus minerals like calcium and magnesium. When water freezes quickly, those gases and minerals have less time to separate out. Tiny air bubbles and mineral pockets end up sealed inside the cube, and light scattering makes the ice look hazy.
Memphis Ice explains it well. These minerals separate from the water molecules and form solid particles inside the ice. Those particles scatter light, just like air bubbles do. That scattering is what steals your ice clarity. The good news? This is normal, and you can fix it.
The Fast-Freeze Problem
Most freezer trays freeze water way too fast. The outer shell turns solid in minutes. Air bubbles and mineral impurities get locked in the middle before they can escape. You end up with a cloudy core every single time.
The entrapment of impurities in ice changes with the rate of freezing and ensuing adhesion strength increases as the cooling temperature decreases.
A slow freeze gives those impurities time to move out. A fast freeze traps them right where they are. That is the whole game. You do not need a science lab to improve clarity. You just need to slow things down. Once you understand this, you are already on your way to clear ice at home.
Start With Better Water
The quickest way to get clearer ice begins at your faucet. The quality of your water decides how clear your freezer can make it. Fix the water first, and all the other steps become simpler.
Filtered or Distilled Water
You may believe any pitcher filter will fix this. It will not. Here is the problem.
Activated carbon (AC) does not remove hardness minerals, specifically calcium and magnesium, along with bacteria, nitrate-N, fluoride, chloride, and most metal ions.
So your normal carbon filter helps with taste and smell. It still leaves the hardness minerals in the water. Those minerals are the exact thing that makes your ice cloudy.
Standard carbon water filter cartridges are generally not designed to remove magnesium from water or significantly reduce calcium concentrations.
Refrigerator filters, pitcher filters, and standard carbon systems are rarely designed for removing calcium from water; they may improve taste and odor while leaving hardness minerals largely unchanged.
A carbon filter may improve taste but not hardness; a sediment filter may remove particles while leaving dissolved minerals untouched.
So what really works? Distilled water. It takes out almost everything that is dissolved in the water.
"Normal" TDS for tap water is much different than "Normal" for distilled water which is 0 – 5 ppm. ... The United States EPA has a secondary (unenforceable) standard of 500 ppm.
Fresh distilled water usually has a TDS close to zero. That number barely changes even after it sits in an open container. Distilled water is seen as the purest form of water you can drink.
Water Type |
TDS Level (ppm) |
|---|---|
Distilled water |
0.5 or less (ideal: 0) |
Bottled water |
16 to 300 |
Typical tap water (EPA secondary standard) |
500 |
If you want clean ice without buying lots of distilled water, a reverse osmosis water filtration system removes those mineral impurities right at home. Either way, begin with filtered water that has low dissolved solids. This one change will boost clarity more than any other step.
The Boiling Trick
Boiling pushes dissolved gases out of the water. Fewer gases means fewer bubbles get stuck in your cubes. You can boil once, let it cool, and then freeze it. For even better results, try the double-boiling method: boil, cool, boil again, then freeze.
Here is a tested method using mason jars and a pressure cooker or boiling water bath.
Fill mason jars with filtered water, leaving about 1 to 1.5 inches of headspace, and place lids and rings on only "finger tight."
Set the jars in a water bath inside the cooker.
For an electric pressure cooker (e.g., Instant Pot), run it for at least the 8-minute automatic cycle; for traditional canning at atmospheric pressure, boil for roughly 20 minutes to ensure the water inside the jars reaches the full boiling point.
After cooking, release any remaining pressure, remove the jars, and fully tighten the bands.
Allow the jars to cool so the steam in the headspace condenses, creating an internal vacuum that seals the lids; the vacuum is believed to help remove remaining dissolved air.
Leave the jars sealed overnight before freezing the water the next day (optional but habitual).
The key factor is that after boiling, the mason jars are sealed and form an internal vacuum during cooling, which produces clear ice with reduced cloudiness.
Boiled tap water works really well with directional freezing molds. Those molds push the leftover mineral impurities to one side while the water freezes. Pair boiled water with a slow freeze, and you get the best results your home freezer can give.
Slow Down the Freeze
Speed works against you here. A fast freeze traps everything in the middle of your cube. A slow freeze gives those impurities a chance to escape. You already cleaned up your water. Now you need to control how it freezes.
Directional Freezing at Home
Think about how a pond freezes in winter. Ice forms at the top first. It grows downward in one direction. That is directional freezing in nature.
Your freezer works differently. It blasts cold air from every side at once. Ice crystals form on the top, bottom, and edges of your tray at the same time. As it freezes inward, dissolved gases and minerals get trapped in the center. That is your cloudy core.
Directional freezing solves this problem. You cover most sides of the water. You leave one side open to the cold. Ice grows from that single direction. The freezing front pushes air bubbles and minerals ahead of it. By the time the whole block freezes, the impurities sit at one end. You cut off that end, and you get clear ice.
The science behind this is solid. The partition coefficient for salts like sodium chloride during ice formation is close to zero. That means the ice lattice pushes out salts almost completely. They stay in the liquid water. The freezing front moves at a steady rate, usually between 0.01 and 0.1 mm/s for better exclusion. Slower rates give higher purity. Vertical top-down freezing gives the lowest salt in the ice compared with bottom-up or radial approaches.
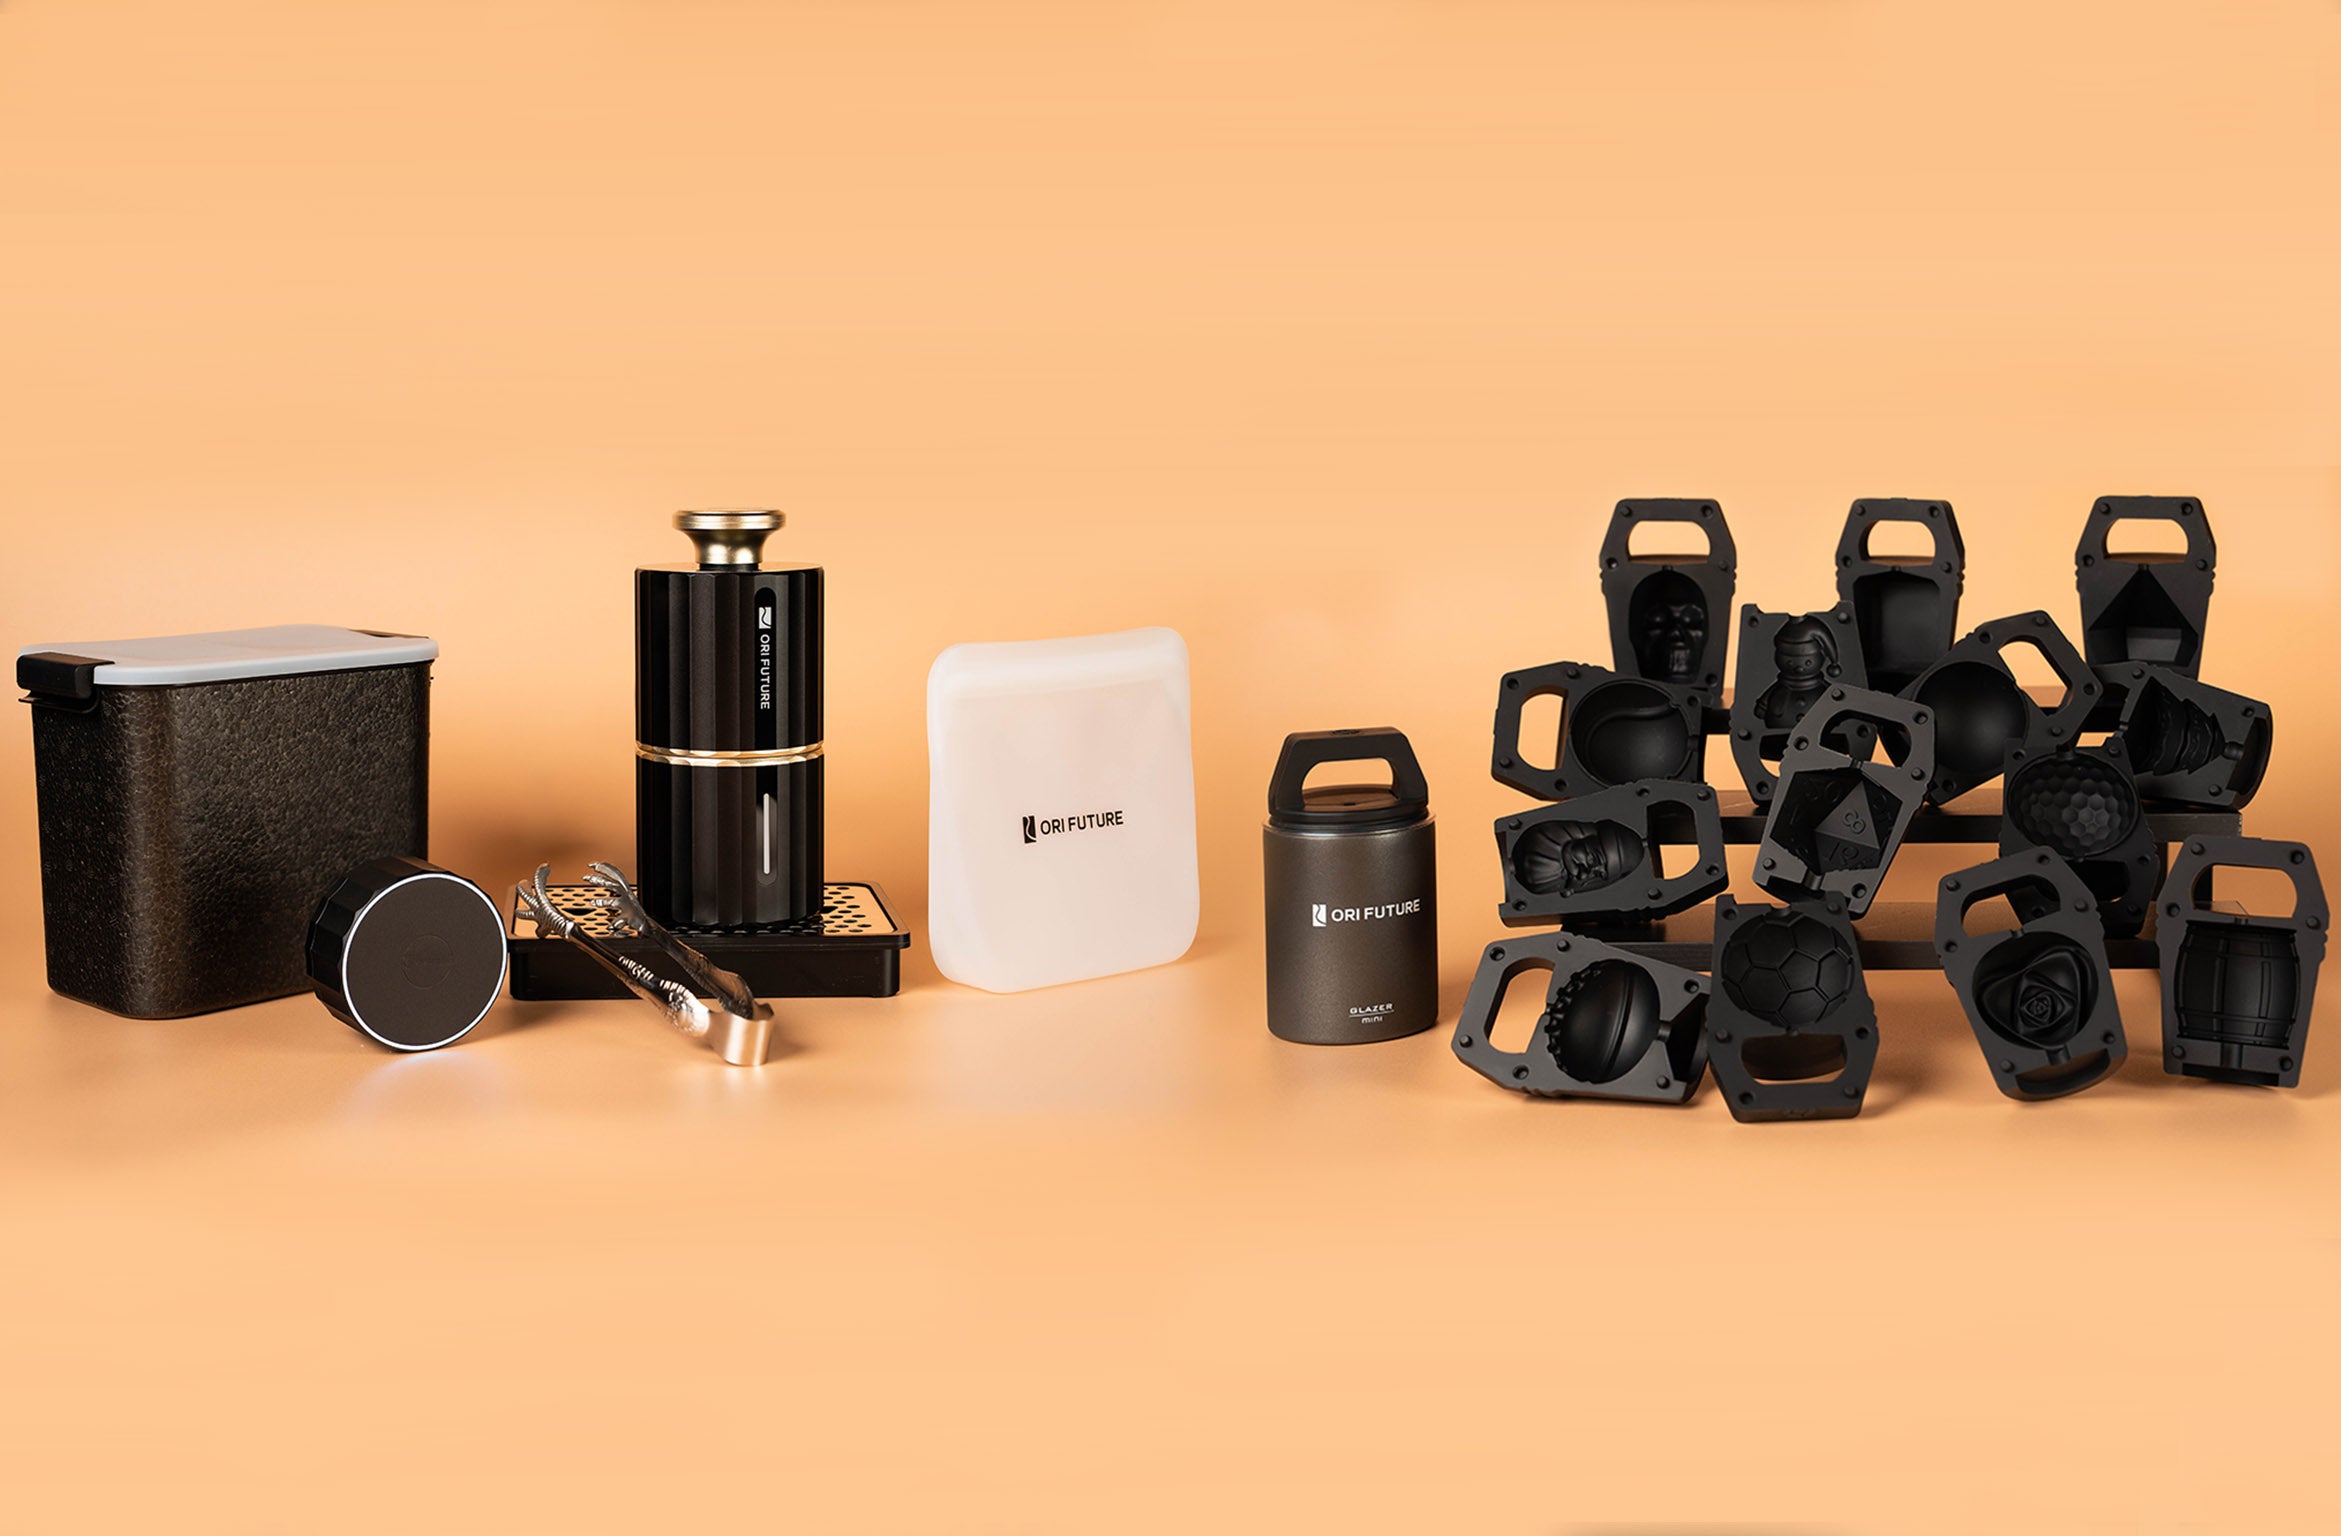
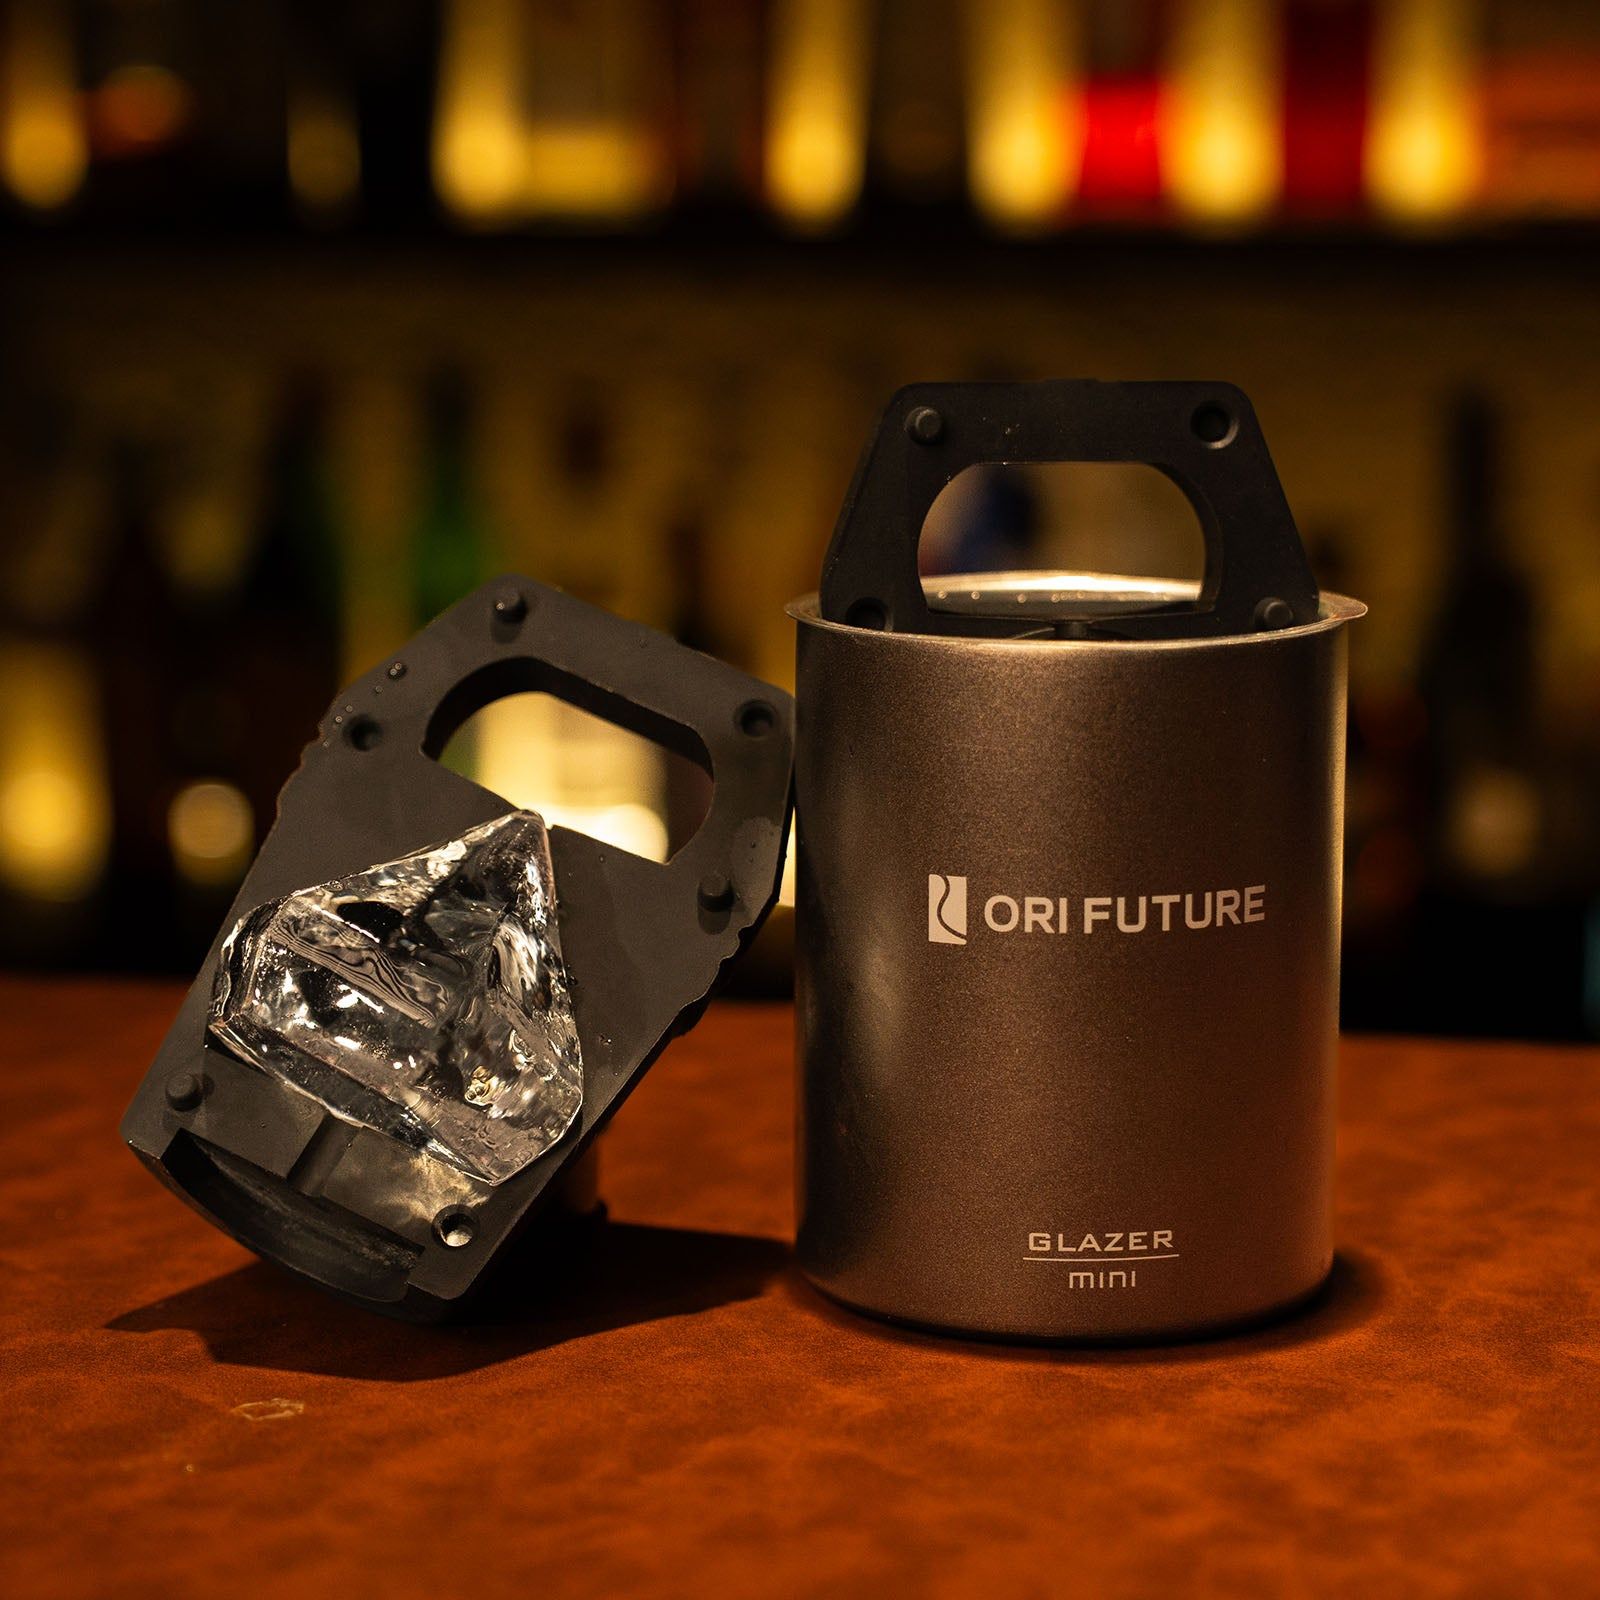
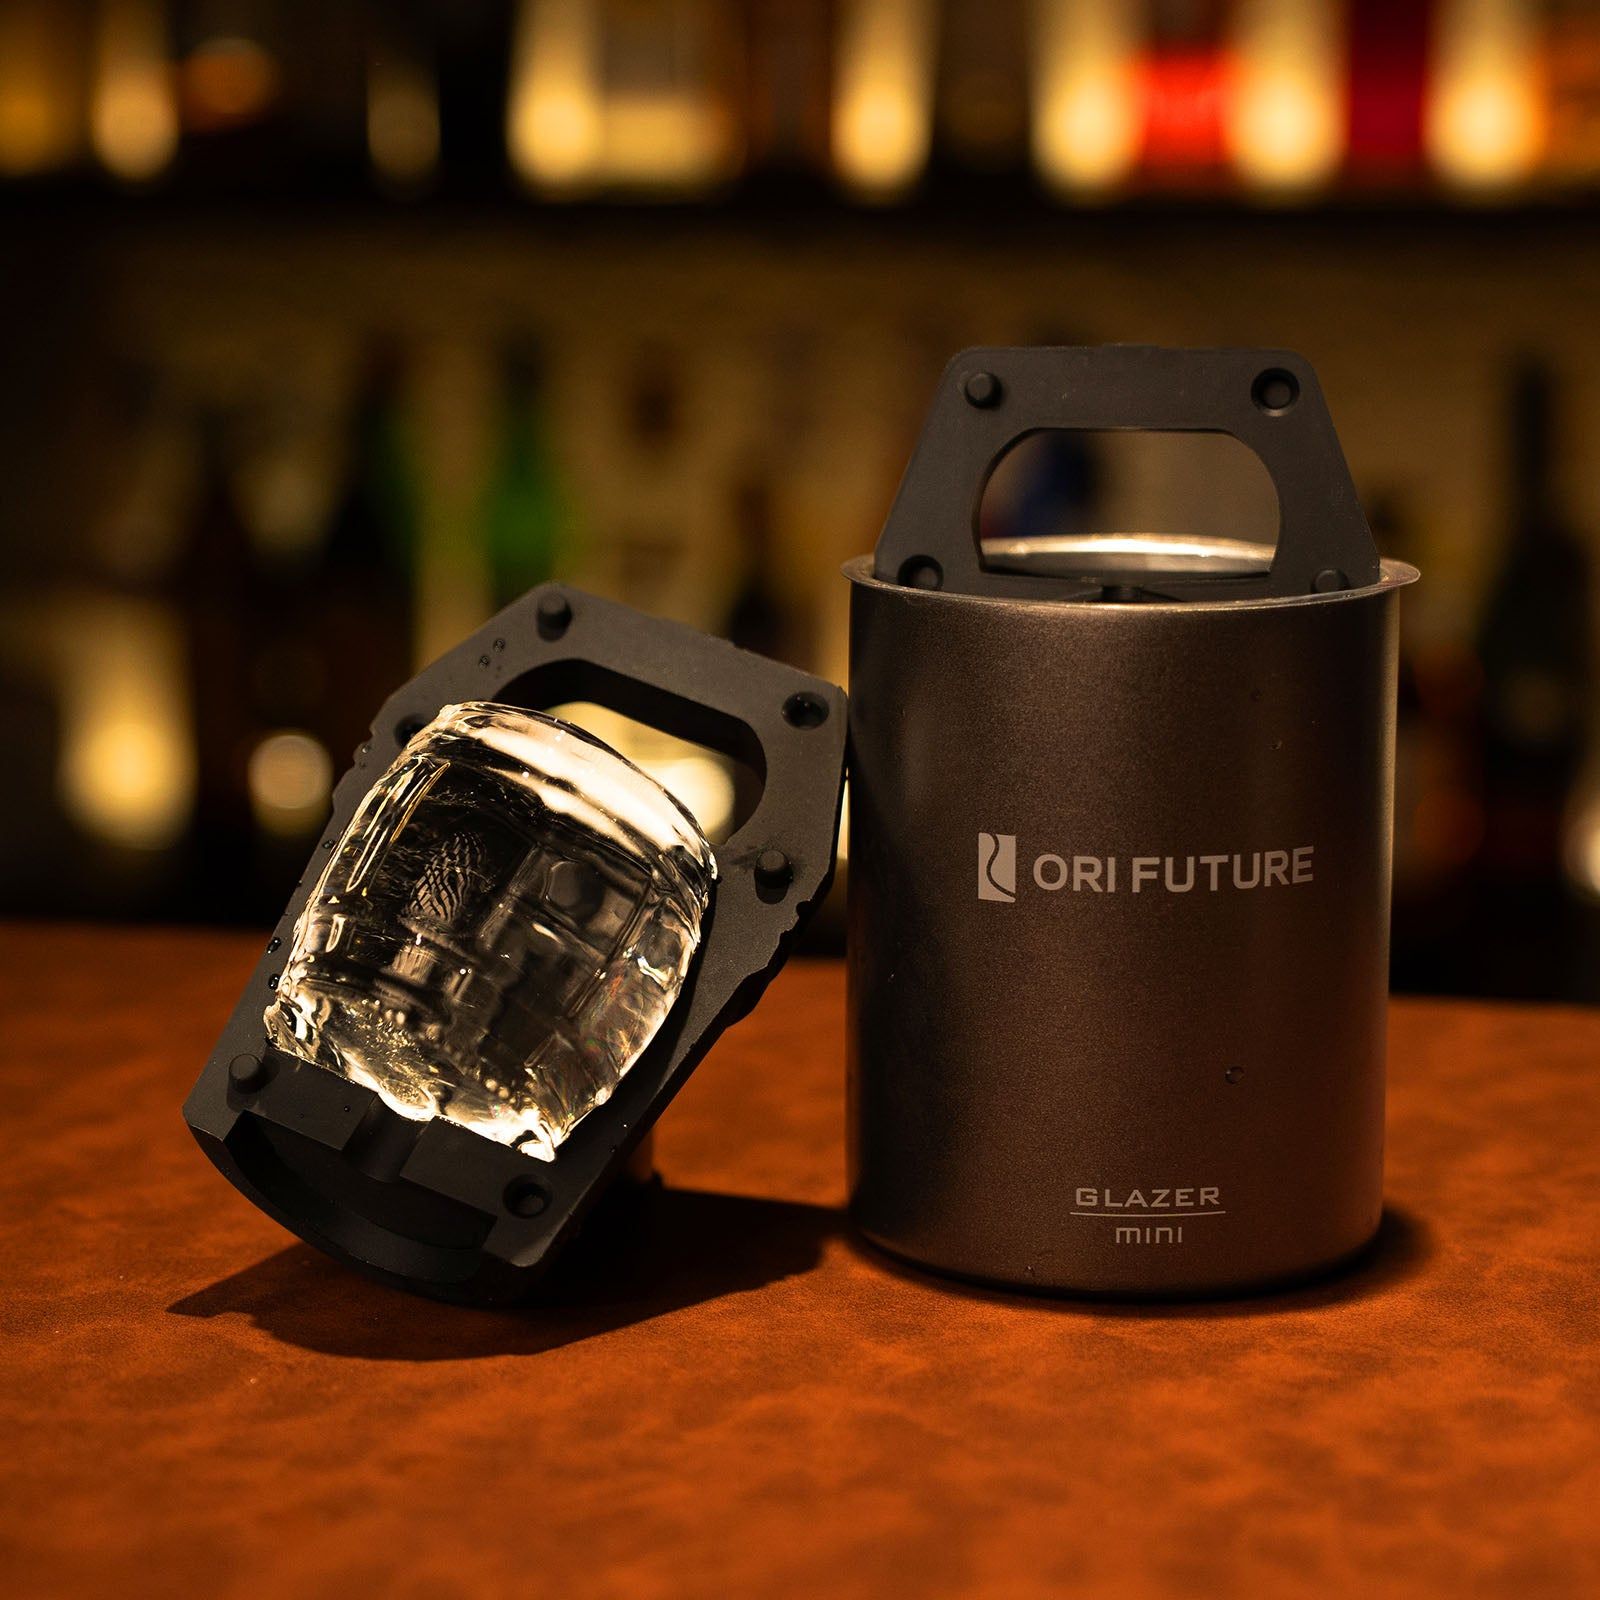
You can do this at home with the right tool. The ORI Future GLAZER mini Classic Ice uses a patented slow-freeze process. It pushes air and impurities away from the serving shape. What stays is a pure, dense center. The mold has a food-grade stainless steel body. This material works better than traditional foam by giving good insulation for efficient directional freezing. The BPA-free silicone core and included plastic liner make ice removal easy. No tapping, soaking, or hot water needed. Just lift the ice out cleanly and refill.
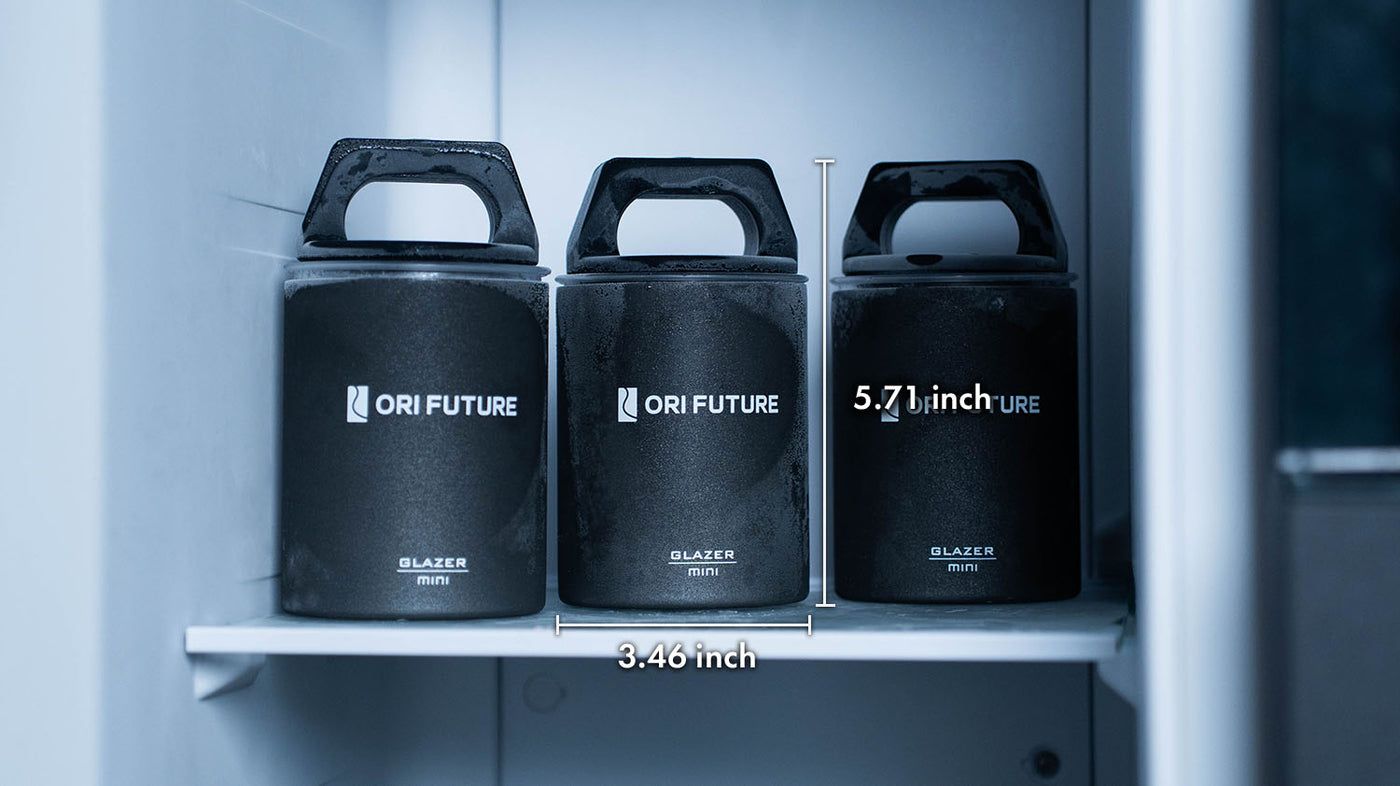
The GLAZER mini has a small footprint of about 3.5 by 6 inches. It fits neatly into any freezer without clutter. The quick-release system leaves no ice residue. Cleaning is as simple as rinsing under the tap. Solid, leak-proof design resists freezer odors and wear. You get a 12-month warranty with your purchase.
You can pick from several sleek shapes. Options include Ball, Cube, Diamond, and Barrel. Each shape is precision-molded to fit standard glasses. For fans, curated sets offer variety. The Whiskey Lover Set includes Barrel, Ball, and Cube. The Signature Mix combines Diamond, Ball, and Cube. The Ultimate Collection gives all 14 shapes. Customer reviews point to consistent results. Users report perfectly clear cubes that last through two drinks without watering down. They also say the ice is easy to release, even for kids. You can use boiled tap water for best clarity with these molds.
Adjusting Freezer Temperature
Your freezer temperature plays a big role in ice clarity. Most freezers run too cold. That speeds up freezing and traps impurities. You want to slow things down just a bit.
The best range for making clear ice cubes is 0°F to 5°F (-18°C to -15°C). This range also helps save energy. A setting around 0°F (-18°C) works well for best clarity. Here is how different temperatures affect your ice.
Freezer Temperature Setting |
Impact on Ice Transparency |
|---|---|
Too high (above 5°F / -15°C) |
Ice may be soft and cloudy; slower freezing leads to smaller or cloudy ice cubes |
Best range: 0°F to 5°F (-18°C to -15°C) |
Gives clear, solid ice efficiently |
Too low (below 0°F / -18°C) |
Can cause hard, brittle ice or cloudy ice due to rapid freezing |
You should stay away from "super freeze" settings. These speed up freezing and cause cloudiness. A slightly warmer temperature helps slower, more directional freezing. This lets dissolved solids and air bubbles get pushed out before water freezes. Keeping a steady temperature in the best range also stops too much frost from building up.
Small changes make a big difference. Try setting your freezer to 0°F (-18°C) and see what happens. You might notice an immediate improvement in your ice clarity. This one change costs you nothing. It just needs a quick trip to your freezer dial.
Pair a slower freeze with directional freezing molds. Use boiled tap water for best results. These three steps together give you the best chance at crystal clear ice from your home freezer. You do not need special equipment beyond a good mold and a little patience.
Maintain Your Freezer
Clean and Organize
Your freezer is not just a cold box. It is a shared space. Every food item inside releases molecules into the air. Ice acts like a sponge for those molecules. Strong-smelling foods like garlic, onions, fish, and cheese release volatile compounds. These molecules can migrate into your ice over time. They slip through small gaps and even through the air bubbles inside cloudy cubes. That is how your ice picks up a weird taste. Airtight storage is your best defense against this problem.
A clean freezer also protects your ice quality. Wipe down shelves and drawers every week. This simple habit stops spills and crumbs from building up. Use an open container of baking soda to absorb odors. Replace an activated charcoal pack every month. It pulls moisture and smells from the air. Give your freezer a deep clean every few months. Scrub the hard-to-reach areas with disinfectant. These steps keep the air fresh and your ice tasting clean.
Method |
Recommended Frequency |
|---|---|
Open container of baking soda |
Not specified |
Activated charcoal pack |
Replace every month |
Wiping down shelves and drawers |
Weekly |
Deep clean |
Every few months |
Your ice trays need attention too. Wash them regularly with warm water and mild dish soap. Scrub each compartment with a soft sponge. Rinse them thoroughly with hot water. Let them air dry completely before you refill them. For odors or stains, mix baking soda with water to form a thick paste. Scrub the paste into the tray with a toothbrush. Let it sit for 15 to 20 minutes, then rinse well. For hard water film, soak the trays in equal parts distilled white vinegar and warm water for 30 to 60 minutes. This soak dissolves mineral deposits that cause cloudy ice.
Avoid Overfilling Trays
Do not cram your freezer full. Air needs to move around your trays. When you pack everything tight, cold air cannot circulate evenly. Your water freezes at different rates on each side. That uneven freezing traps air and minerals in the center of your cubes. Leave a few inches of space around each tray. This small change helps your water freeze slowly and from one direction. You get clearer ice with less effort.
Overfilling also causes spills. Water expands as it freezes. If you fill a tray to the very top, it overflows into your freezer. That mess creates frost and ice crystals on every surface. It also wastes water and makes cleanup a chore. Fill your trays to the recommended line. Give the water room to grow. Your freezer stays cleaner, and your ice comes out better every time.
Why Crystal Clear Ice Matters
Better Taste and Purity
You already know clear ice looks better. But the real upgrade happens in your glass. Clear ice is free of impurities. That means no minerals, no sediments, and no trapped gases. When you drop a cube into your whiskey, nothing interferes with the spirit. The natural flavors come through without any unwanted tastes. Cloudy ice does the opposite. It carries chlorine, air pockets, and contaminants straight into your drink. Those impurities interact with your ingredients. They can alter the flavor profile you paid good money for.
Think about what happens when you sip a fine bourbon. You want to taste the oak, the caramel, the subtle spice. Regular ice muddies those notes. Clear ice lets them shine. It introduces no odors and no off-flavors. The result is a purer, cleaner sip every time. This is why bartenders at high-end cocktail bars insist on clear ice. They know that clean ice means clean flavors. You can enjoy that same luxury at home with the right approach.
Slower Melting for Drinks
Dense, clear ice melts slower than cloudy ice. That simple fact changes your entire drinking experience. Cloudy ice has a weak structure. Air pockets and mineral veins make it break down fast. Your drink gets watered down before you finish it. Clear ice is solid and compact. It releases water gradually. Your cocktail stays strong and cold from the first sip to the last.
This slow melting clear ice keeps your drink at the right strength. You taste the maker's intended balance. Nothing gets diluted too quickly. A good cube can survive two pours without turning your drink into a watery mess. That matters whether you are sipping whiskey neat or enjoying a crafted cocktail.
Here is another thought. Quality clear ice makes a thoughtful surprise. If you know someone who loves bourbon, consider it for bourbon christmas presents. A set of clear ice molds fits perfectly with bourbon christmas presents for the enthusiast in your life. It also works as one of the best bourbon christmas presents for cocktail lovers. Anyone who appreciates a well-made drink will treasure bourbon christmas presents that elevate their home bar.
Troubleshooting Cloudy Ice
Still Cloudy After Filtering
You switched to filtered water. But your ice still looks hazy. What went wrong?
Check your filter type. Standard carbon filters remove taste and odor. They do not remove hardness minerals like calcium and magnesium. Those minerals stay in your water. Not all filtered water is the same. Try distilled water instead. It has almost zero dissolved solids. That alone can improve clarity significantly. You can buy it at any grocery store.
Next, check your freezer temperature. If it runs below 0°F (-18°C), water freezes too fast and traps impurities. Set your freezer to 0°F to 5°F (-18°C to -15°C). Use a thermometer to confirm your reading. Slower freezing gives mineral impurities time to escape. The water freezes from one direction instead of all sides at once.
Still cloudy after both fixes? Your ice tray might be the problem. Old plastic trays develop scratches over time. Those scratches harbor bacteria and mineral deposits. Each new batch turns cloudy. Replace old trays with a directional freezing mold. The ORI Future GLAZER mini Classic Ice uses a patented slow-freeze process. It pushes air and impurities away from the serving shape. You get clear ice with consistent results every time. No more guessing.
Odd Smells or Tastes
Maybe your ice looks clear now. But it tastes funny. That is a different issue.
Ice absorbs odors from your freezer environment. Garlic, onions, and fish release strong compounds. These molecules find their way into your ice over time. Start by cleaning your trays thoroughly. Use warm water and mild soap. For stubborn smells, scrub with a baking soda paste. Let it sit for 15 minutes. Then rinse well.
Next, clean your freezer. Wipe down shelves and drawers. Remove any spoiled food. Place an open box of baking soda inside to absorb odors. Replace it every month.
Old plastic trays hold onto smells permanently. No amount of cleaning restores them. Switch to a mold with food-grade materials. The GLAZER mini uses a stainless steel body and BPA-free silicone core. It resists odors from the start. It rinses clean easily. You end up with clear ice that tastes as clean as the water you started with.
These two fixes solve most ice problems. Start with your water. Check your temperature. Upgrade your equipment. Small changes give you consistent results every time.
You now have three simple tools to fight cloudy ice. Start with better water. Filter it or boil it to remove the minerals and gases that cause haze. Next, slow down the freeze. Give your water roughly 24 to 36 hours to freeze slowly. Finally, keep your freezer clean and organized. A tidy space means fresh-tasting ice every time.
Clear ice is not a mystery. It is a habit. Try one change this week. Then add another. Soon you will pour a drink and smile at those perfect, crystal-clear cubes. That small everyday luxury is closer than you think.
FAQ
How long does clear ice take to freeze?
Give your water roughly 24 to 36 hours. A slow freeze pushes air and minerals out of the cube. Fast freezing traps them inside. Patience pays off with crystal clear results.
Can I use tap water for clear ice?
Yes, but you need to treat it first. Boil it to remove dissolved gases. You can also pair boiled tap water with directional freezing molds. Distilled water gives the best results with almost zero dissolved solids.
Why does my ice taste like garlic or fish?
Your ice absorbs odors from nearby food. Strong-smelling items release molecules into the freezer air. Clean your trays with baking soda paste. Store food in airtight containers. Place an open box of baking soda in your freezer to absorb smells.
Do I need special equipment for clear ice?
A directional freezing mold makes a big difference. The ORI Future GLAZER mini Classic Ice uses a patented slow-freeze process. It pushes impurities away from the serving shape. You get consistent results without guessing.
What freezer temperature works best for clear ice?
Set your freezer to 0°F to 5°F (-18°C to -15°C). This range slows freezing just enough. Water freezes from one direction instead of all sides at once. Avoid super freeze settings. They speed things up and trap impurities in the center.
