
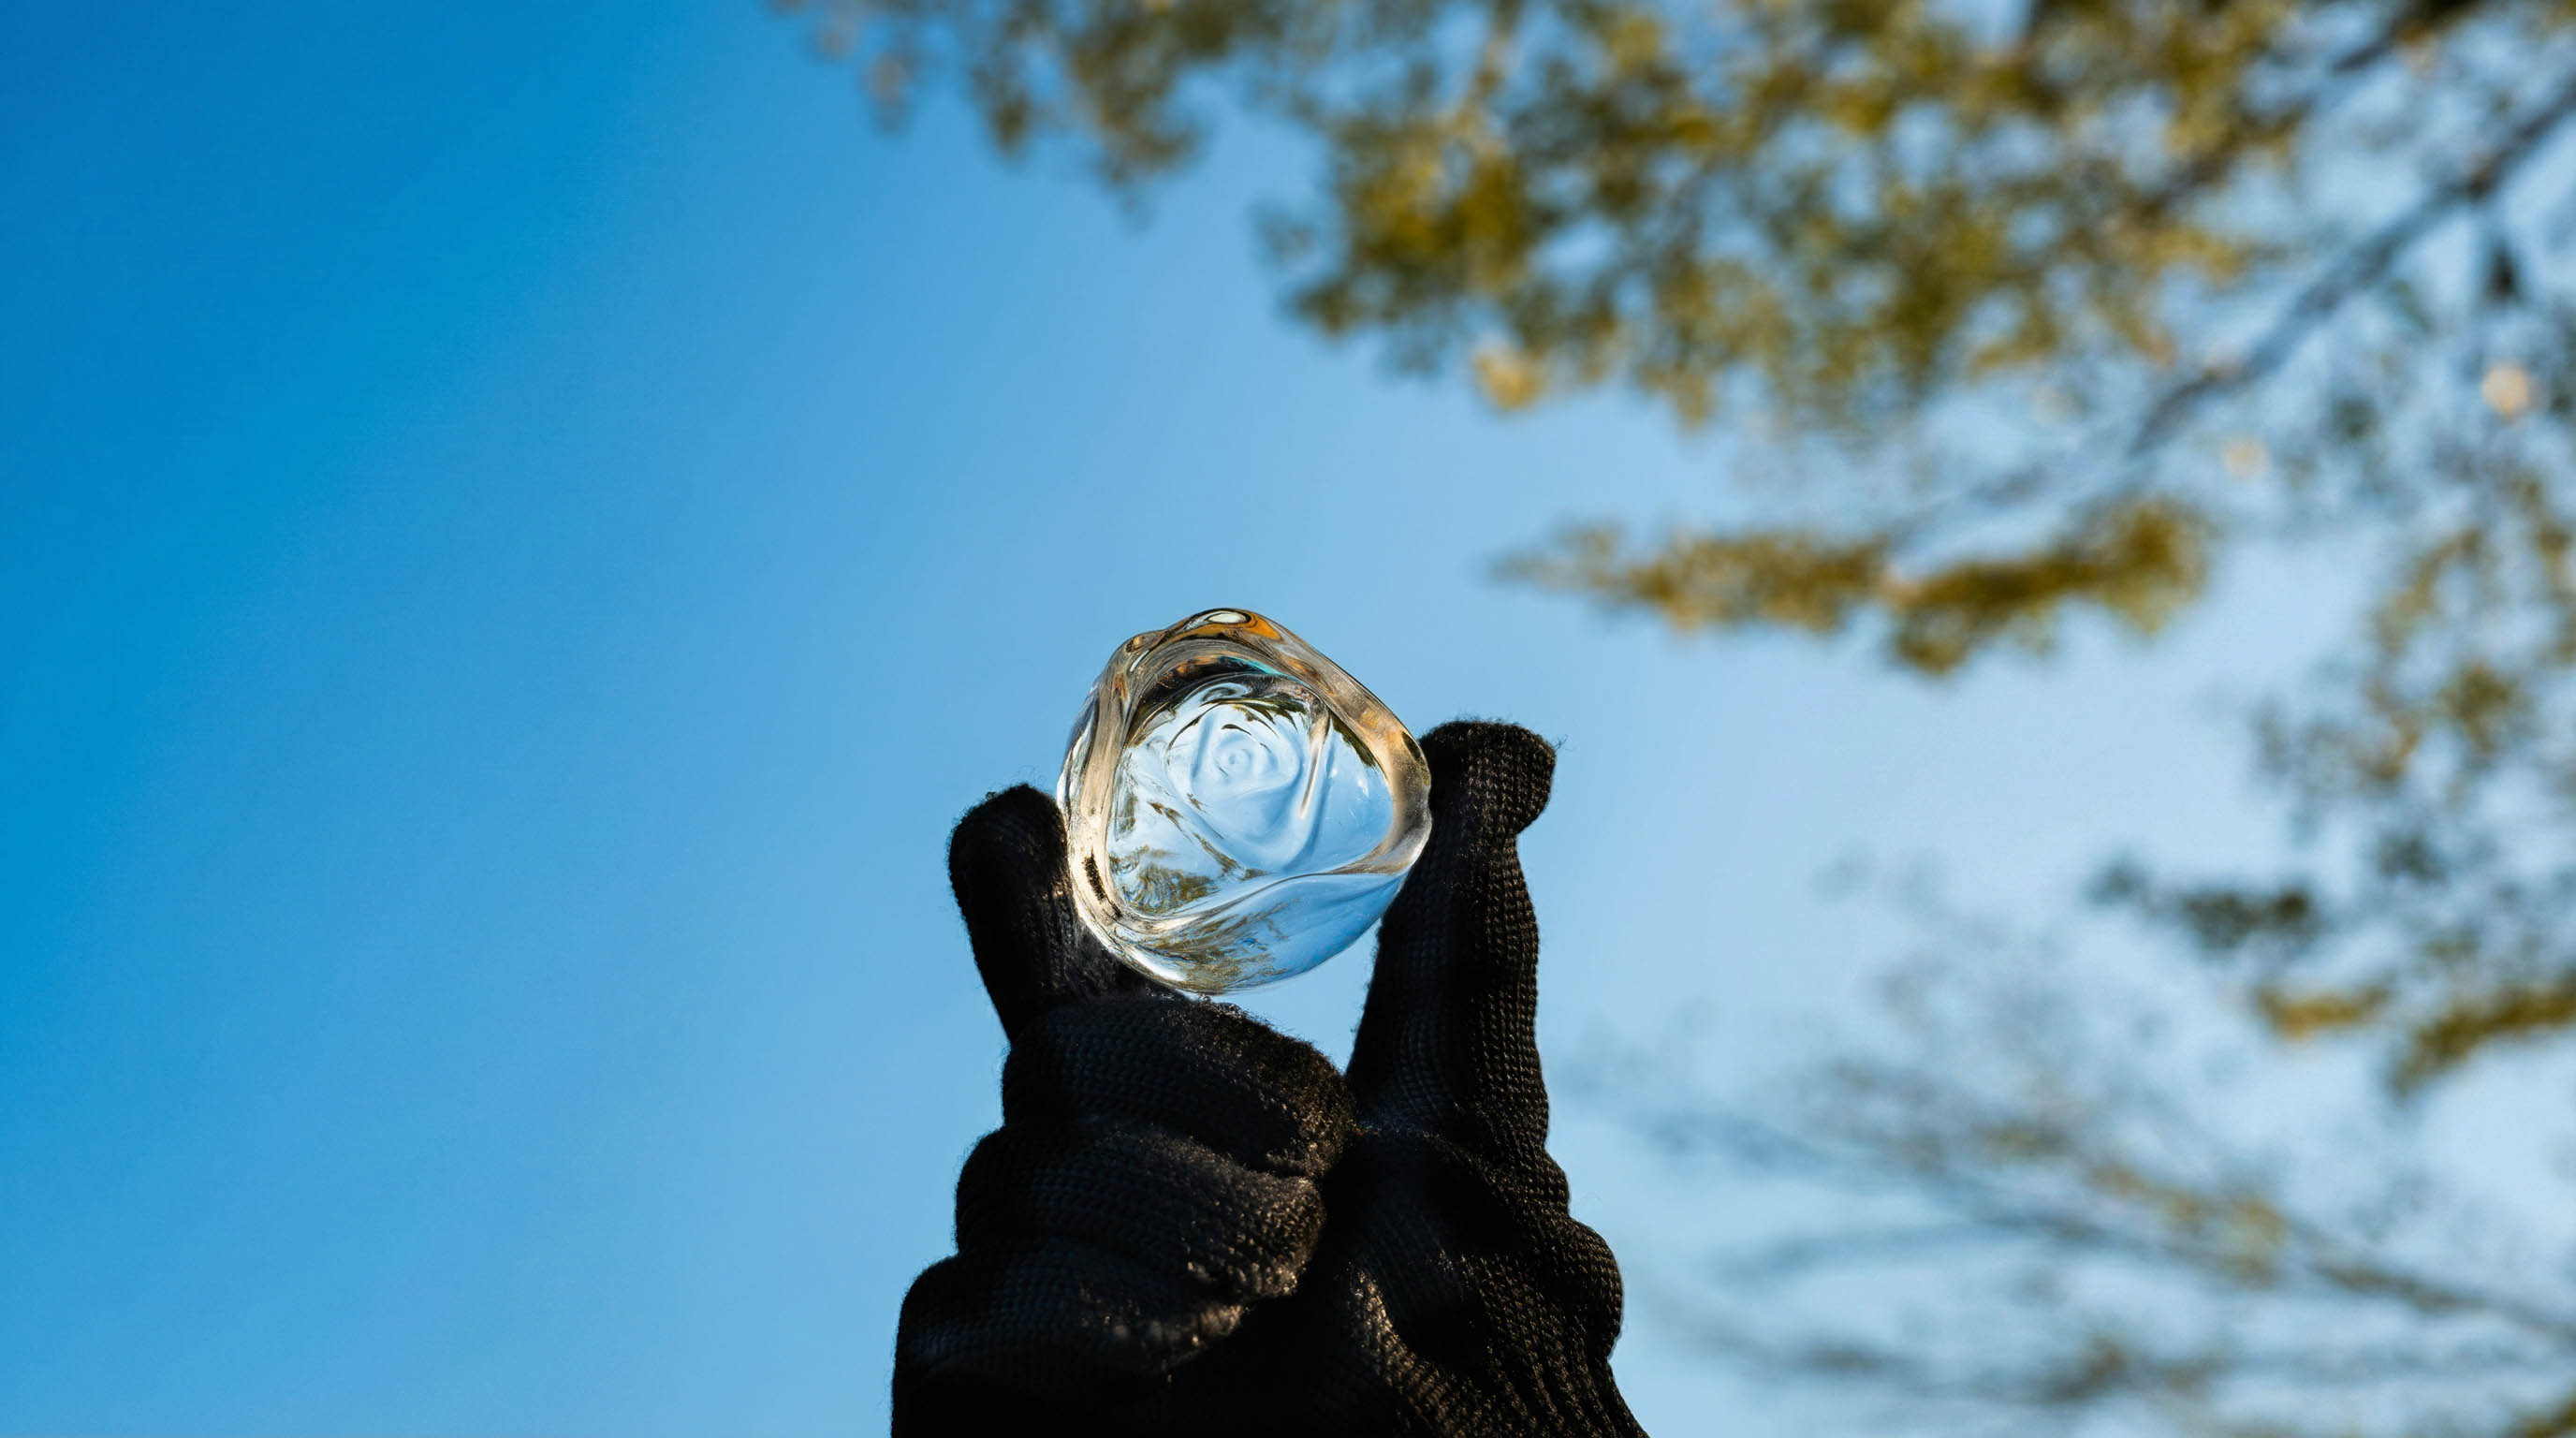

5 Easy Steps to Get Perfectly Clear Ice Balls (2025 Guide)
Creating crystal-clear ice balls at home is easier than ever—and in 2025, the trend has evolved from cocktail bars to home kitchens. Whether you want stunning ice spheres for whiskey, cocktails, coffee, or entertaining guests, this guide will show you exactly how to get perfectly clear ice balls using simple methods and pro tools like the advanced GLAZER Press Whiskey Ice Ball Machine.

Table of Contents
Why Clear Ice Balls Matter
Clear ice balls are more than just visually striking—they melt slower, dilute drinks less, and elevate every beverage they touch. In professional mixology, clarity is one of the strongest markers of quality, and today’s home mixologists are embracing the same standards.
But achieving perfectly transparent ice requires intention. The right freezing method, water temperature, and shaping technique all influence clarity. With the right tools and steps, anyone can master the process.
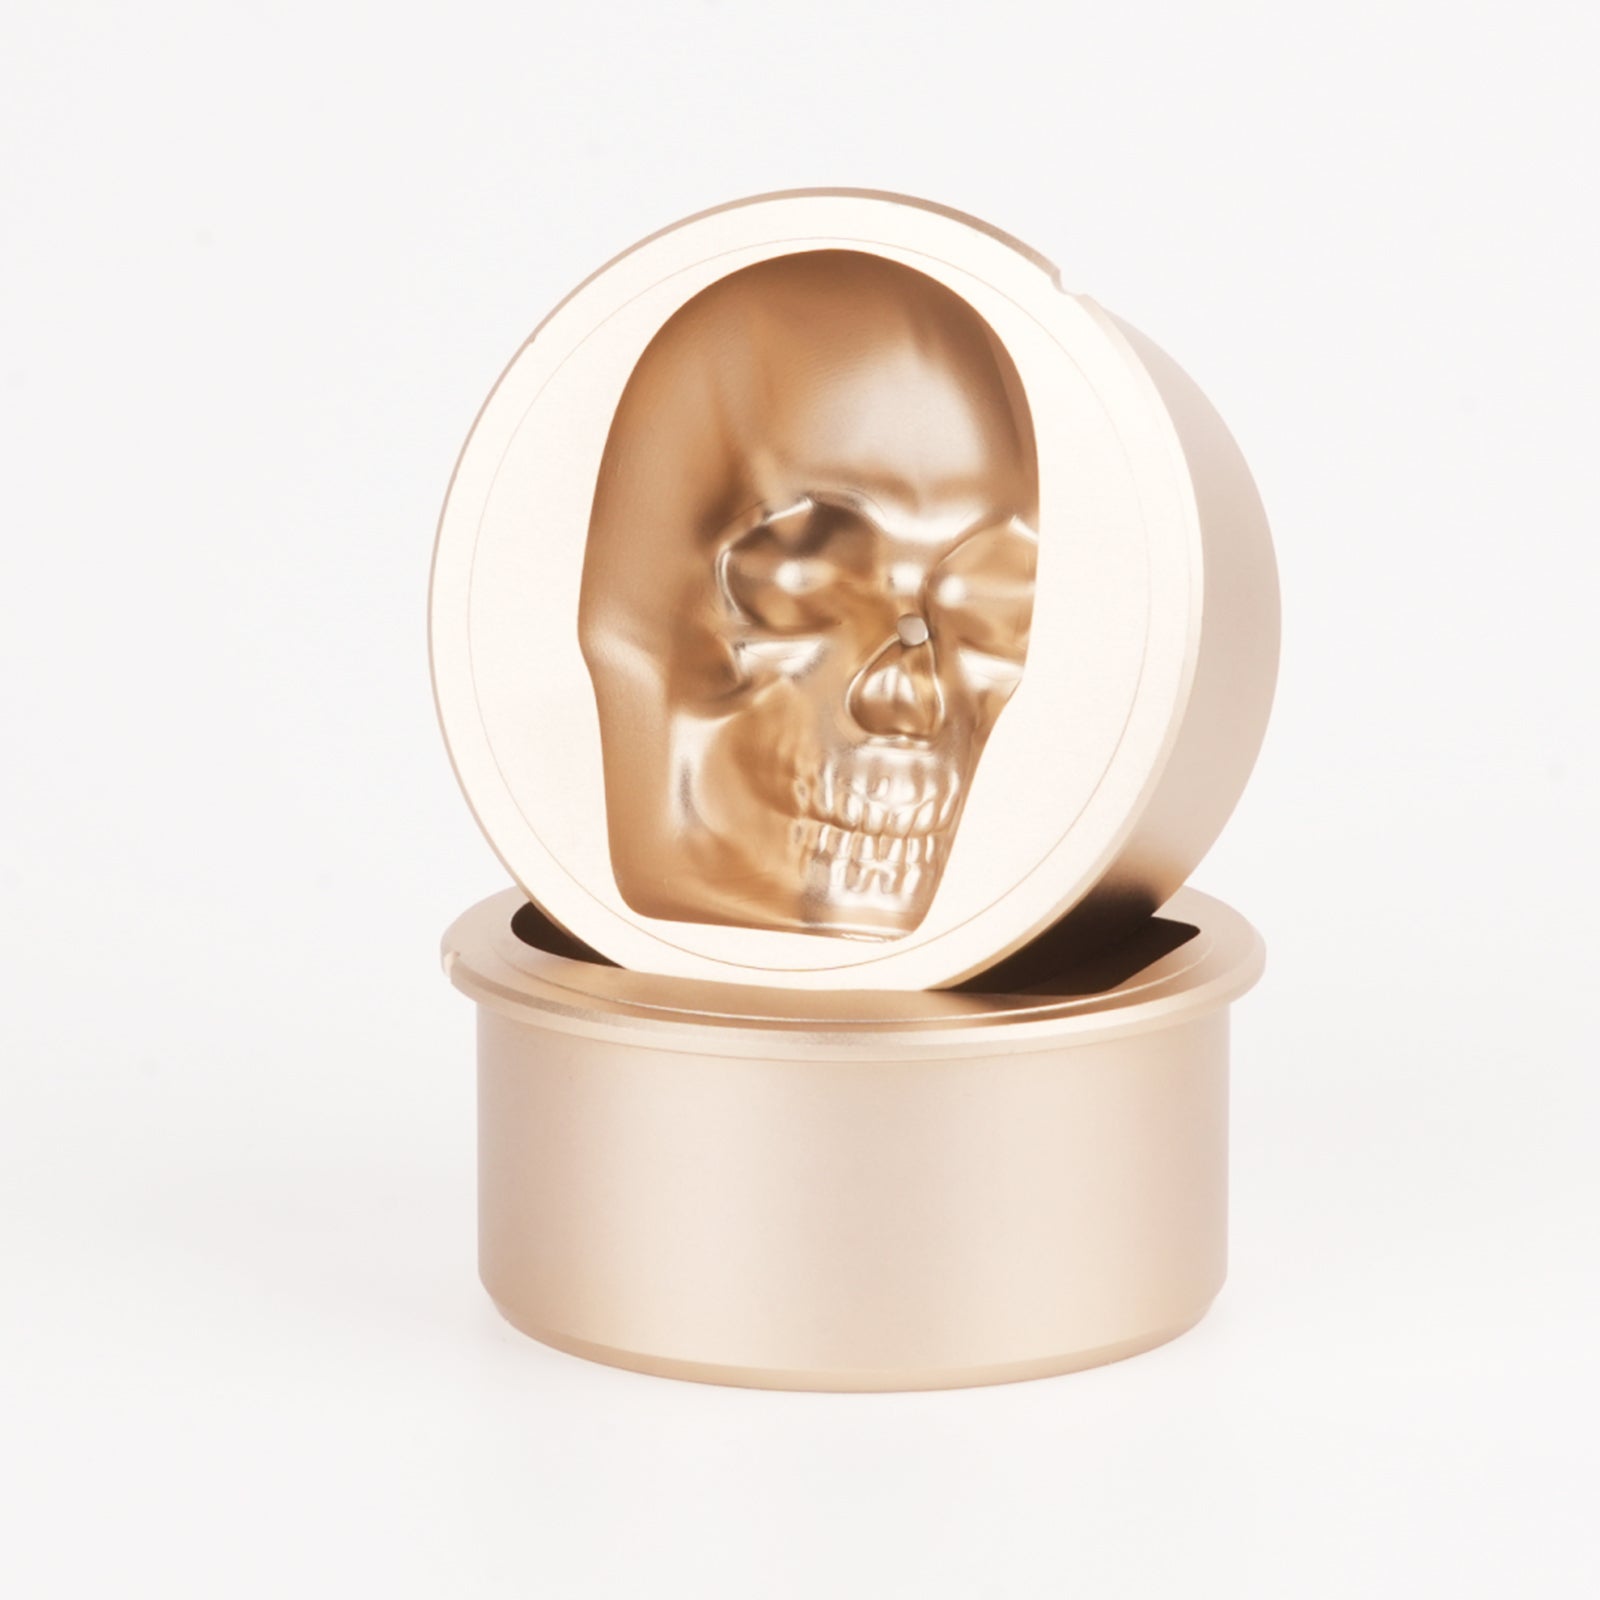
Introducing GLAZER Press — The Most Advanced ICE Press in the World
GLAZER Press Whiskey Ice Ball Machine
GLAZER Press brings bar-quality ice craftsmanship into your home. This innovative heated-core system transforms ordinary ice into stunning, perfectly smooth shapes—usually in under 2 minutes.
What Makes GLAZER Press Stand Out?
- 2-Minute Ice Sculpting: Quickly shape ice into beautiful spheres and specialty forms.
- Heated Core Technology: Fast, precise melting ensures totally smooth surfaces.
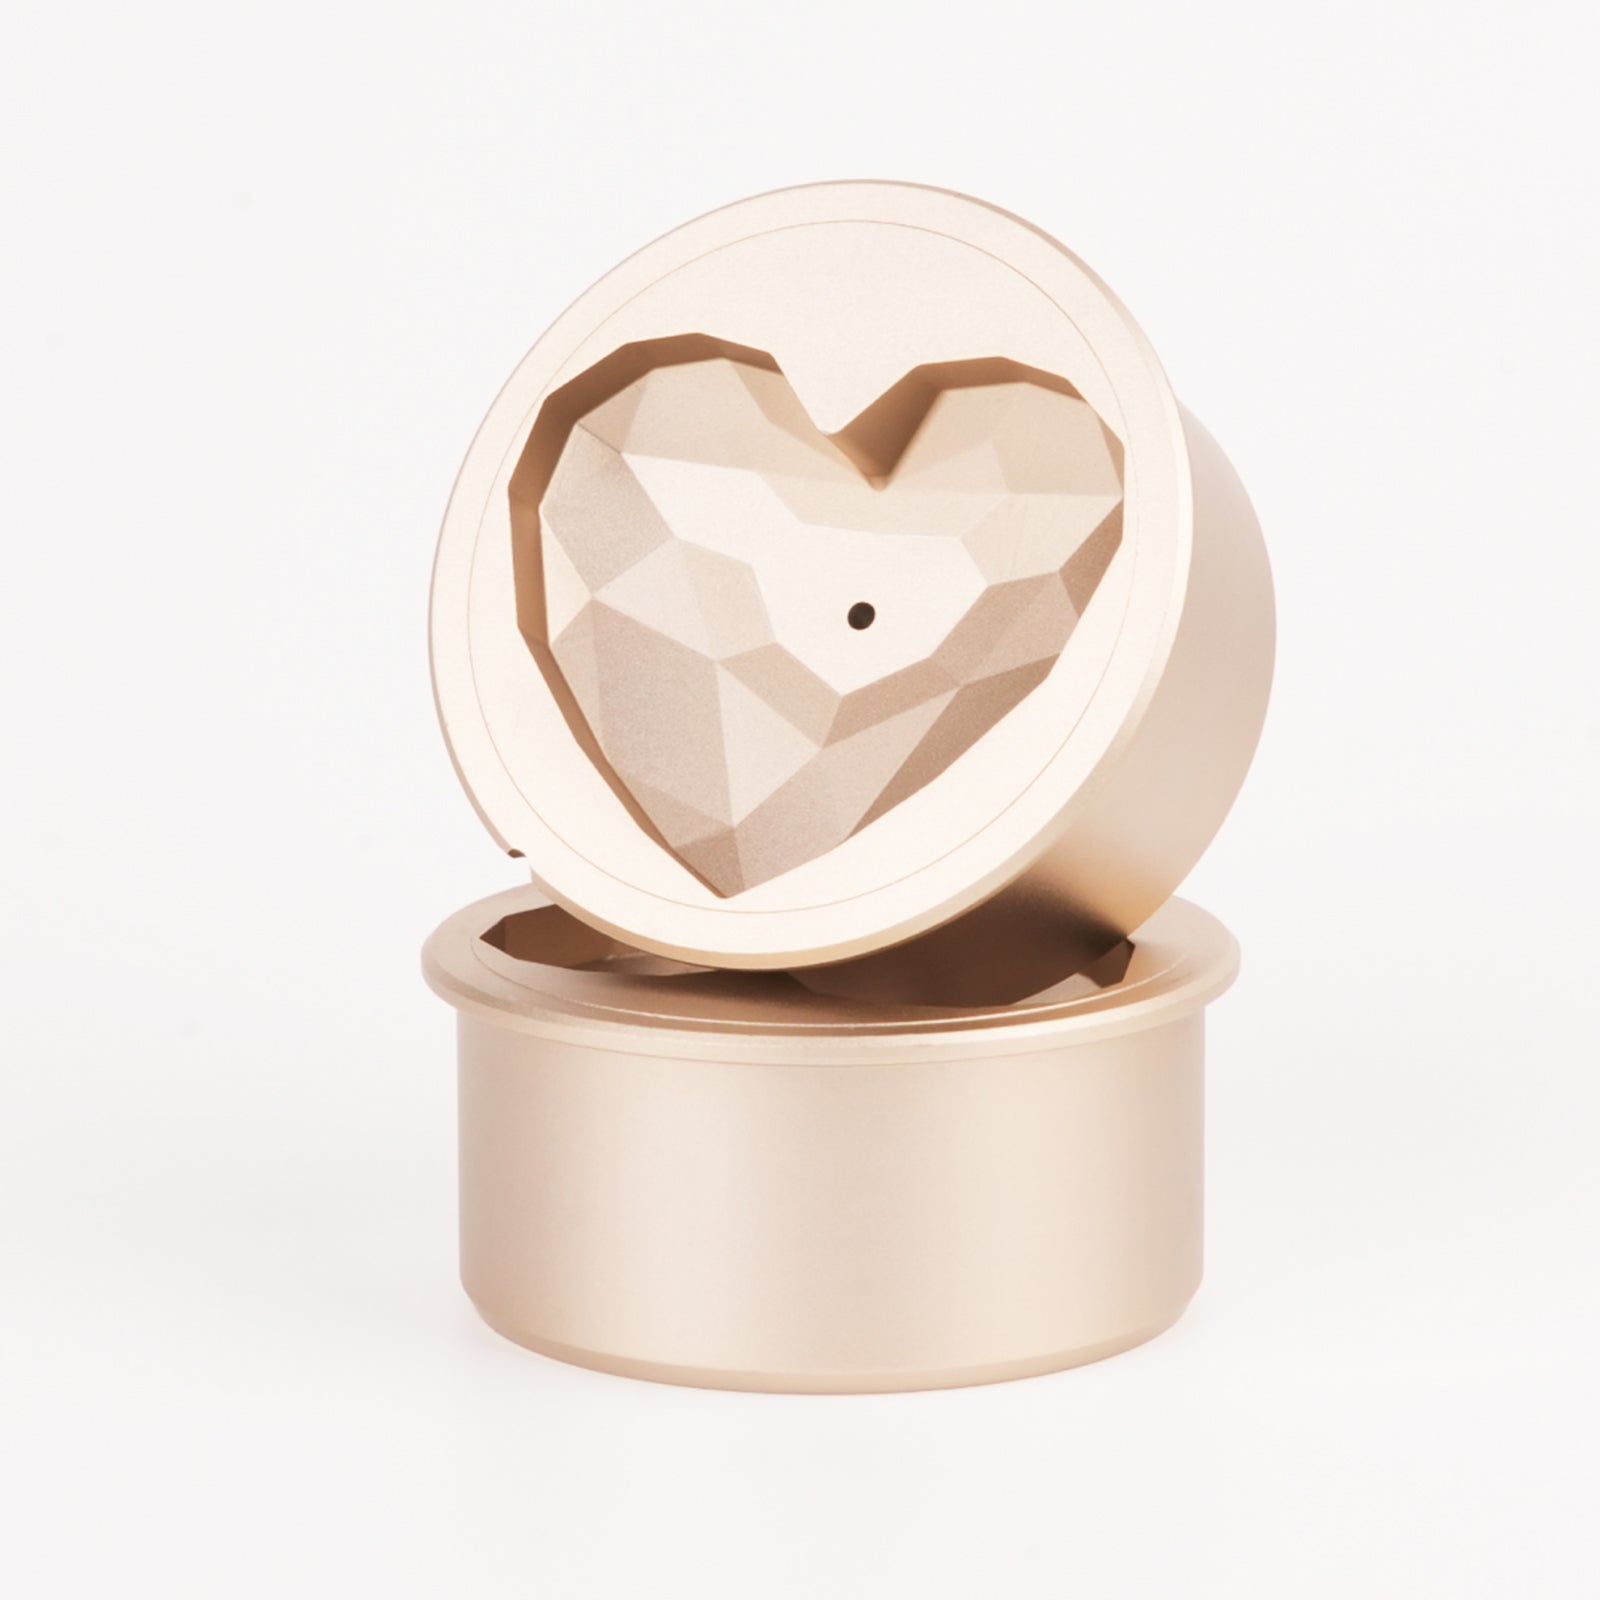
- Magnetic Inserts: Create 5+ shapes, with new designs released regularly.
- Continuous Production: Shape multiple ice balls in a row—perfect for parties.
Whether you're hosting a gathering, serving whiskey, or crafting premium cocktails, the GLAZER ICE Press elevates your beverage presentation with zero effort.
5 Easy Steps to Get Perfectly Clear Ice Balls
This guide uses the latest 2025 methods to help beginners and enthusiasts achieve flawless clarity every time.
Step 1: Use Directional Freezing
Directional freezing is the key technique behind clear ice. By forcing water to freeze from top to bottom, impurities and air bubbles are pushed downward—resulting in perfectly clear ice at the top.
How to Use Directional Freezing:
- Fill a small cooler with filtered water.
- Place it in your freezer with the lid off.
- Freeze for 24–30 hours, allowing only the top portion to harden.
- Remove the frozen block and cut away cloudy sections.
Step 2: Start with Filtered or Boiled Water
While water type is less important than freezing method, removing particulates improves clarity:
- Use filtered, distilled, or twice-boiled water.
- Let the water cool before freezing to reduce microbubbles.
Step 3: Cut Your Ice Block into Sphere-Sized Cubes
Once you have a block of clear ice, cut it into evenly sized cubes using:
- A serrated knife
- A mallet
- A food-safe chisel
Aim for cubes slightly larger than the mold or press shape you plan to use.
Step 4: Shape Your Ice with a Mold or the GLAZER Press

You now have two excellent options for shaping your clear ice cubes:
Option A: Silicone Ice Ball Molds
- Affordable and beginner-friendly
- Fill with warm water for a smoother sphere
- Freeze slowly for best clarity
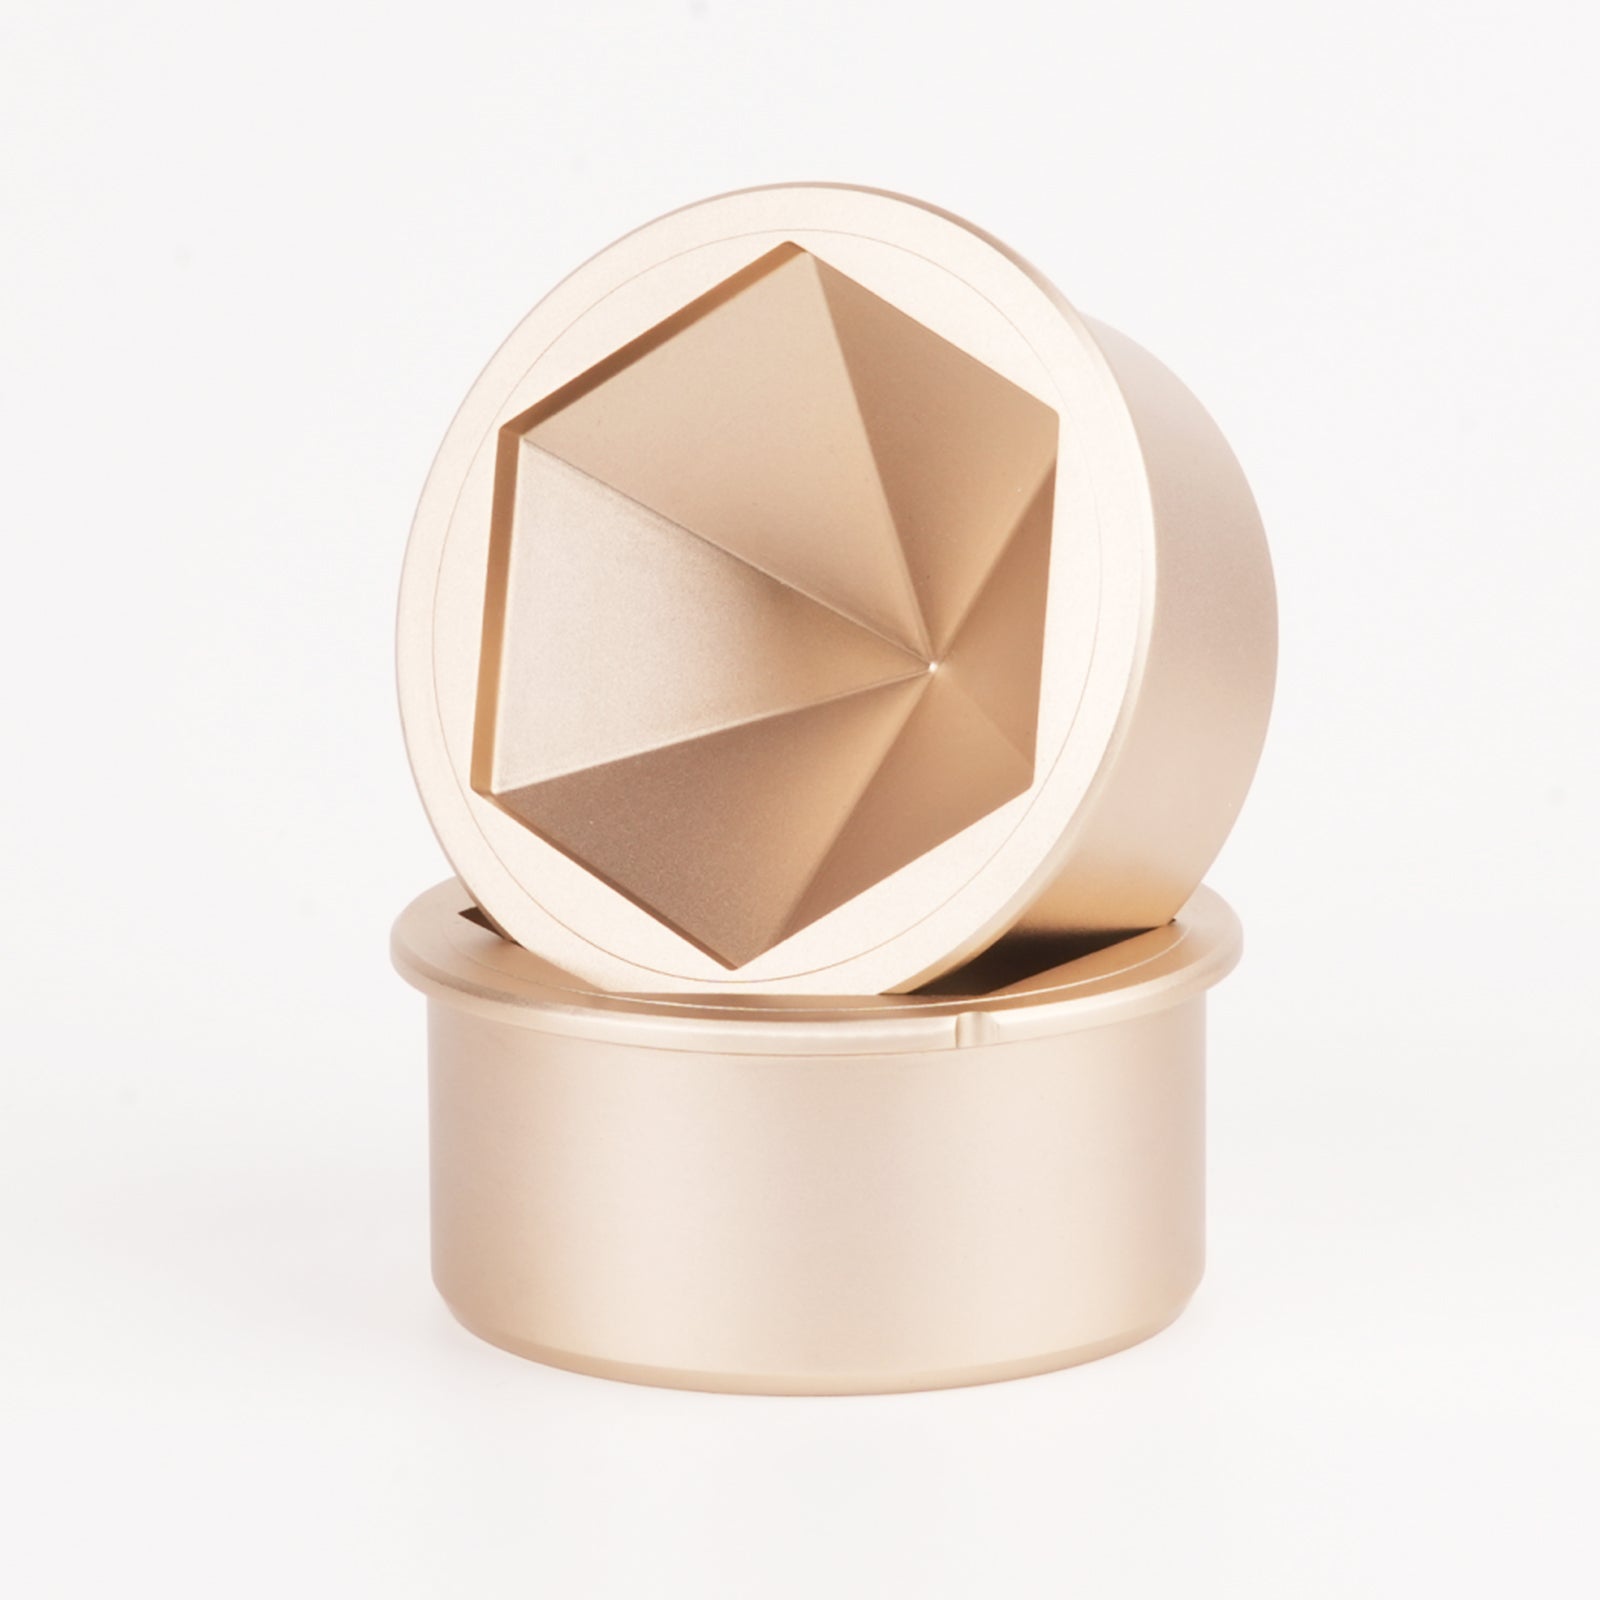
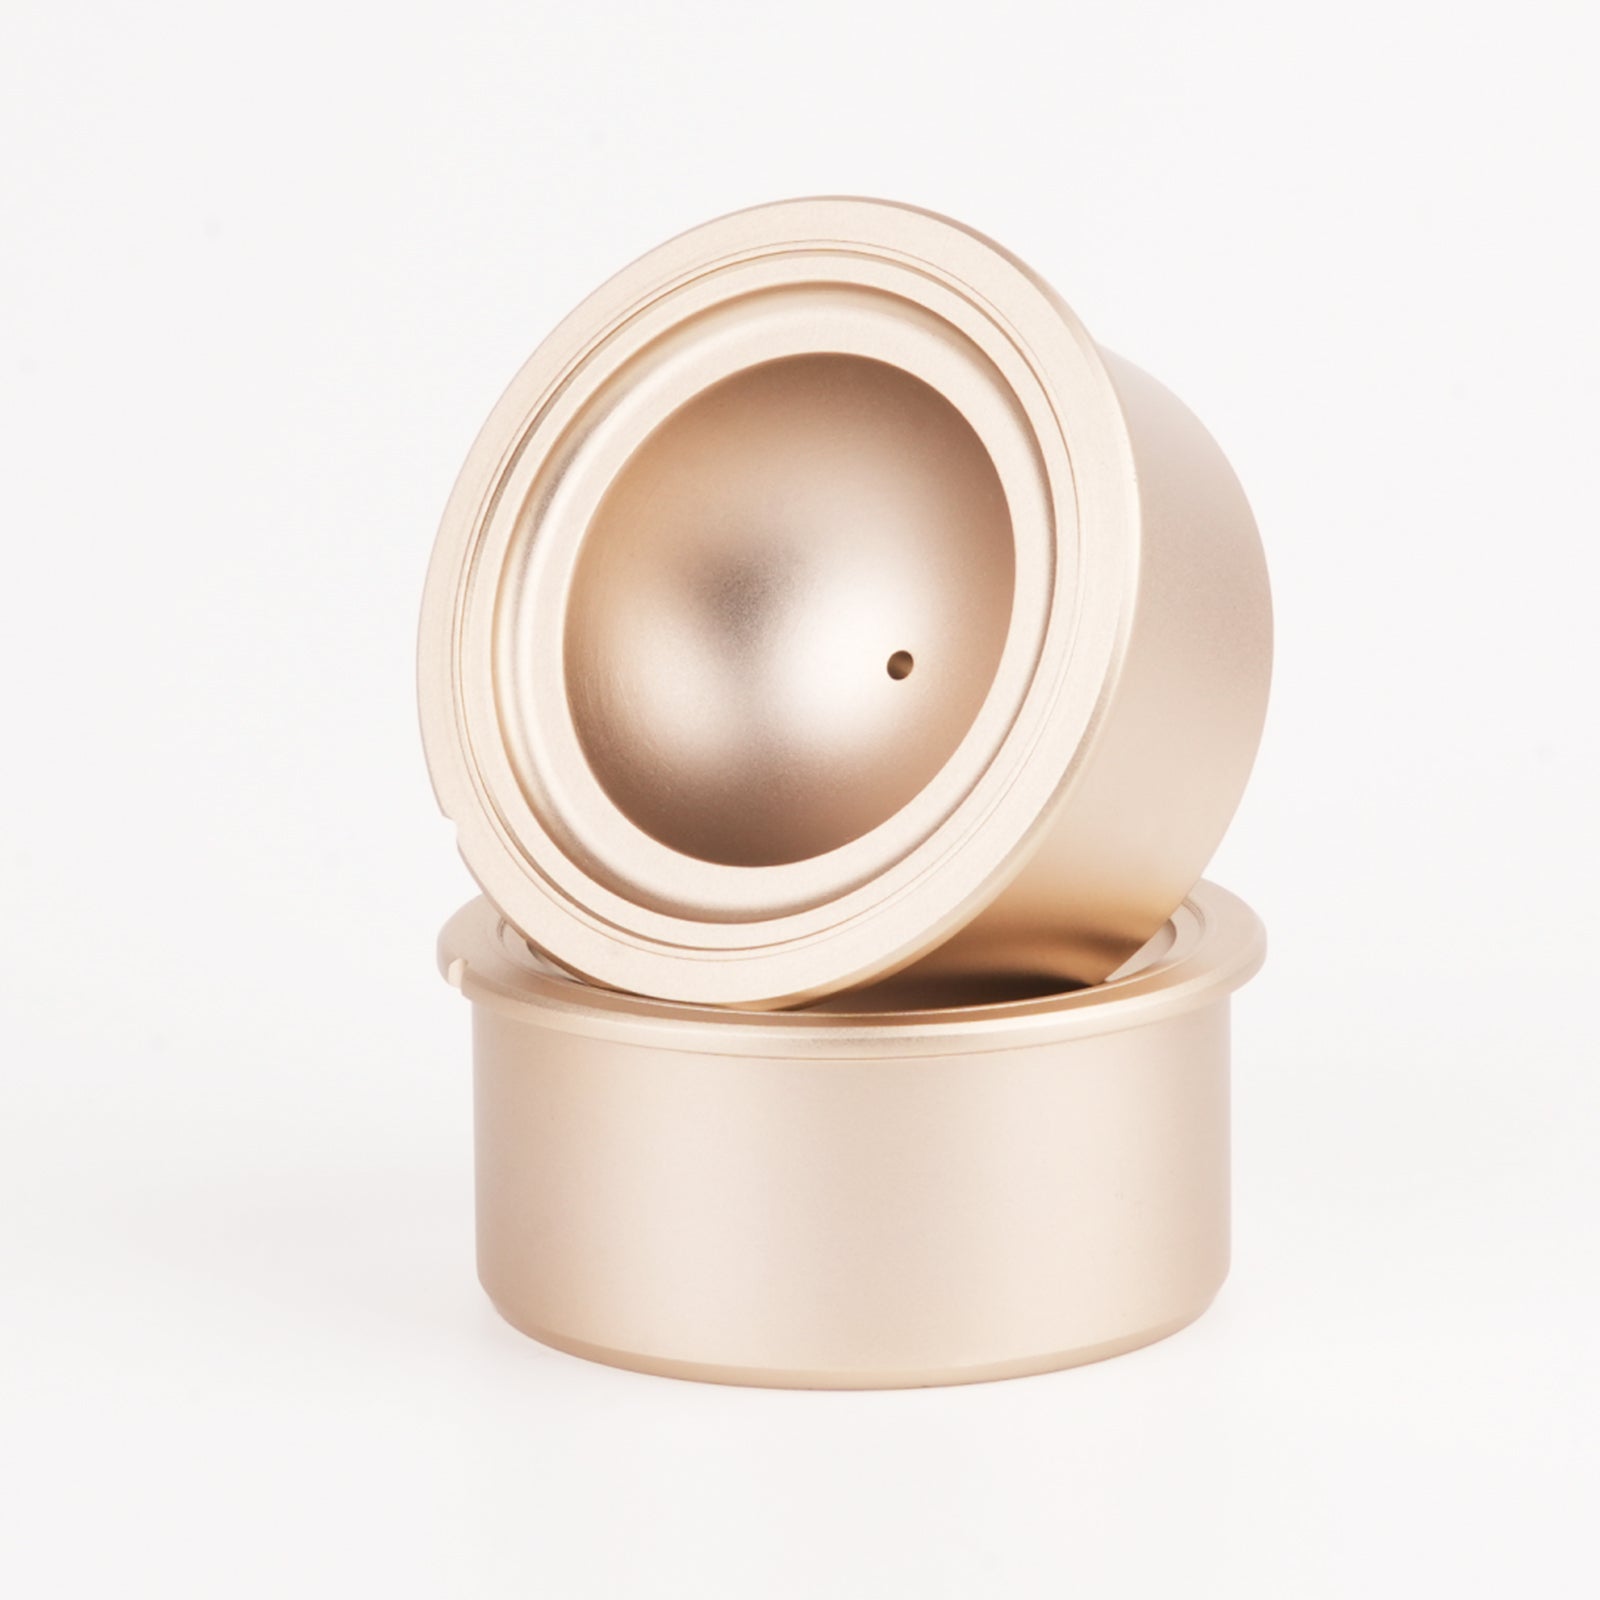
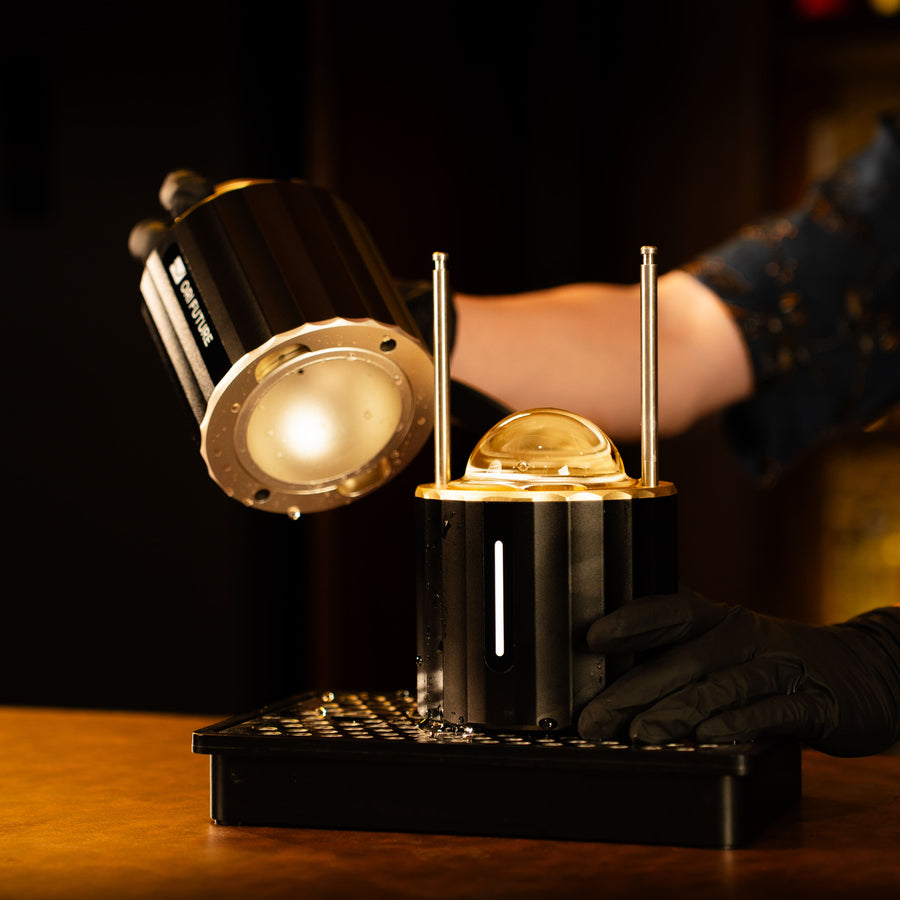
Option B: GLAZER Press Ice Ball Machine
If you want perfectly clear ice balls with a professional, glass-like finish, the GLAZER Press is unmatched.
- Place a clear ice cube into the press
- Let the heated core melt the ice into a flawless sphere
- Choose from 5 unique shapes: sphere, diamond, football, cube, and signature special forms
- Repeat for multiple guests without waiting for refreezing
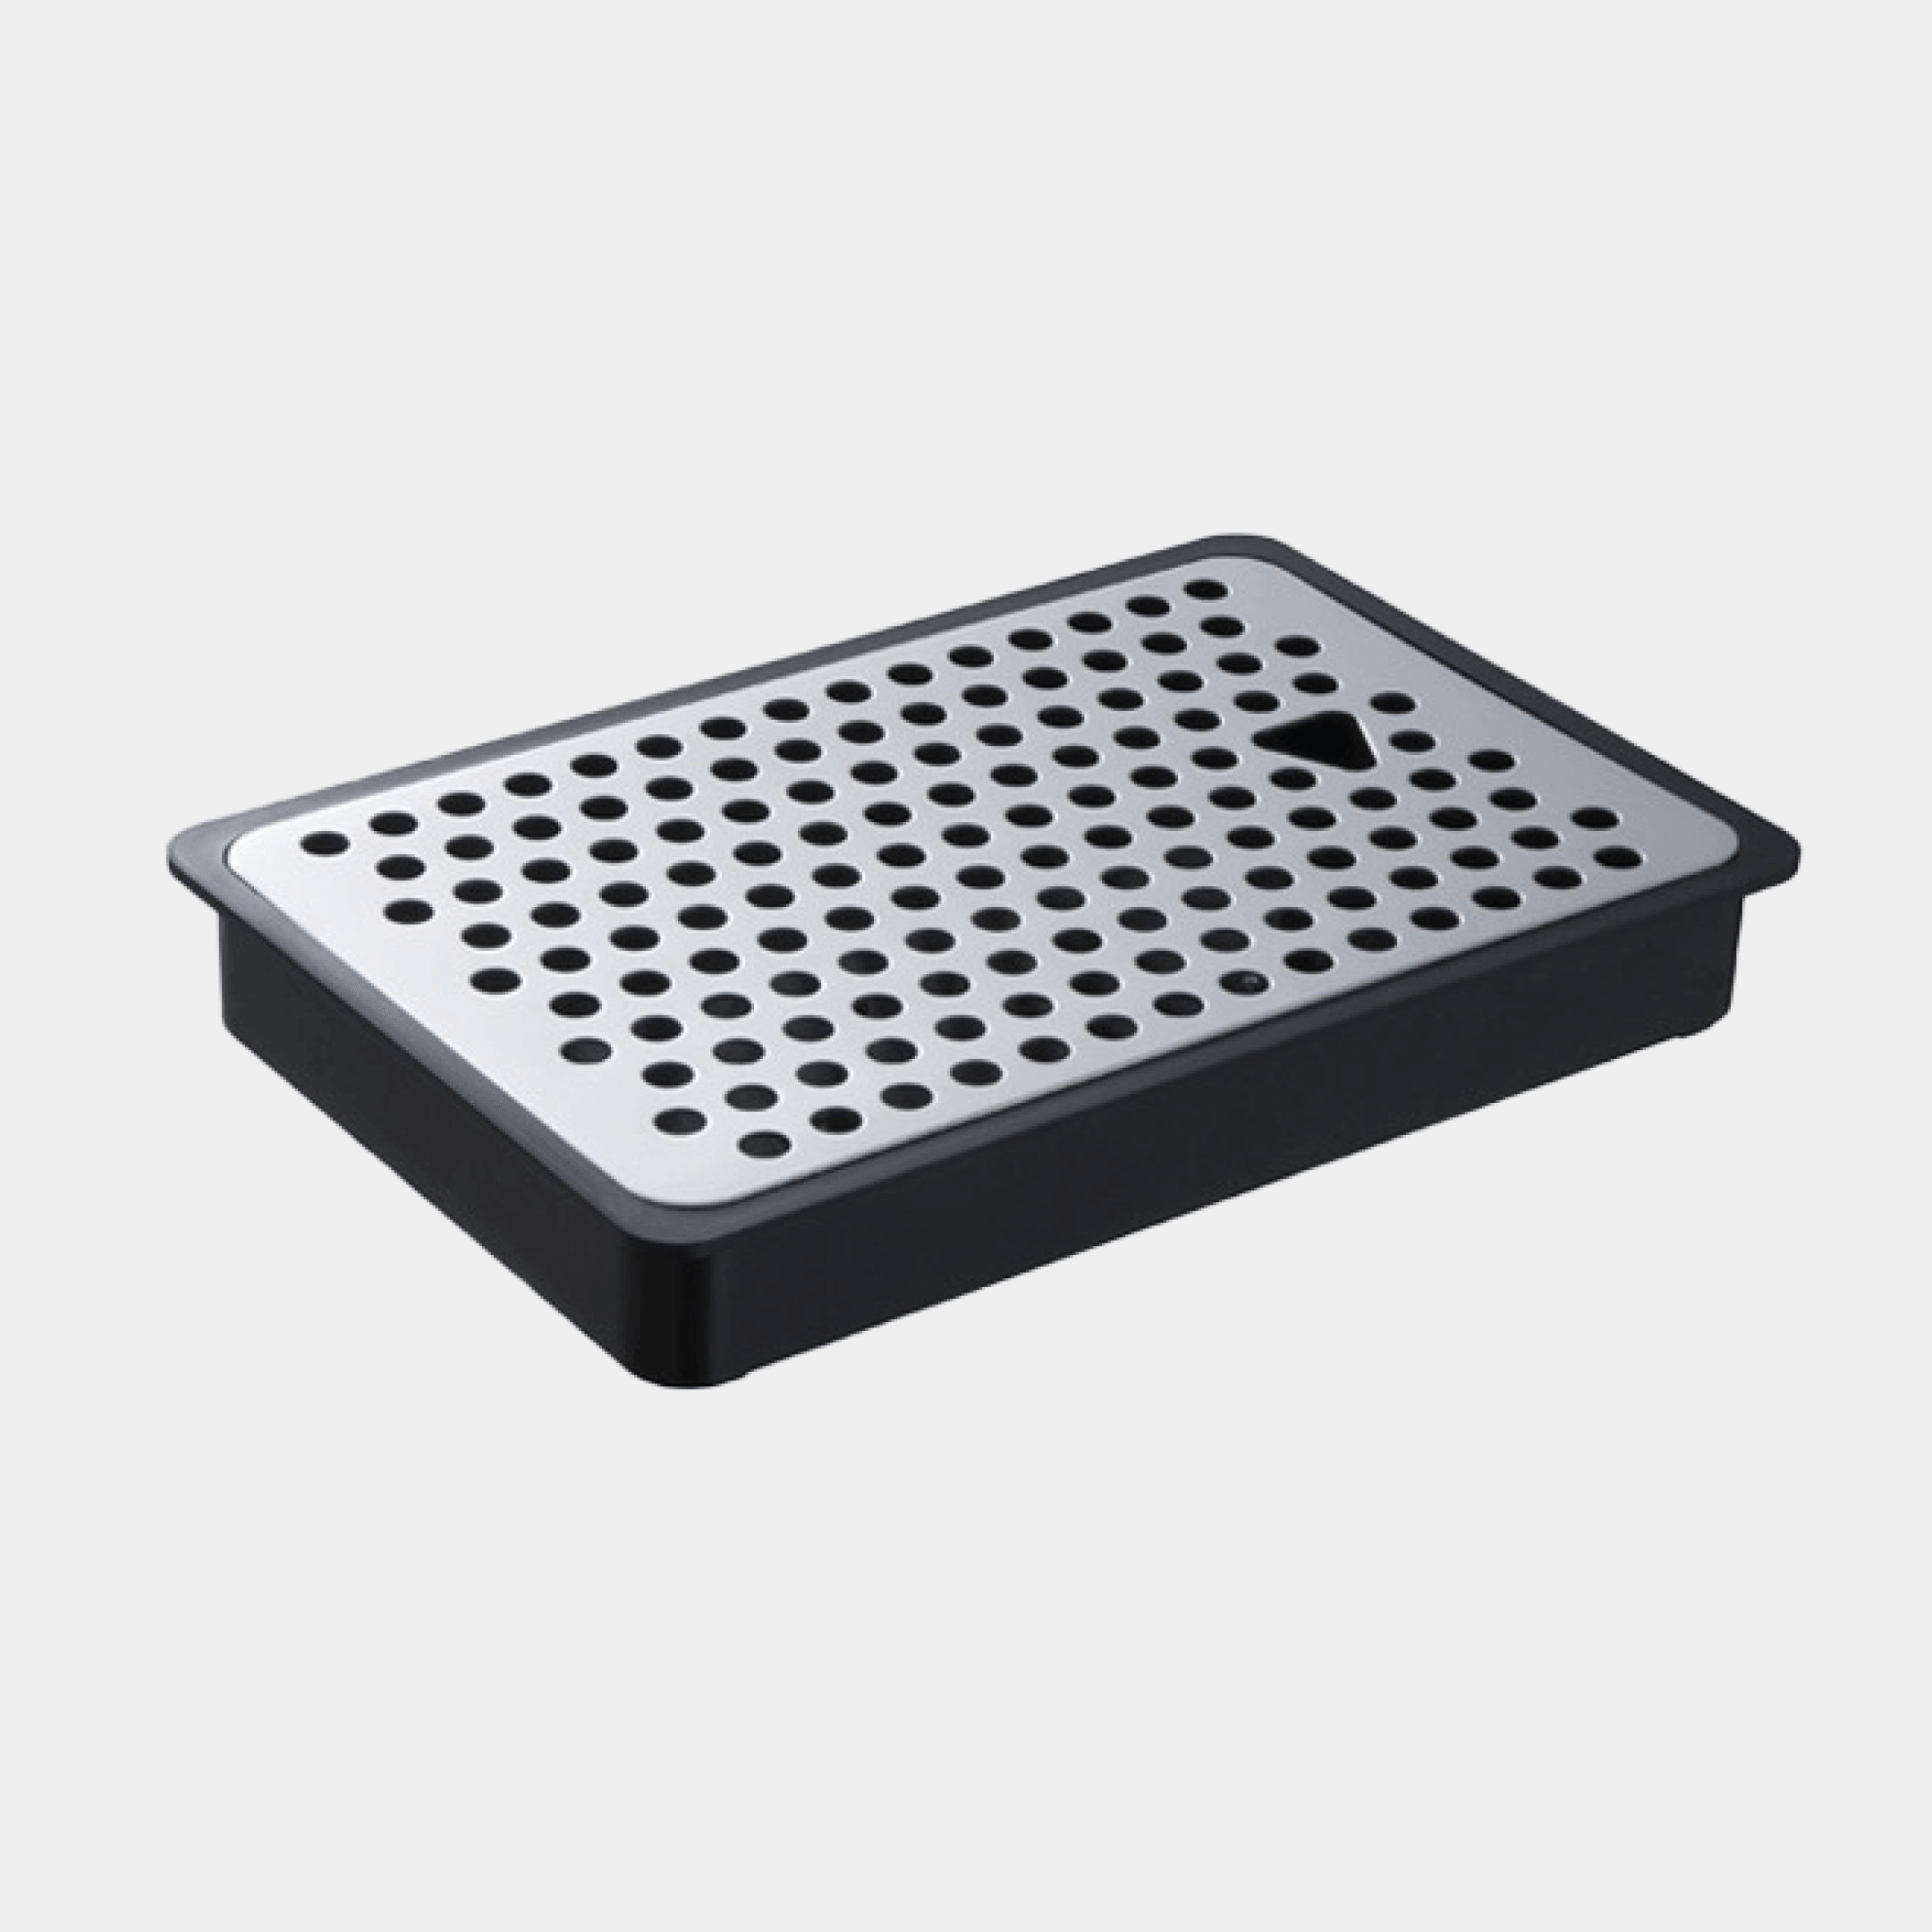
Step 5: Store Ice Properly to Maintain Clarity
Even perfectly clear ice can become cloudy or cracked if not stored correctly. To protect your crystal-clear ice balls:
- Store in an airtight bag to prevent odors
- Keep temperature stable to avoid cracking
- Let ice temper for 2–3 minutes before serving
Common Mistakes to Avoid
- Freezing too fast: Causes cracks and bubbles.
- Using tap water: Not ideal for clarity.
- Over-freezing the cooler: Leads to cloudy bottoms.
- Not pre-warming molds: Creates air gaps.
- Skipping trimming: Cloudy edges reduce clarity.
Summary Table
| Step | Action | Why It Matters |
|---|---|---|
| 1 | Directional Freezing | Removes air and impurities |
| 2 | Use filtered or boiled water | Improves overall clarity |
| 3 | Cut ice into cubes | Prepares for shaping |
| 4 | Shape using molds or GLAZER Press | Creates smooth, perfect spheres |
| 5 | Store correctly | Prevents cracks and odor absorption |
Frequently Asked Questions
1. Why does my ice turn cloudy?
Cloudiness comes from trapped air and minerals. Directional freezing pushes these downward, leaving the top crystal clear.
2. Do I need expensive tools to get clear ice?
No — you can use a cooler for directional freezing. However, the GLAZER Press provides professional-quality shaping that molds cannot match.
3. How long does it take to make clear ice?
Typically 24–30 hours for the block, plus a few minutes for shaping.
4. Will clear ice melt slower?
Yes. Fewer air pockets mean slower melting and better drink preservation.
5. Is the GLAZER Press worth it?
If you enjoy whiskey, cocktails, or entertaining guests, absolutely. It's fast, precise, and visually impressive.