

Get Crystal Clear Ice with a Christmas Tree Ice Tray
You can get crystal clear ice from a christmas tree ice tray with three simple moves: start with purified water, boil it twice, and freeze it slowly inside an insulated space. That's the whole secret. No fancy equipment, no special skills.
Stick with me, and you'll learn the full method, plus easy fixes for cloudy or cracked cubes. We'll also share some festive ways to show off your tree-shaped ice at your next holiday party. Grab a tray and let's make some christmas magic together.
Key Takeaways
Use purified water and boil it twice to remove air and minerals for clear ice.
Freeze the water slowly in an insulated tray to push bubbles away from the center.
Clear ice looks beautiful, melts slowly, and keeps drinks tasting fresh.
Avoid overfilling the tray and let it rest before unmolding to prevent cracks.
Show off your tree ice in holiday drinks or use it for fun ice painting with kids.
Why Clear Ice Wins
Looks and Taste
Cloudy cubes look foggy and white in the middle. That haze comes from tiny air bubbles and minerals trapped inside. Clear ice has none of that. Light passes right through it, so it sparkles in your glass like cut glass. You notice the difference the moment you drop a cube in a drink. Guests notice too. A clear cube signals care and a touch of luxury. The tree shape shows off best when the cube is transparent. Every branch and detail stands out. A cloudy tree looks like a lump. A clear tree looks like a tiny sculpture.
Clear cubes also taste cleaner. Tap water carries dissolved minerals and gases. Those particles freeze into the cube and give it a faint, flat flavor. Purified water removes most of them before freezing starts. Your drink tastes like the drink, not like the freezer. A whiskey on the rocks or a plain soda has nowhere to hide a bad-tasting cube. Clear ice gives you a clean, neutral base for any flavor you pour over it.
Slower Melting
Clear ice melts more slowly than cloudy ice. This comes down to density. The clear version packs solid with no trapped air or impurities. Cloudy cubes hold dissolved gases like oxygen and mineral particles like calcium carbonate. Those gaps weaken the structure and speed up melting. The absence of bubbles lets the clear version hold its cold temperature for a longer stretch. You get a cube that works with your drink instead of against it. Think of it like a solid brick versus a sponge. The brick holds its shape. The sponge falls apart fast.
A slower melt keeps your drink undiluted. Your punch stays punch, not watered-down juice. Your cocktail holds its flavor from the first sip to the last. That slow melt also means fewer refills and a colder glass for longer. You get more time to enjoy the party instead of running back to the freezer. A single clear tree cube can outlast several cloudy ones in the same glass. That steady chill keeps every round tasting fresh.
Clear Ice with a Christmas Tree Ice Tray
Water Prep and Tray Setup
Great tree-shaped ice starts long before the freezer. Begin with purified water. Skip the tap and use distilled or reverse-osmosis filtered water instead. That choice removes the calcium and magnesium that make a cube cloudy.
Next comes the double boil. Pour your purified water into a clean stainless steel pot and bring it to a rolling boil for at least 3–5 minutes. This drives off dissolved oxygen. Pull the pot off the heat, cover it with a clean lid, and let the water cool to room temperature. Then boil it a second time for about 3 minutes to maximize degassing. Cover and cool completely. Never pour hot water into a plastic or silicone mold.
Now fill your christmas tree ice tray. Leave a little headroom at the top of each cavity. Overfilling causes cracking later. Set the tray on a level shelf, away from the freezer door and any heat source. A steady, undisturbed spot helps the water freeze evenly.
Slow Freeze and Unmold
Here's where clarity happens. Normal cubes freeze from all sides inward, so rejected air and minerals get pushed to the center and form a cloudy core. You want the opposite. Insulate the sides and bottom of your tray with a cooler or an insulated shell, leaving only the top exposed to cold air. Freezing then begins at the top surface and advances downward. The growing ice lattice rejects dissolved air and impurities, driving them ahead of the freezing front into the still-liquid water below.
Freezing water in molds inside a cooler produced clear ice, though some air remained trapped at the very bottom. Adding a large thermal mass of liquid water underneath the ice improved clarity further, confirming that top-down directional freezing combined with a liquid reservoir beneath pushes gases downward and yields clearer ice.
Give it time. Aim for a slow freeze of roughly 24–36 hours, or set your freezer to its warmest safe setting around 30°F. Patience pays off here.
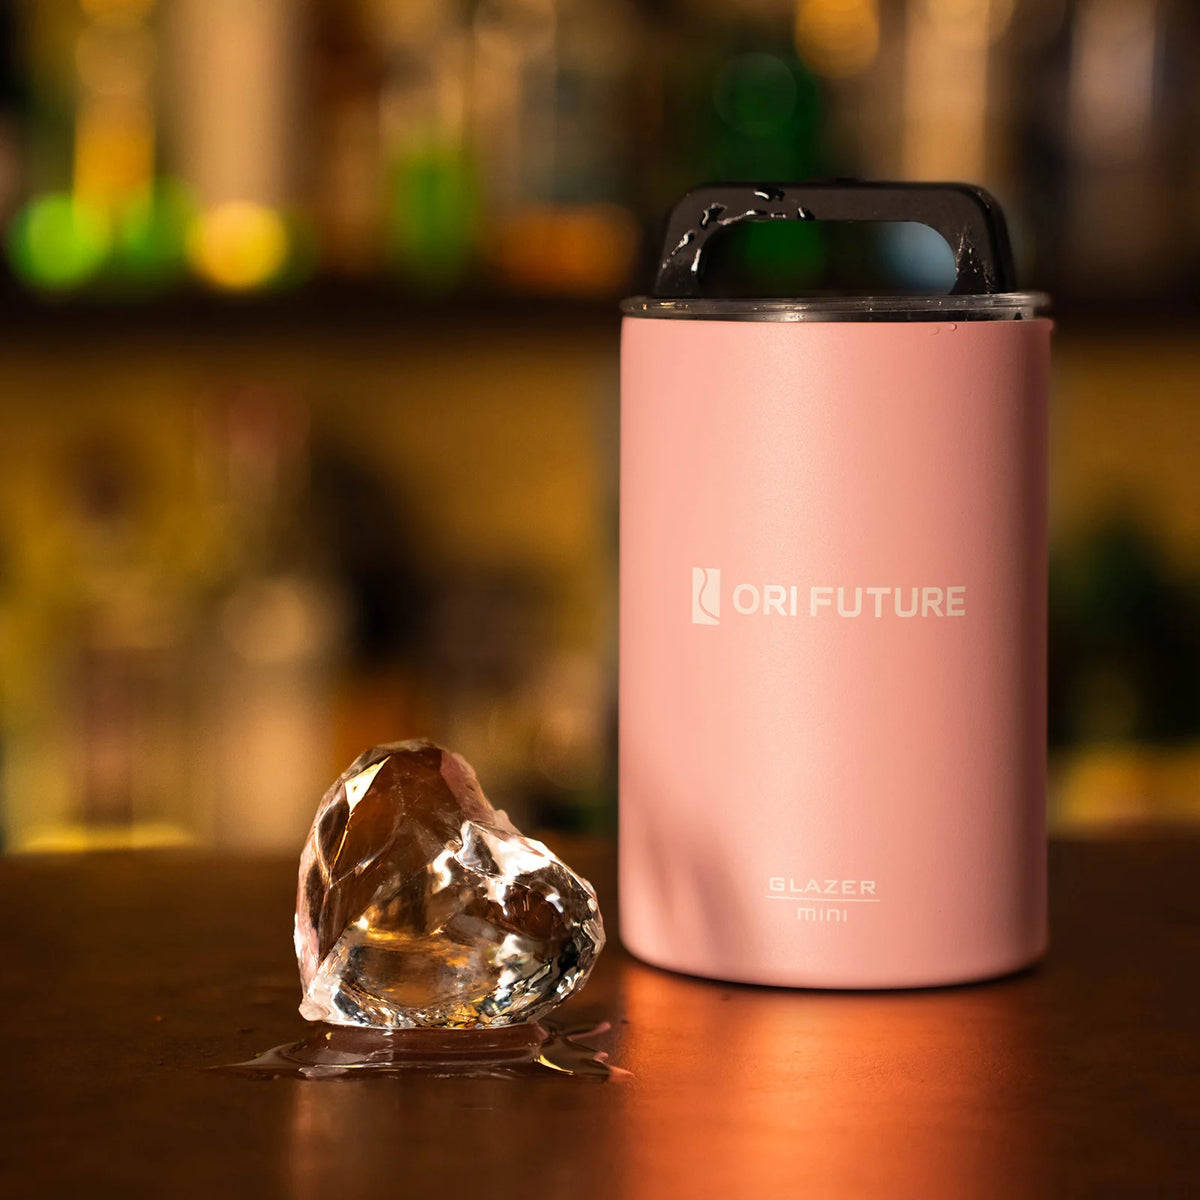
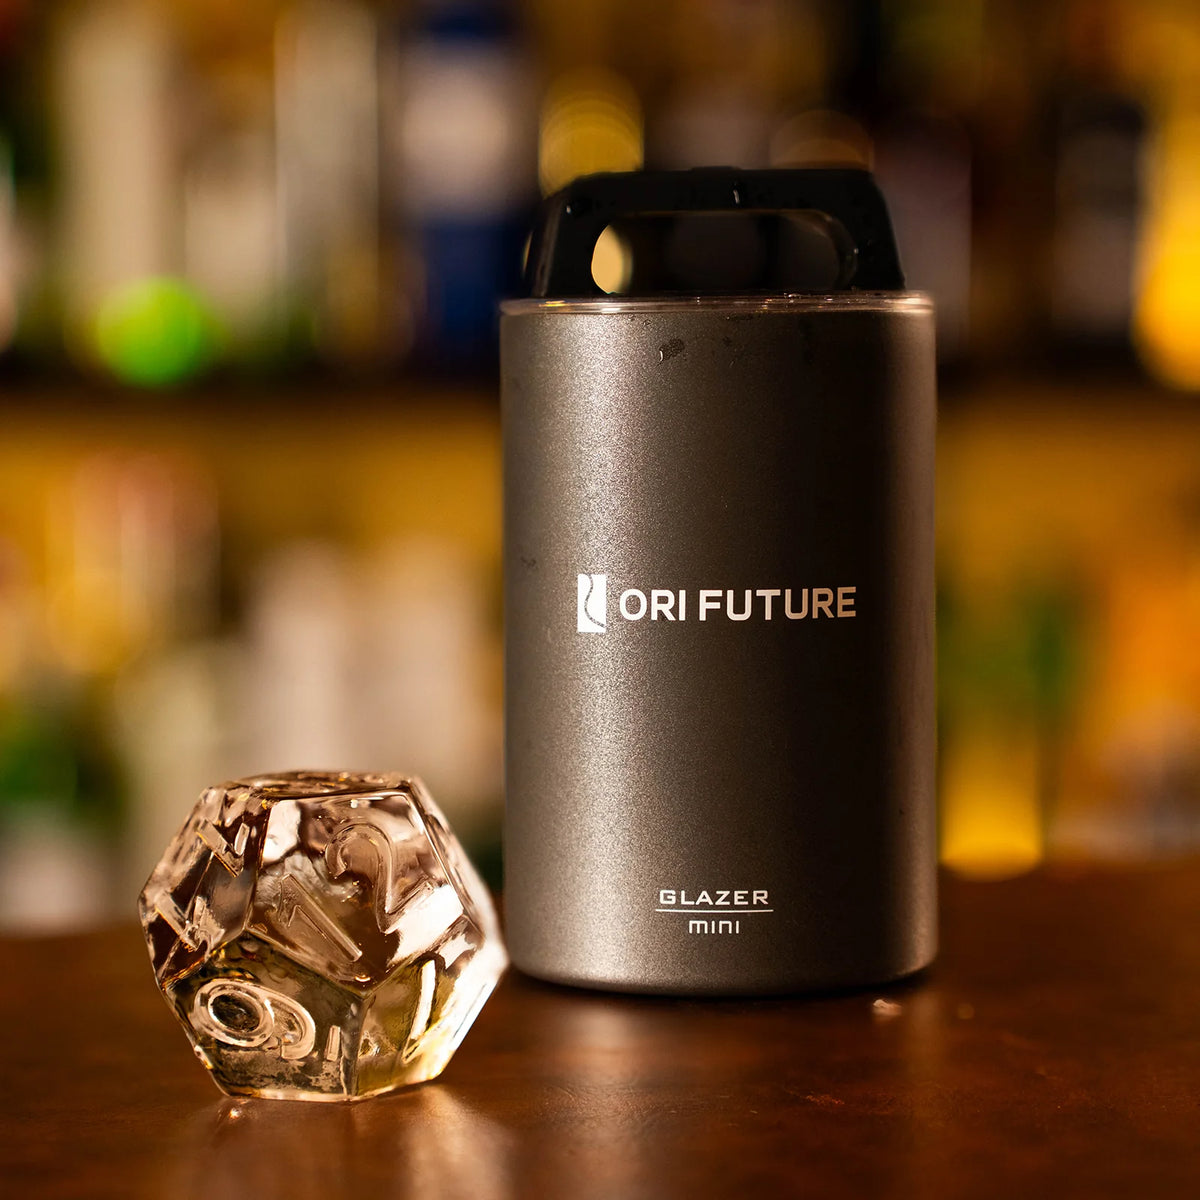
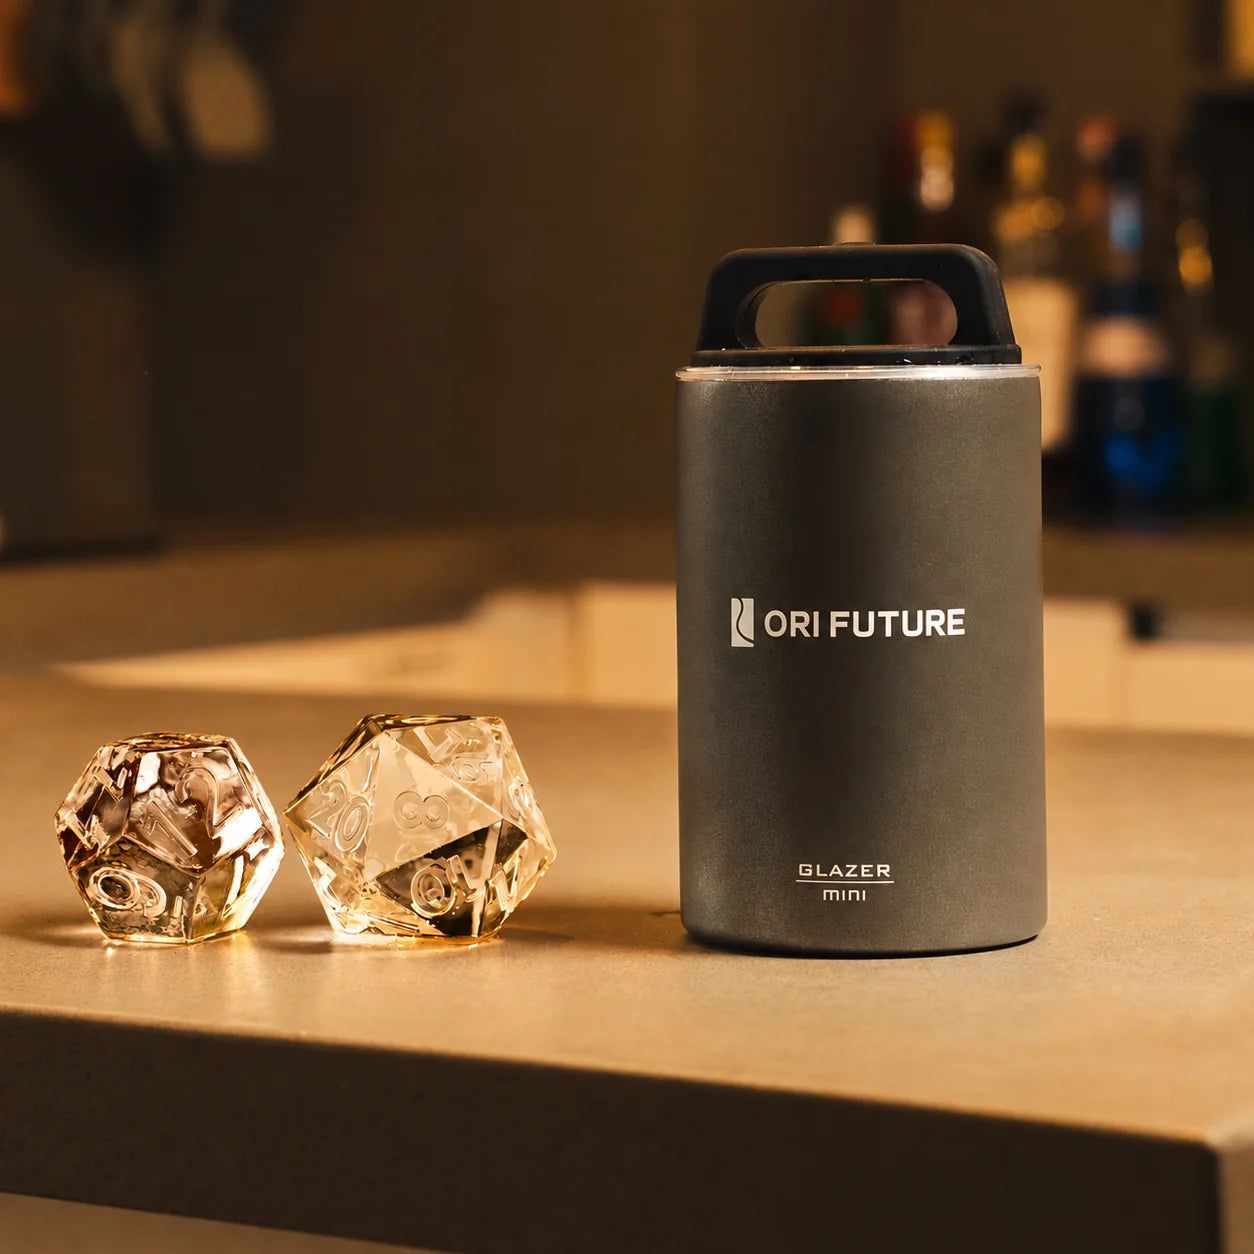
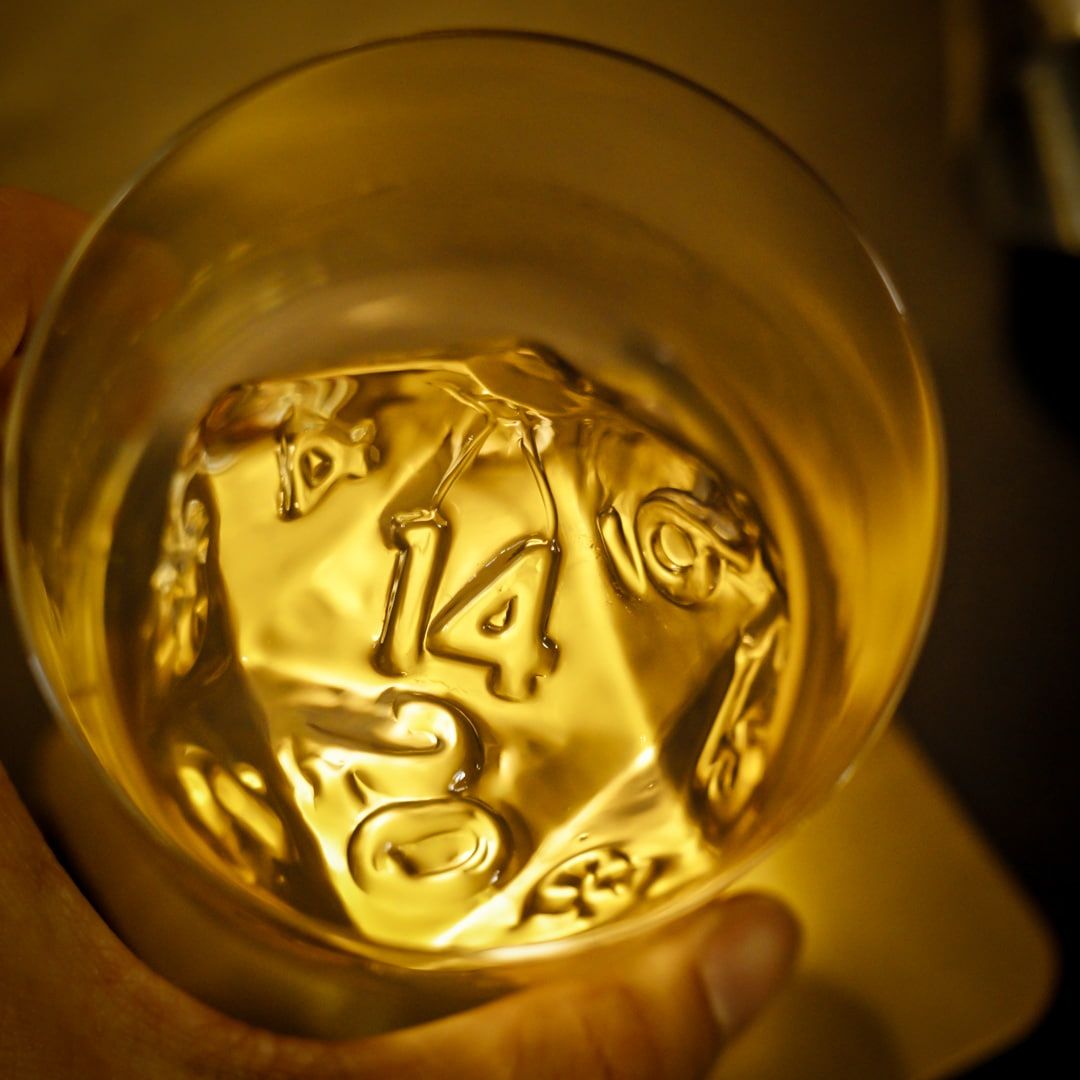
ORI Future's GLAZER mini D20 Ice uses a similar slow-freeze, directional freezing system. Its stainless steel body insulates while BPA-free silicone shapes the cube, so air and minerals migrate away from the center. Think of it as another clear-ice option in the same family, not a replacement for your tree tray.
Unmolding takes a light touch. Pull the molds from the freezer and let them rest at room temperature for 1–2 minutes. Flex the silicone gently to release each tree. Skip the tapping and soaking. Never bang the tray on the counter or pry with a knife, since both can shatter an otherwise perfect cube.
Fix Cloudy or Cracked Ice
Cloudy or broken cubes usually don't mean you did something wrong. They often point to one of three causes: what's in your water, how fast it froze, or how full you filled the tray. Find the cause, apply the fix, and your next batch of ice comes out clean and glassy.
Cloudiness Fixes
Start with what's dissolved in your water. Tap water carries dissolved air, calcium and magnesium minerals, chlorine residue, and tiny impurities. Your freezer chills from the outside inward, so the outer shell hardens first. That moving wall pushes the particles toward the middle. When the center finally freezes, the gases and minerals have nowhere to go. They bunch into tiny bubbles and give you that white, foggy core. Hard water makes it worse, since the minerals gather in the middle and can leave a chalky taste once the ice melts. Chlorine residue adds its own faint chemical note on top of that.
Freezing speed matters just as much. Here is the difference:
Freezing method |
Approx. freeze time |
Resulting clarity |
Why |
|---|---|---|---|
Standard uninsulated silicone mold (fast, multi-directional freezing) |
4–6 hours |
Cloudy, opaque core |
Fast freezing from all directions traps gases and minerals in the center |
Insulated directional-freezing mold (slow, top-down freezing) |
24–30 hours |
Crystal clear |
Slow freeze pushes bubbles and impurities into a reservoir |
The fix is a two-part habit. Use purified water — distilled or reverse-osmosis — to cut the mineral load. Then double boil it: a rolling boil for 3–5 minutes, cover, cool, then a second boil of about 3 minutes. Cool it fully before you pour. After that, insulate the sides and bottom of your christmas tree ice tray so freezing moves top-down. Fast cooling also traps tiny bubbles and pushes hairline cracks toward the center. Slow cooling avoids that spider-web pattern entirely and keeps your ice transparent.
Cracking and Sticking
Overfilling is the usual suspect. Water expands as it freezes, and a packed cavity leaves no room to swell. The ice presses against its neighbors and cracks. Watch for the warning signs: water spilling onto the freezer floor, cubes fused into a solid sheet, or icicles near the fill area. Leave a little headroom in every cavity instead. If you run a plumbed setup, keep water pressure in check, since high pressure can cause the inlet valve to overfill the mold.
A freezer that runs very cold speeds everything up. Thermal shock does the rest. The gap between a cold freezer and a warm kitchen makes cubes shatter when you pry them loose. Set your freezer at or below 0°F for steady, even freezing.
Sticking has a simple answer. A non-stick liner or a food-grade silicone mold releases cleanly. Give the tray a one-to-two-minute rest on the counter first, then flex the silicone gently. That short rest lets the surface warm just enough to release. No tapping, no soaking, no knives.
Festive Uses for Tree Ice

Holiday Drinks and a Christmas Cookie Centerpiece
Your tree ice earns its keep at the bar. Drop a clear tree into spiked eggnog and the creamy nog coats it slowly, so the shape stays visible. A cranberry mimosa shows the tree against deep red juice and sparkling bubbles. A peppermint martini gets a green tree floating on white, and the slow melt keeps the peppermint kick intact. Try a winter gin and tonic with rosemary and pomegranate arils, or a spiced apple bourbon with a cinnamon stick. A festive punch works too: fill the mold with cranberries, orange slices, rosemary, and pomegranate seeds, and the tree becomes ice and garnish at once.
Cocktail |
How the tree ice works |
|---|---|
Spiked eggnog |
Tree sits in the mug; nog coats it slowly |
Cranberry mimosa |
Clear tree pops against red juice |
Peppermint martini |
Green tree floats on white |
Winter gin and tonic |
Branches match the rosemary |
Spiced apple bourbon |
Slow melt preserves cider flavor |
Pair the drinks with a christmas cookie centerpiece on the dessert table. Bake a batch of cookies from your favorite sugar cookie recipe, then pipe royal icing over each one. A christmas cookie tree made of stacked star cookies makes a stunning holiday dessert display. Arrange the cookie tree beside a tray of iced holiday cookies, and let the tree-shaped cookie display tie the whole table together. The cookies and the ice share the same silhouette, and guests love the theme.
Christmas Tree Painting on Ice for Toddlers
A toddler christmas tree painting on ice session is a wonderful christmas art activity for little hands. This christmas tree painting on ice craft doubles as sensory play and art. Here is how to set up a christmas tree painting on ice activity:
Gather materials: a tree-shaped pan, water, washable paint, brushes, small paint containers, droppers, and a tray with edges.
Freeze the water in the pan to make ice trees. Freeze several for a group.
Store frozen trees in a cooler, then set them on the edged tray with paint and brushes.
Let toddlers touch the ice and describe the cold, then show them how to brush paint onto the tree.
Offer droppers so kids squeeze water onto the paint and watch it drip.
Rinse the painted ice tree under cold water and reuse it.
Keep close supervision during this ice painting activity, since ice cubes can pose a choking hazard. Keep a wet washcloth near each child and plan a bath afterward. This christmas tree art activity suits toddlers and preschoolers alike, and the painting on ice format keeps mess contained. For older kids, add more christmas art activities like dropper color mixing. The ice painting activity works indoors on a cold day, and the painted ice tree melts away for easy cleanup.
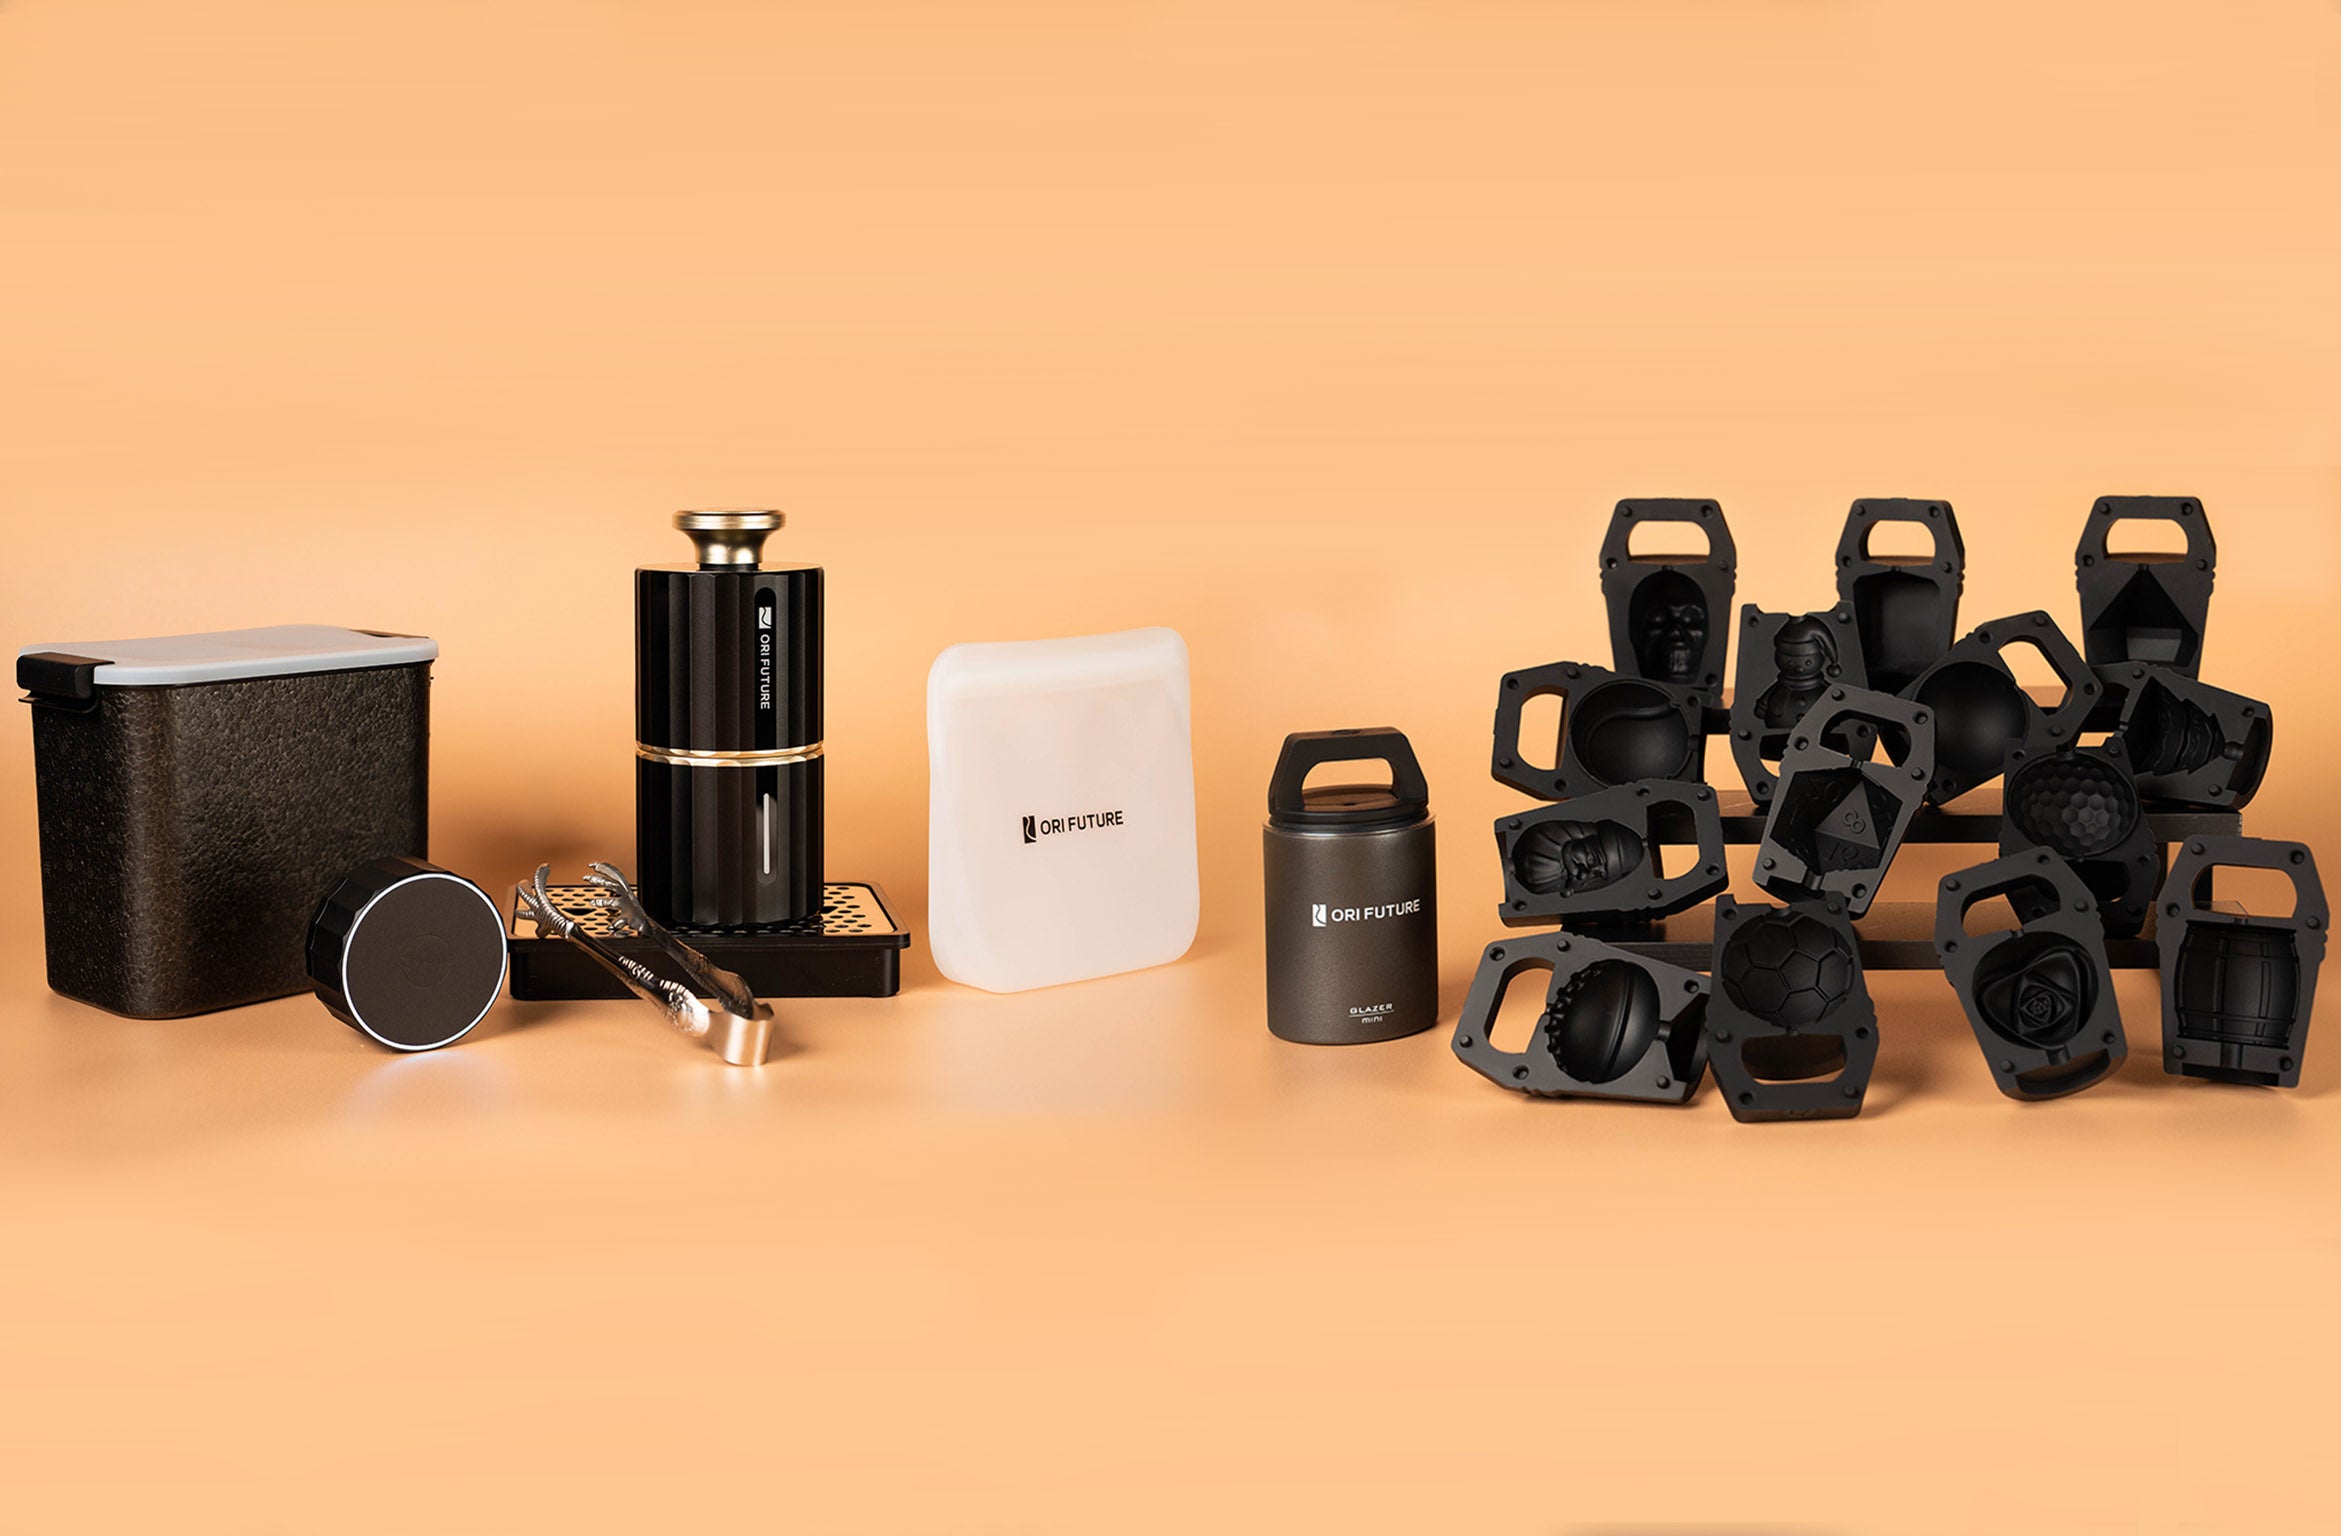
ORI Future also offers spheres, cubes, diamonds, and skulls molds for variety at game nights and parties.
You now have the whole recipe: purified water, a double boil, a slow insulated freeze, and a gentle unmold. That's it.
Give yourself a head start. Start making ice three to five days before your event, and freeze in batches. Practice makes perfect, so your first batch of ice may not be flawless. Your next one will be.
As one host put it, "if I was hosting a small cocktail party or gathering on a special occasion I'd probably go the extra step to make mostly clear ice." A christmas tree ice tray and the GLAZER mini D20 make that extra step easy. Cheers to a bright, sparkling holiday!
FAQ
How long does it take to freeze clear tree ice?
Plan for a slow freeze of roughly 24–36 hours. A fast freeze traps air in the middle and turns your trees cloudy. Give the tray a calm, insulated spot and let time do the work.
Can I use tap water if I boil it twice?
Boiling twice helps, but tap water still carries minerals that cloud the cube. Start with purified, distilled, or reverse-osmosis water for the clearest trees. Your drink will taste cleaner too.
What can I do with tree ice beyond cocktails?
Float trees in punch bowls and mocktails, or set them in a cooler for a cookie decorating party. A cookie station pairs nicely with tree ice, and kids love a cookie-themed table. You can also plan cookie crafts and other cookie activities around the frozen trees. For a toddler cookie activity, freeze trees and let little ones paint them. More cookie fun awaits with cookie trays beside the drinks. These cookie ideas make any gathering memorable, and cookie lovers always ask for more.
Why did my tree ice crack or stick to the tray?
Overfilling is the usual cause. Water expands as it freezes, so leave headroom in each cavity. A freezer set too cold adds thermal shock. Rest the tray a minute or two, then flex the silicone gently.
Are there other clear-ice molds for parties?
Yes. ORI Future offers spheres, cubes, diamonds, and skulls molds alongside the GLAZER mini D20. Rotate shapes across game nights and holiday activities. Mixing molds keeps party activities fresh and gives every guest a favorite.
