

Ready for Halloween? Try Skull Ice in Your Cocktails
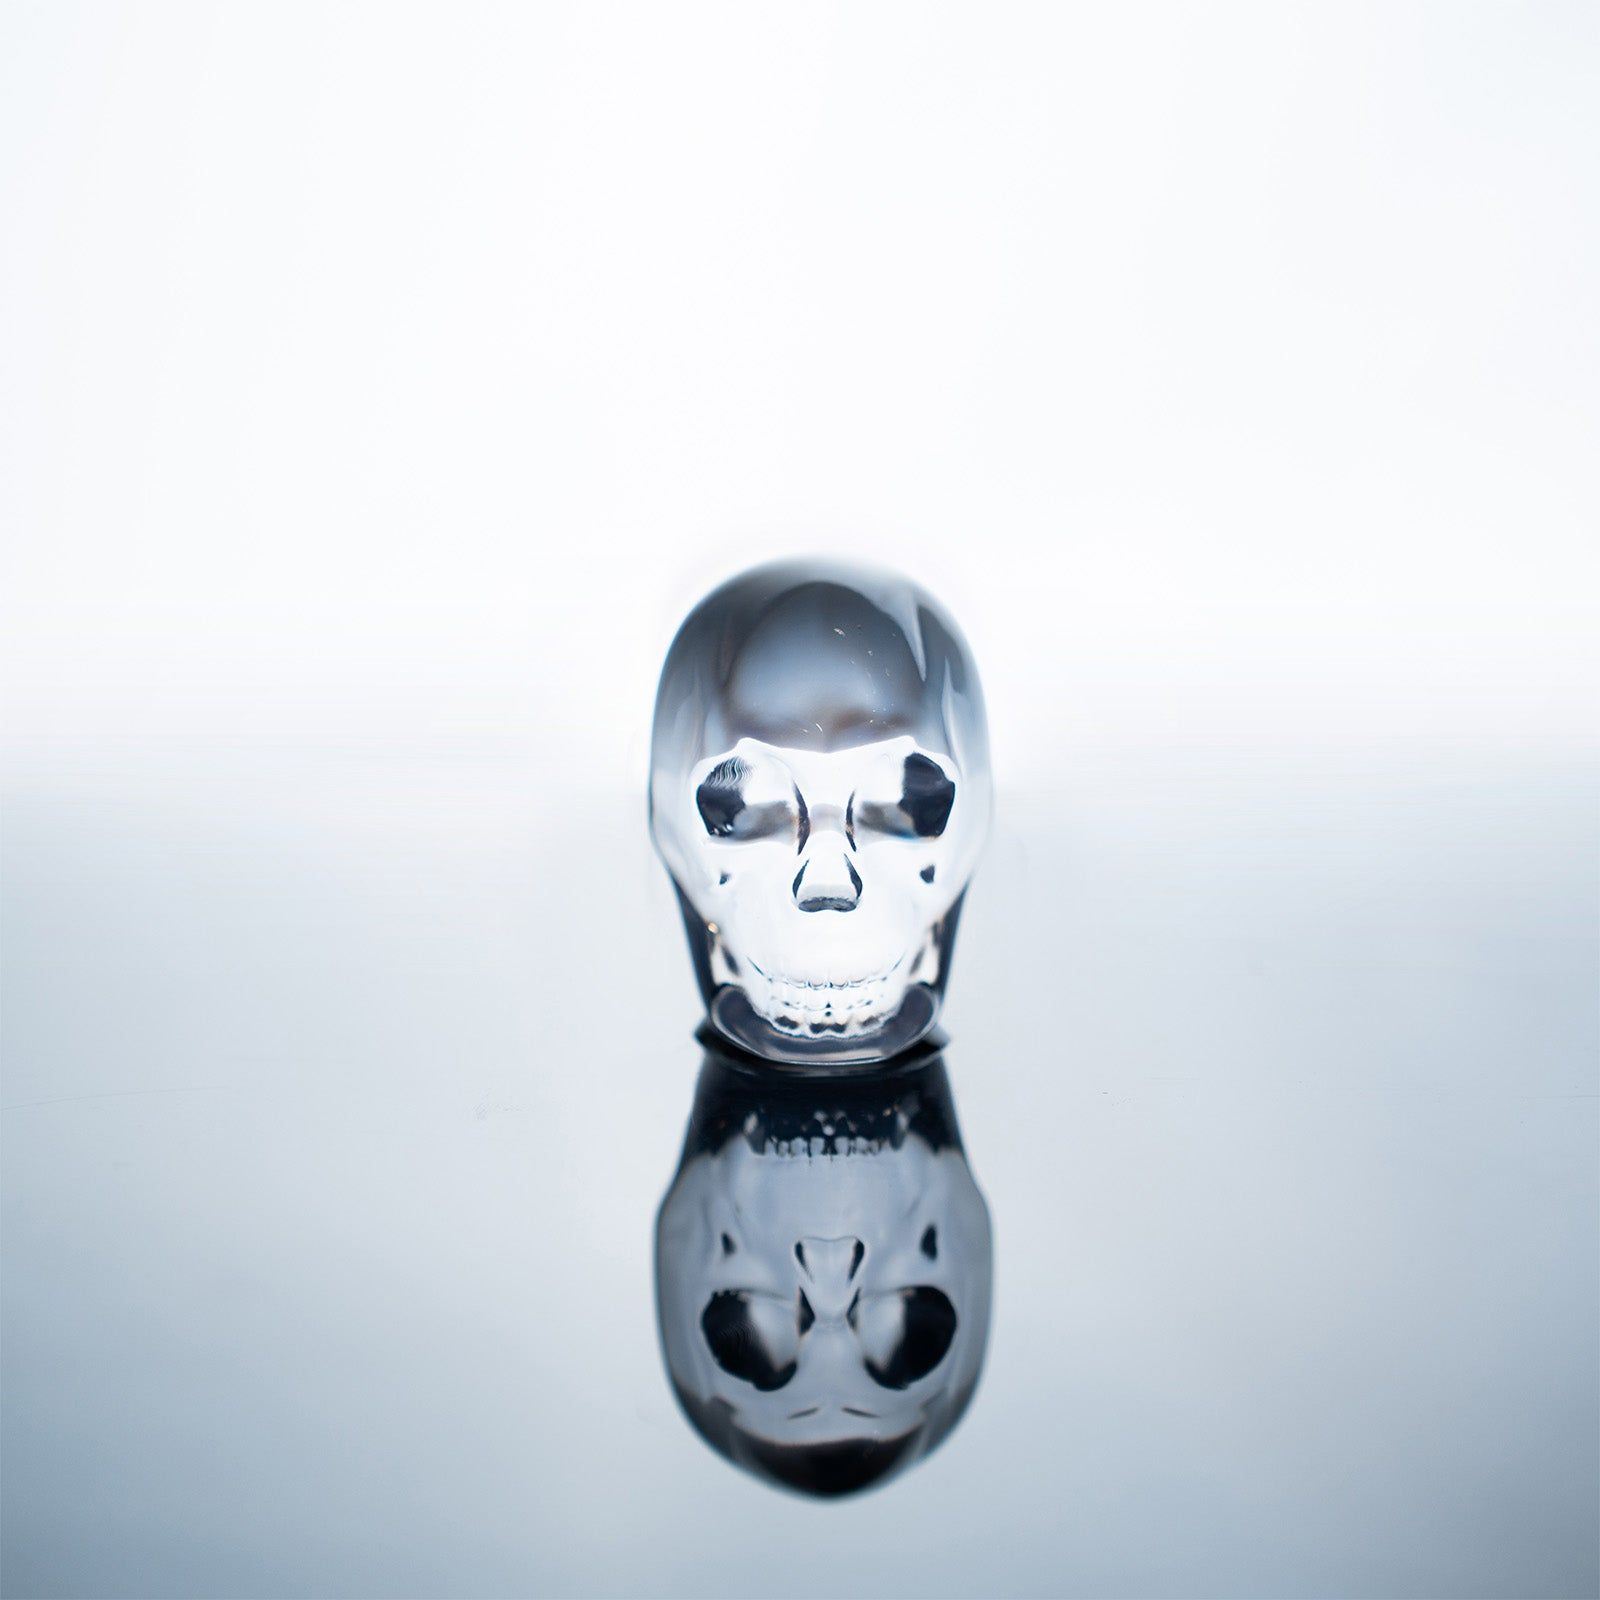
Yes, skull ice is one of the easiest ways to upgrade your halloween cocktails—and it's simpler than you think. One clear skull floating in your glass turns an ordinary drink into a centerpiece for your halloween party. You don't need a bartender's toolkit, either. You can freeze your own, or buy ready-made ice that pops straight out of the mold.
So which spirits work best? Whiskey and rum love a big, slow-melting skull, and a Smoked Old Fashioned in a rocks glass looks downright eerie with one. A Smoking Skull Sour brings the drama too. You'll also get timing tricks for maximum spooky effect. Ready to make your drinks the talk of spooky season?
Key Takeaways
Skull ice turns any drink into a spooky centerpiece with minimal effort.
You can make clear skull ice at home using a silicone mold and directional freezing.
Whiskey and rum cocktails pair best with skull ice for a dramatic effect.
Chill your glass and pour slowly to keep the skull's features sharp.
Always follow dry ice safety rules if you use dry ice for fog.
What Skull Ice Is
The Visual Punch
Skull ice is exactly what it sounds like: a single piece of frozen water shaped like a skull, complete with eye sockets, a nose cavity, and a jawline. You drop it into a glass, and suddenly the drink has a face. The skull-shaped molds capture intricate facial features, producing a striking visual effect when the cubes float in a drink. That detailed design adds an element of intrigue and excitement to beverages served at parties.
A clear skull does more than chill your drink. It becomes the thing guests point at before they even take a sip. The ice slowly reveals itself as it melts, and the skull seems to watch from the glass. You get drama without any extra garnish work.
Why It Fits Halloween
Halloween drinks already lean on dark colors, smoky finishes, and moody lighting. A skull ice cube slides right into that scene. Skull-shaped ice adds a bold twist to Halloween or themed parties, delivering visually striking results. One skull turns a simple cocktail into a conversation starter, and you don't need a fog machine to pull it off.
The spooky factor comes from contrast. A pale skull against a dark rum punch or an amber whiskey looks eerie and elegant at the same time. You can serve the same drink you always make, and the skull does the heavy lifting. That makes it a smart pick for hosts who want a festive touch without rebuilding their whole bar menu.
Make Skull Ice at Home
Molds and Clear Ice
You don't need a lab or a pro bar setup to get crystal-clear ice at home. You need the right mold and one clever freezing trick. Food-grade silicone is the best mold material for the job — it stays flexible, resists warping, and releases the skull shape without a fight. Pick a larger mold when you have the choice. Bigger pieces melt more slowly, so your drink stays cold longer without turning watery. Silicone also cleans up easily, and some trays are dishwasher-safe.
The real secret is directional freezing. In a normal freezer, water loses heat from every exposed side at once. Crystals form at the edges, bottom, and top together, and they trap dissolved gases and minerals in the middle. That's the cloudy white core you see in ordinary cubes. Directional freezing insulates every surface except one. Solidification then travels in a single controlled direction. The growing lattice can't absorb dissolved oxygen, carbon dioxide, or minerals, so it pushes them ahead of the freezing front into the remaining liquid. This is the same principle behind clear ice in fancy bars, just scaled down for your kitchen counter.
Directional freezing does not eliminate cloudiness — it relocates it to one end of the block. Roughly 15–30 percent of the ice will remain cloudy as the last part to freeze, unless that portion is removed before full solidification.
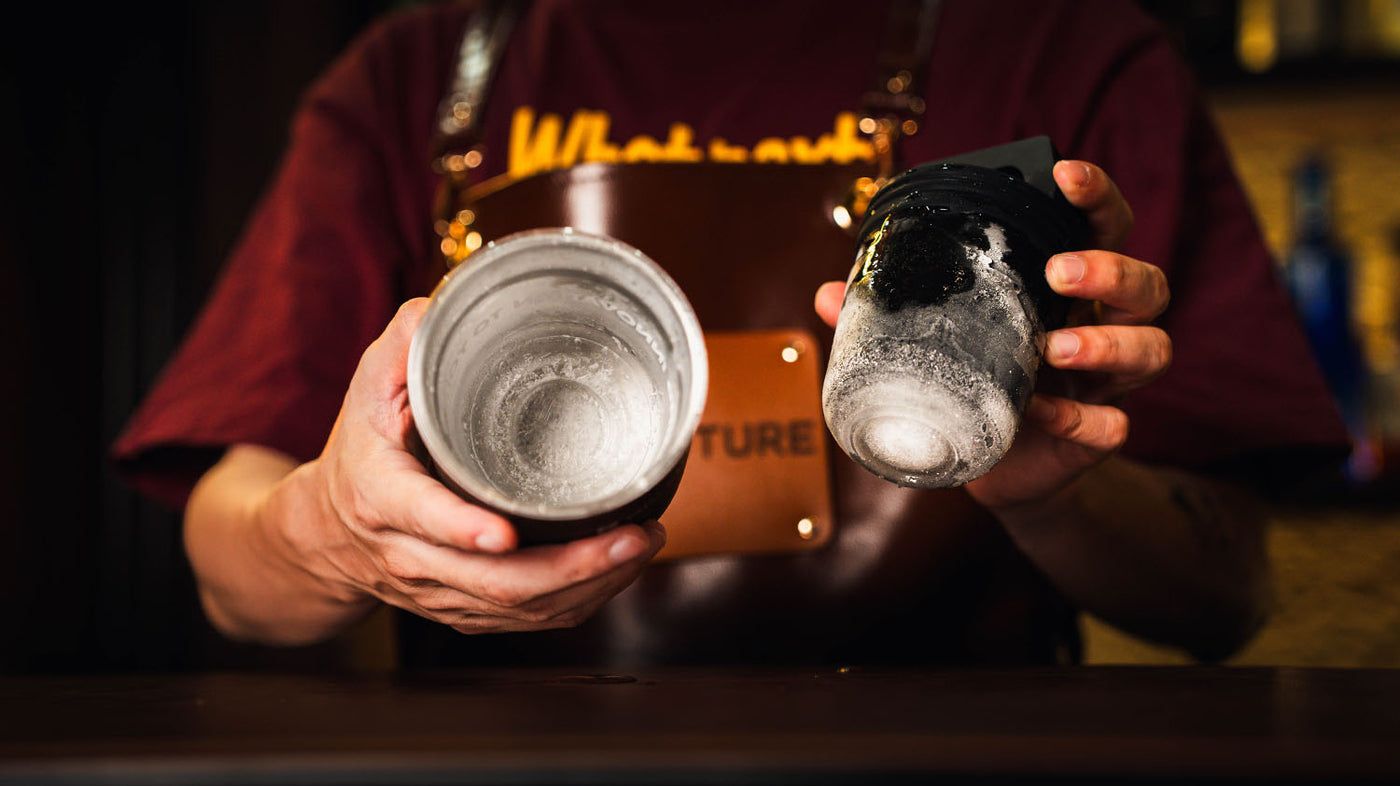
A dedicated plastic liner handles the release. No tapping, no soaking, no hot water needed. You just fill, freeze, and twist.
Freezing Step by Step
Here's the beginner-friendly routine, start to finish:
Pull the silicone mold out of the clear ice maker.
Fill the water storage box with lukewarm drinking tap water up to the measuring line — about 2 inches from the top.
Slowly press both halves of the mold into the box. Make sure water fills the holes.
Place the ice maker in your freezer and wait 20–24 hours.
That's the whole process. The stainless steel body insulates the sides while the mold and liner guide the freeze, so air and minerals move away from the center. You end up with clear ice and no cloudy core. The compact design fits neatly into most freezers, so it won't crowd your frozen pizza. Cleanup is simple too — just rinse the parts and refill for the next round.
Want an advanced clarity tip? Freeze at the warmest setting your freezer allows. Slower freezing gives trapped bubbles more time to escape before the cold locks them in. You can also chip off the cloudy end after unmolding if a little haze shows up at the base. A quick twist pops the piece free, and the detailed face comes out sharp every time.
Once your ice is ready, drop it into any halloween cocktail and watch the reaction. A single clear piece adds instant spooky drama to the glass, and guests notice it right away.
Where to Buy Skull Ice
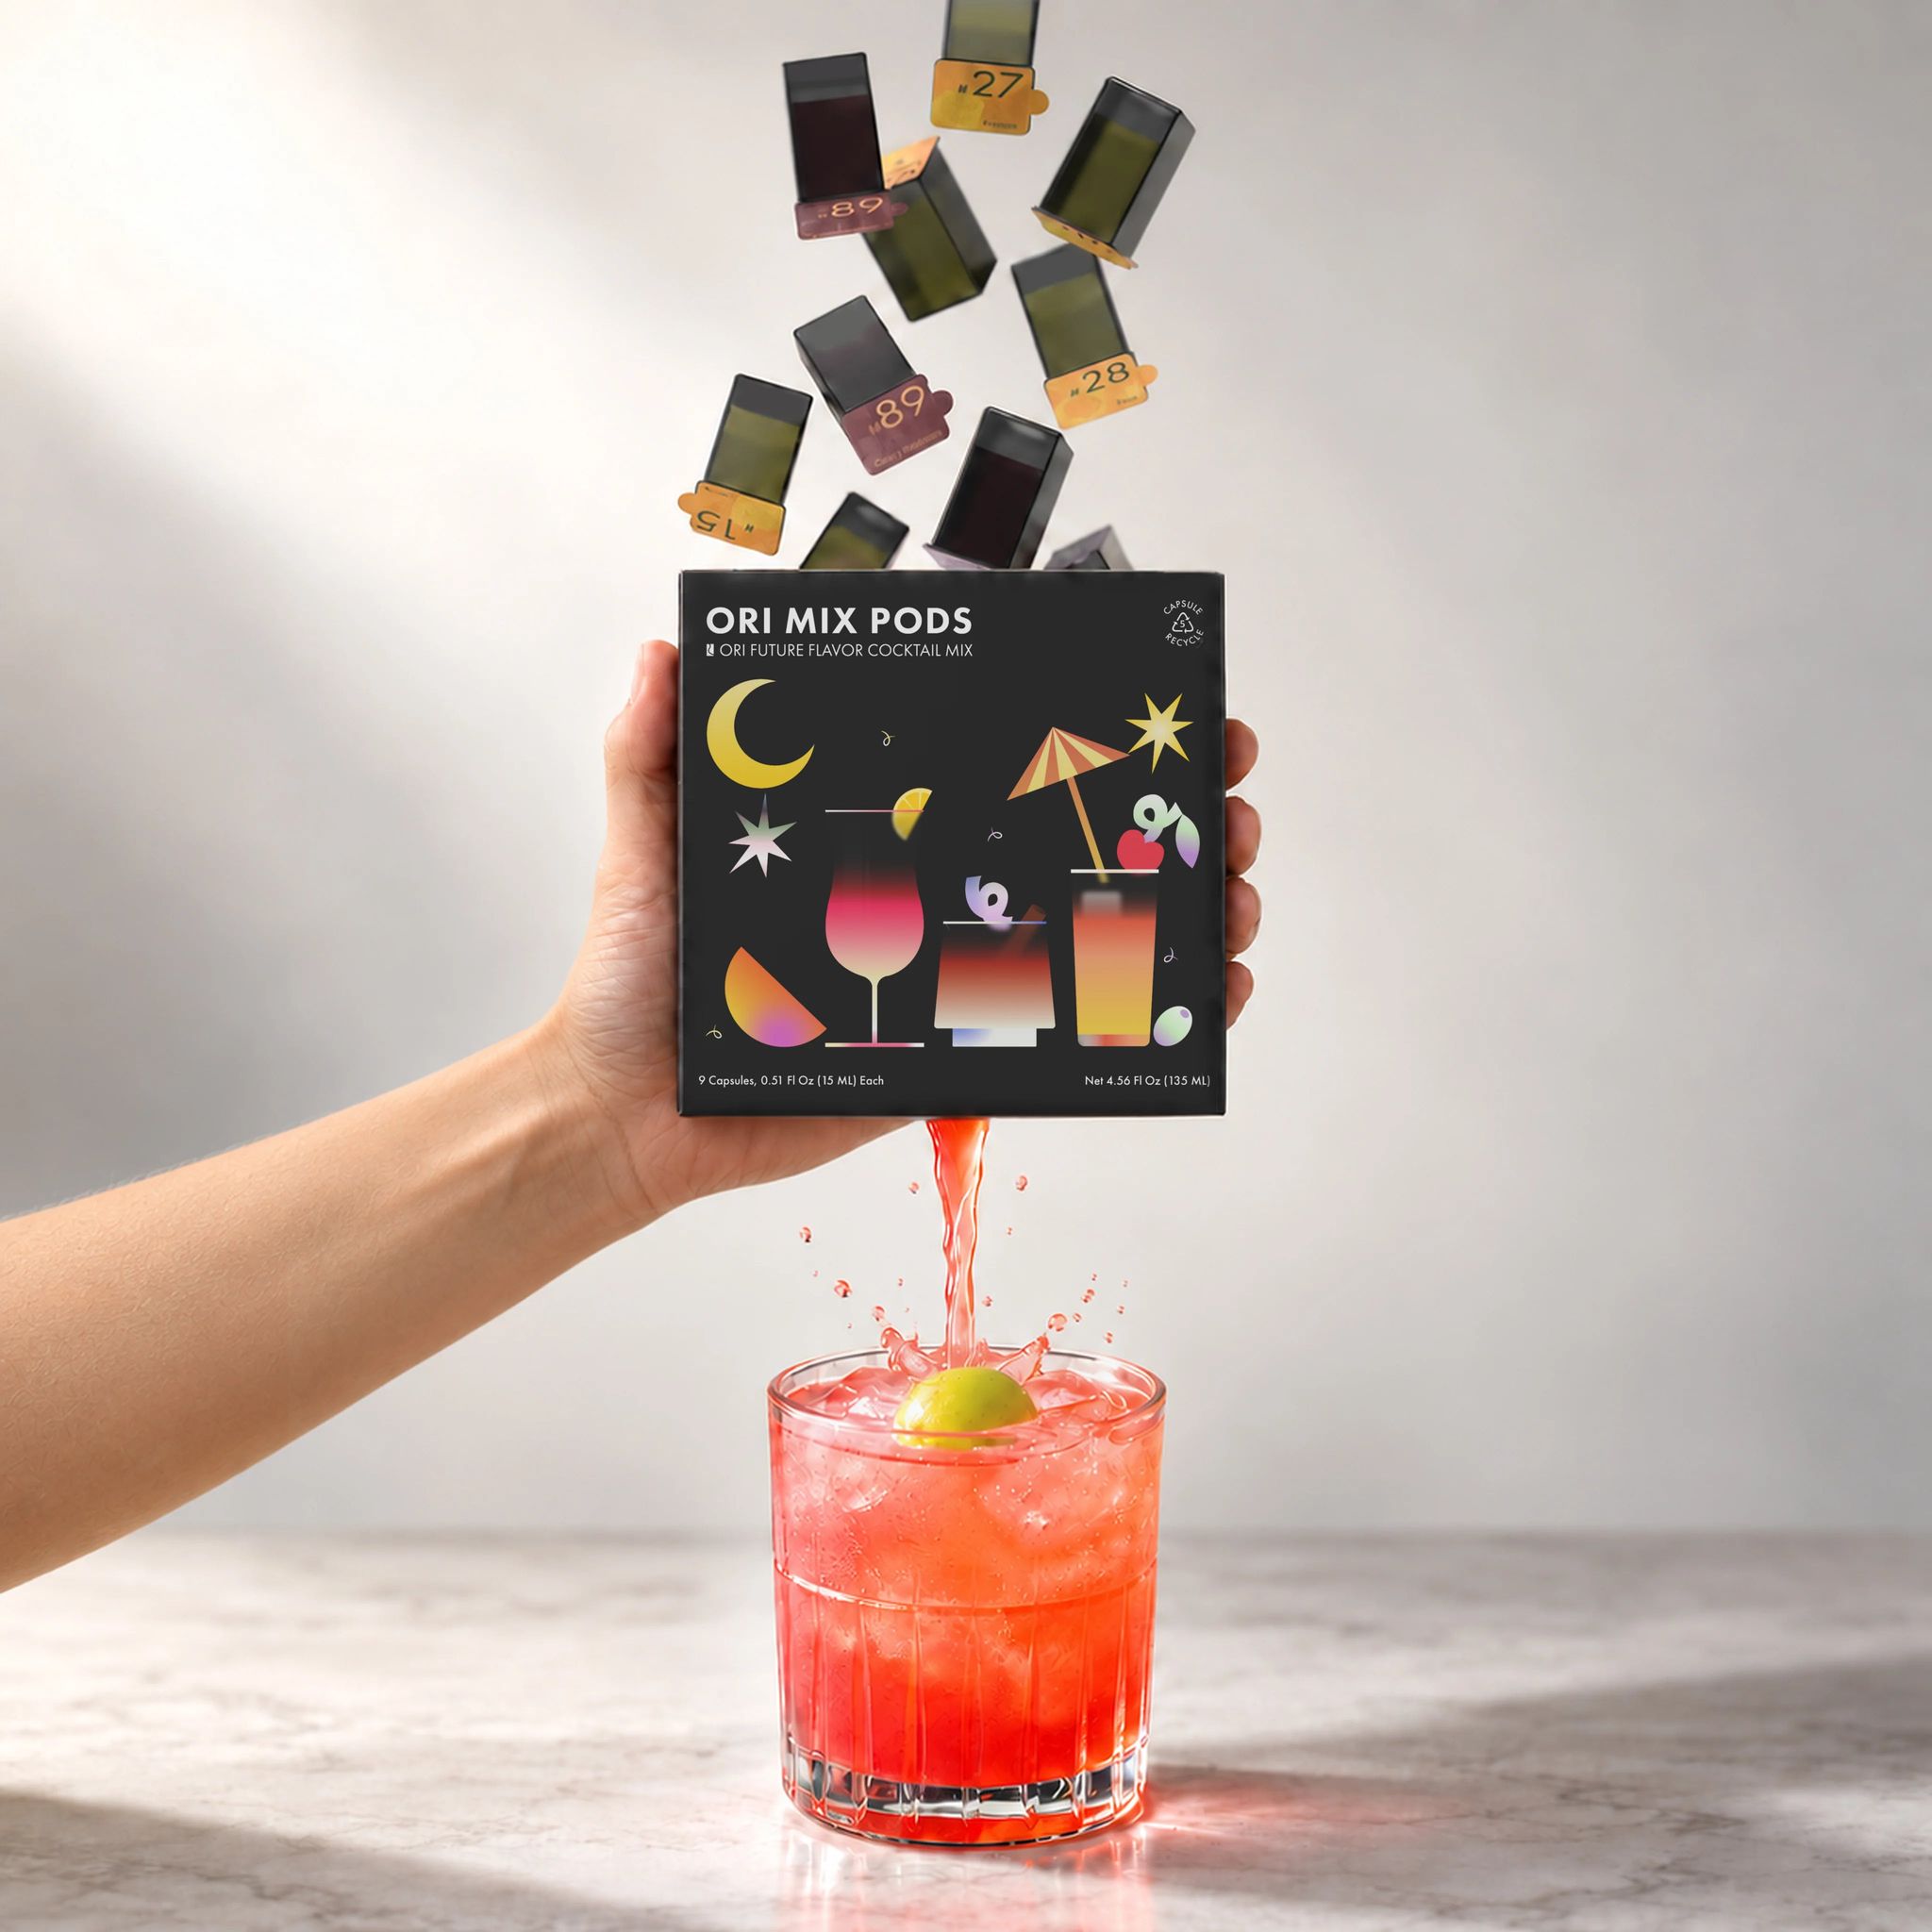
You have three paths here: a dedicated mold system, a basic tray, or pre-made pieces shipped to your door. Each one fits a different kind of host, and none of them is a bad choice.
Molds vs. Pre-Made Ice
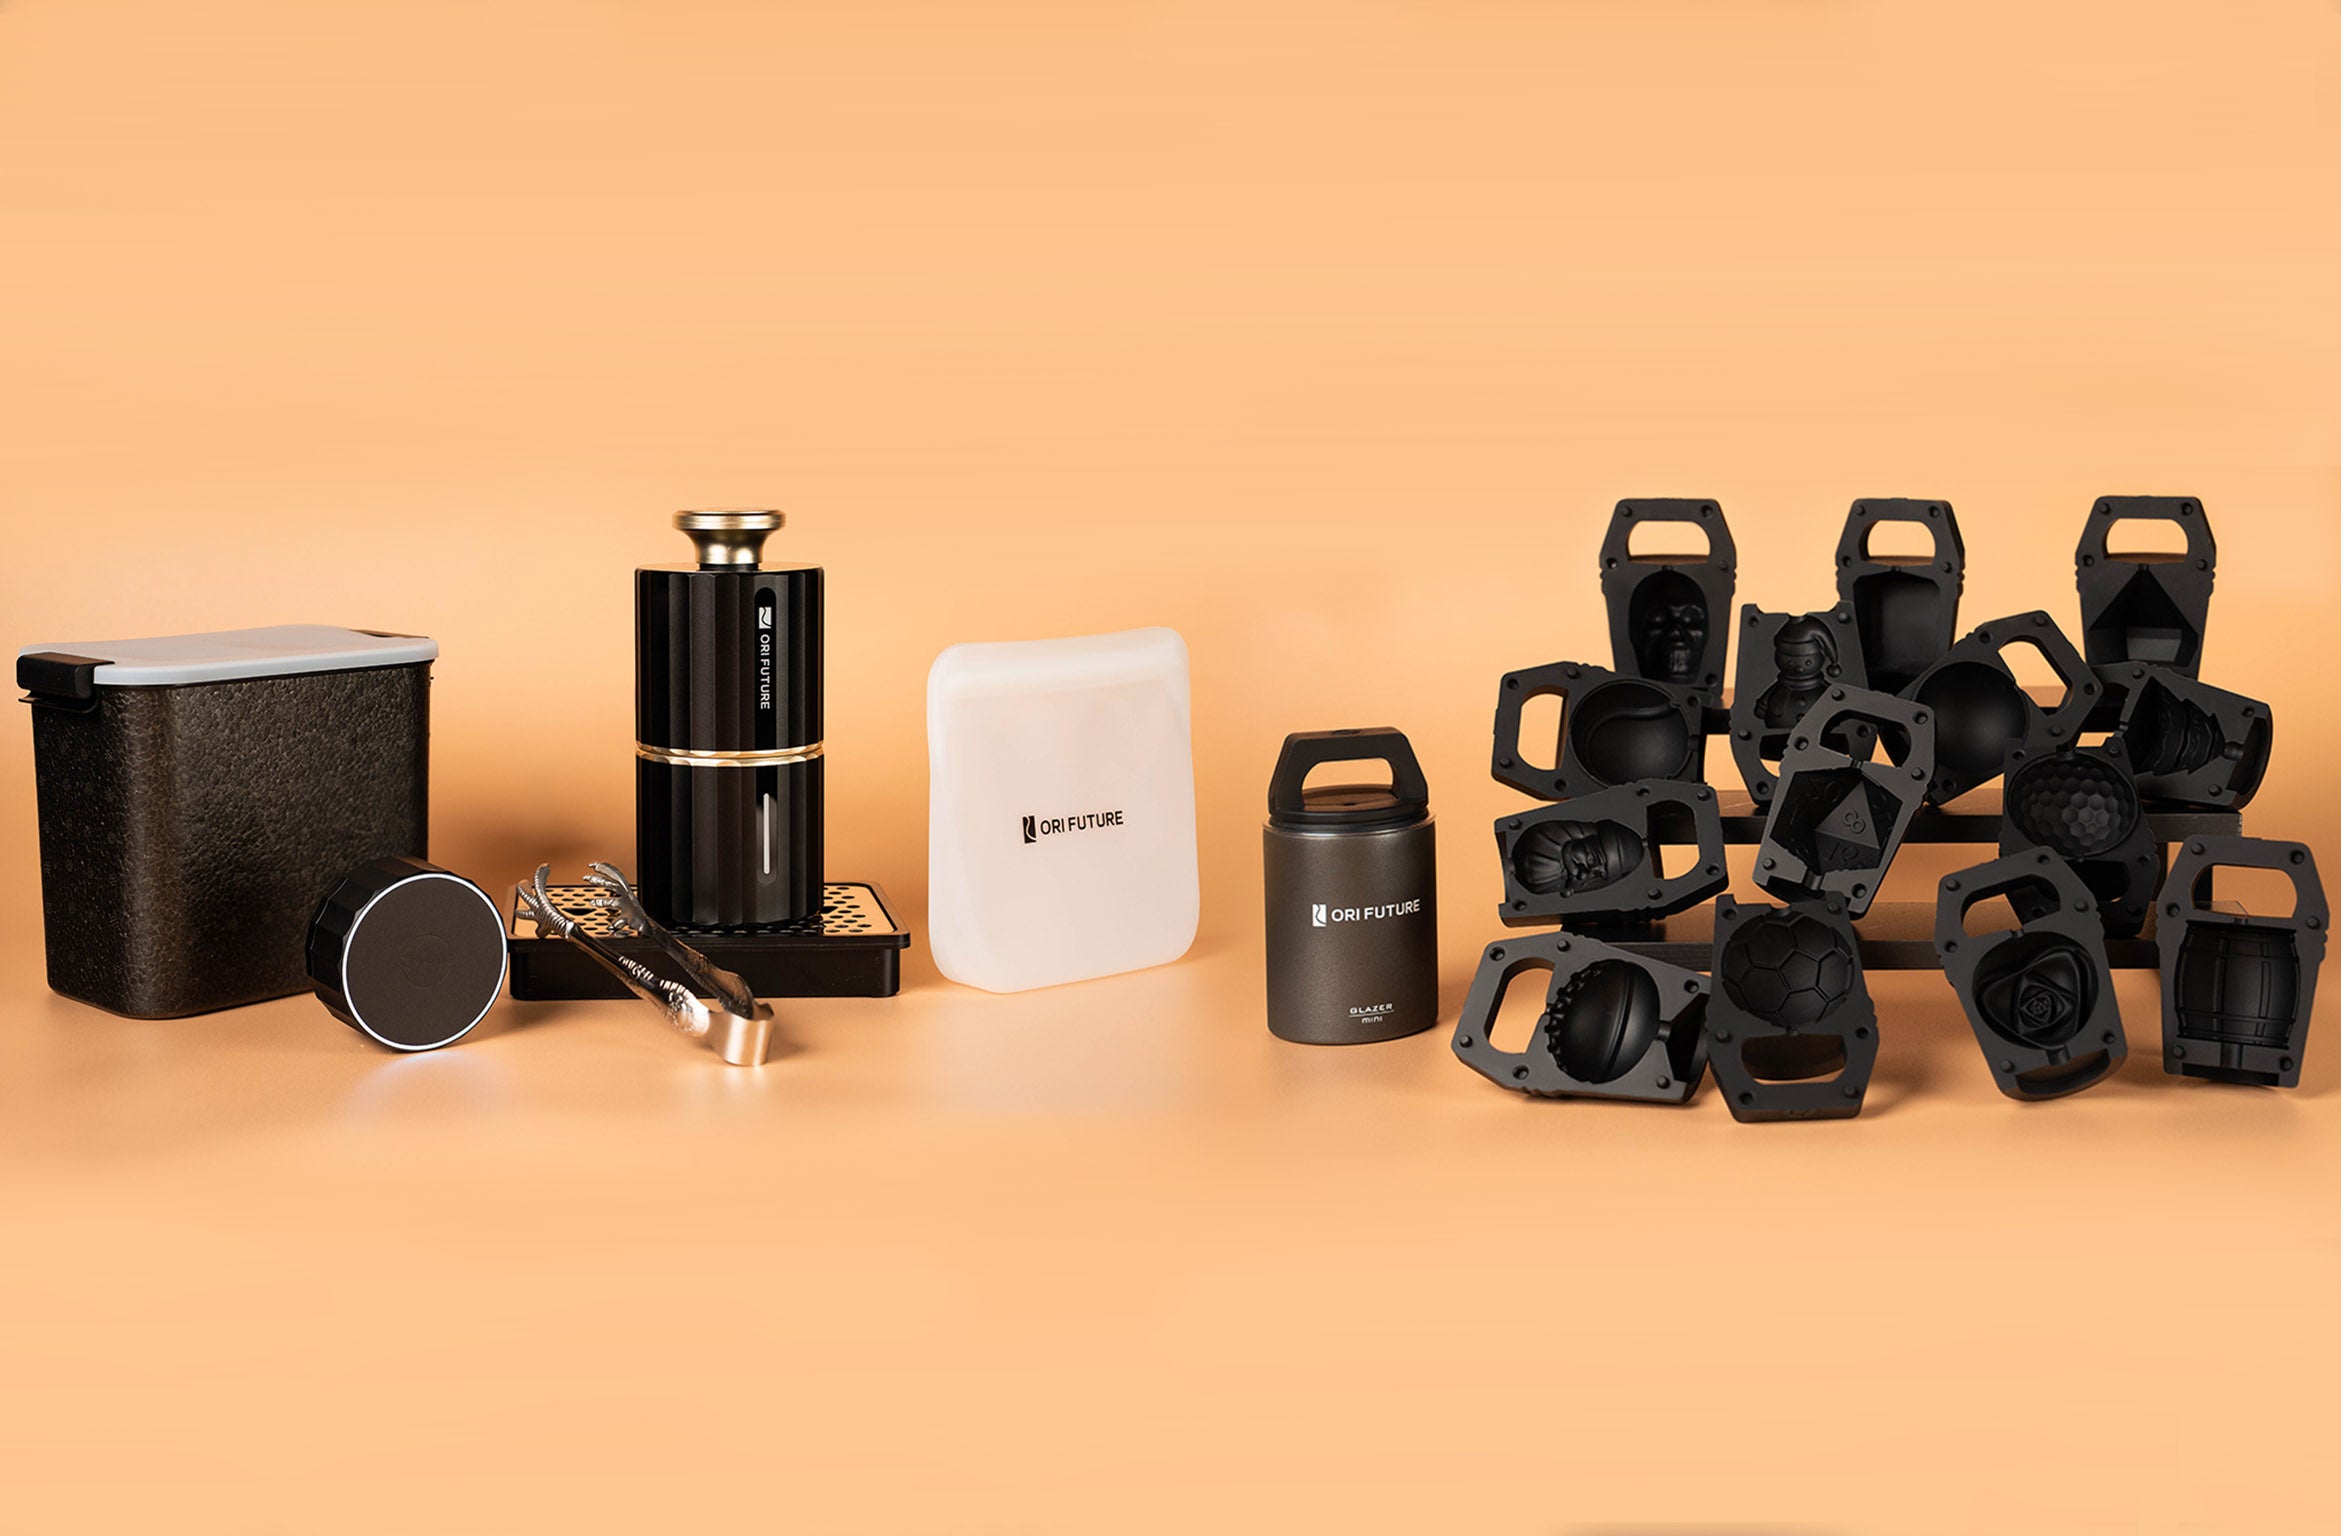
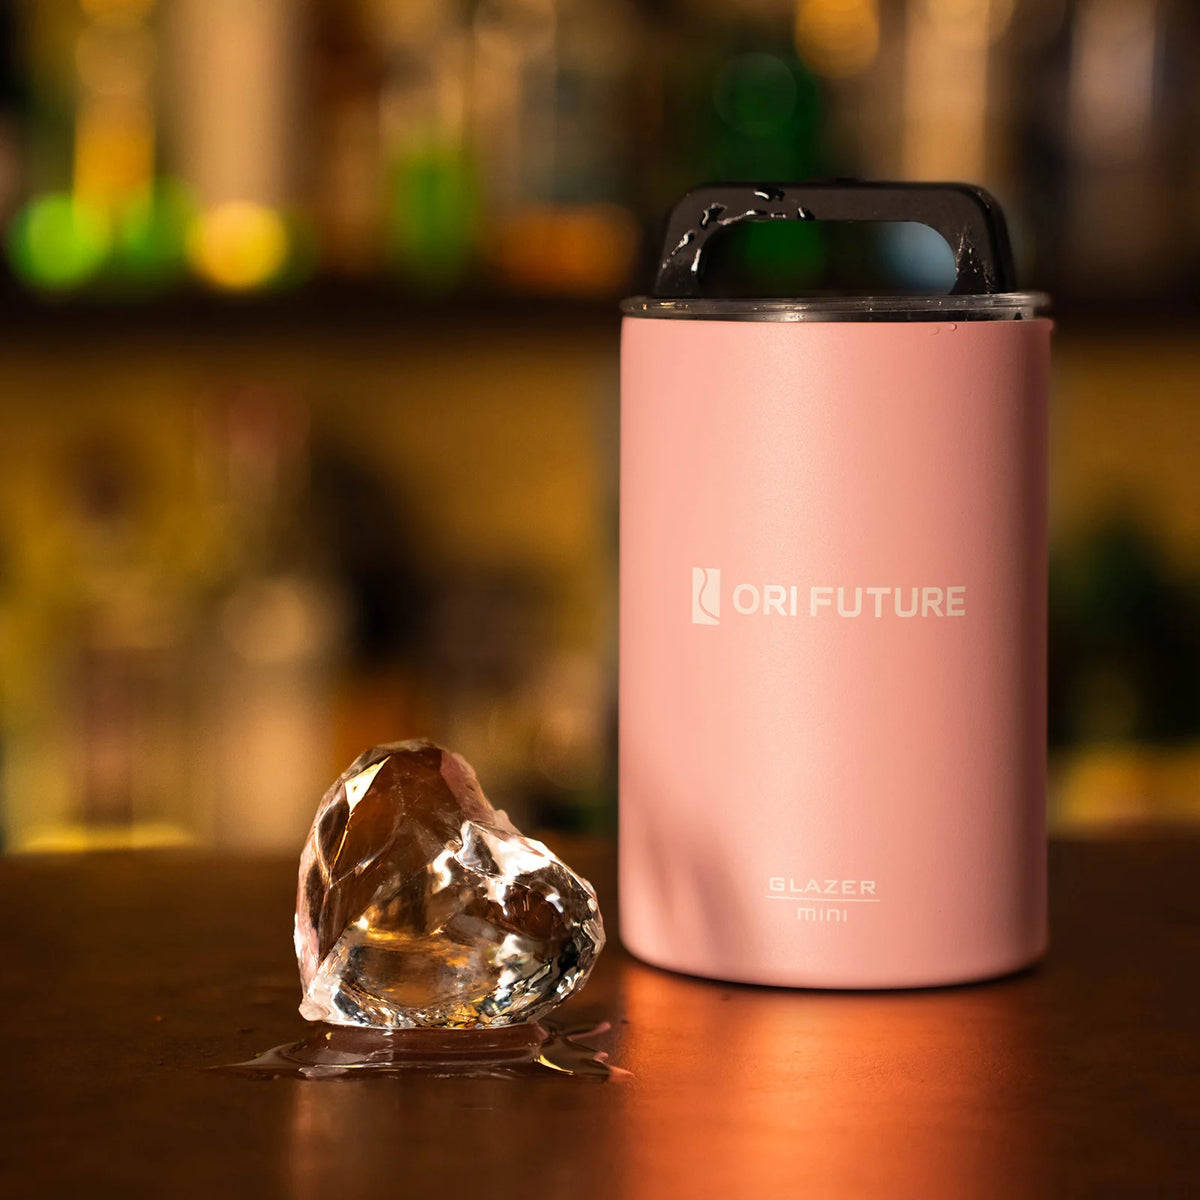
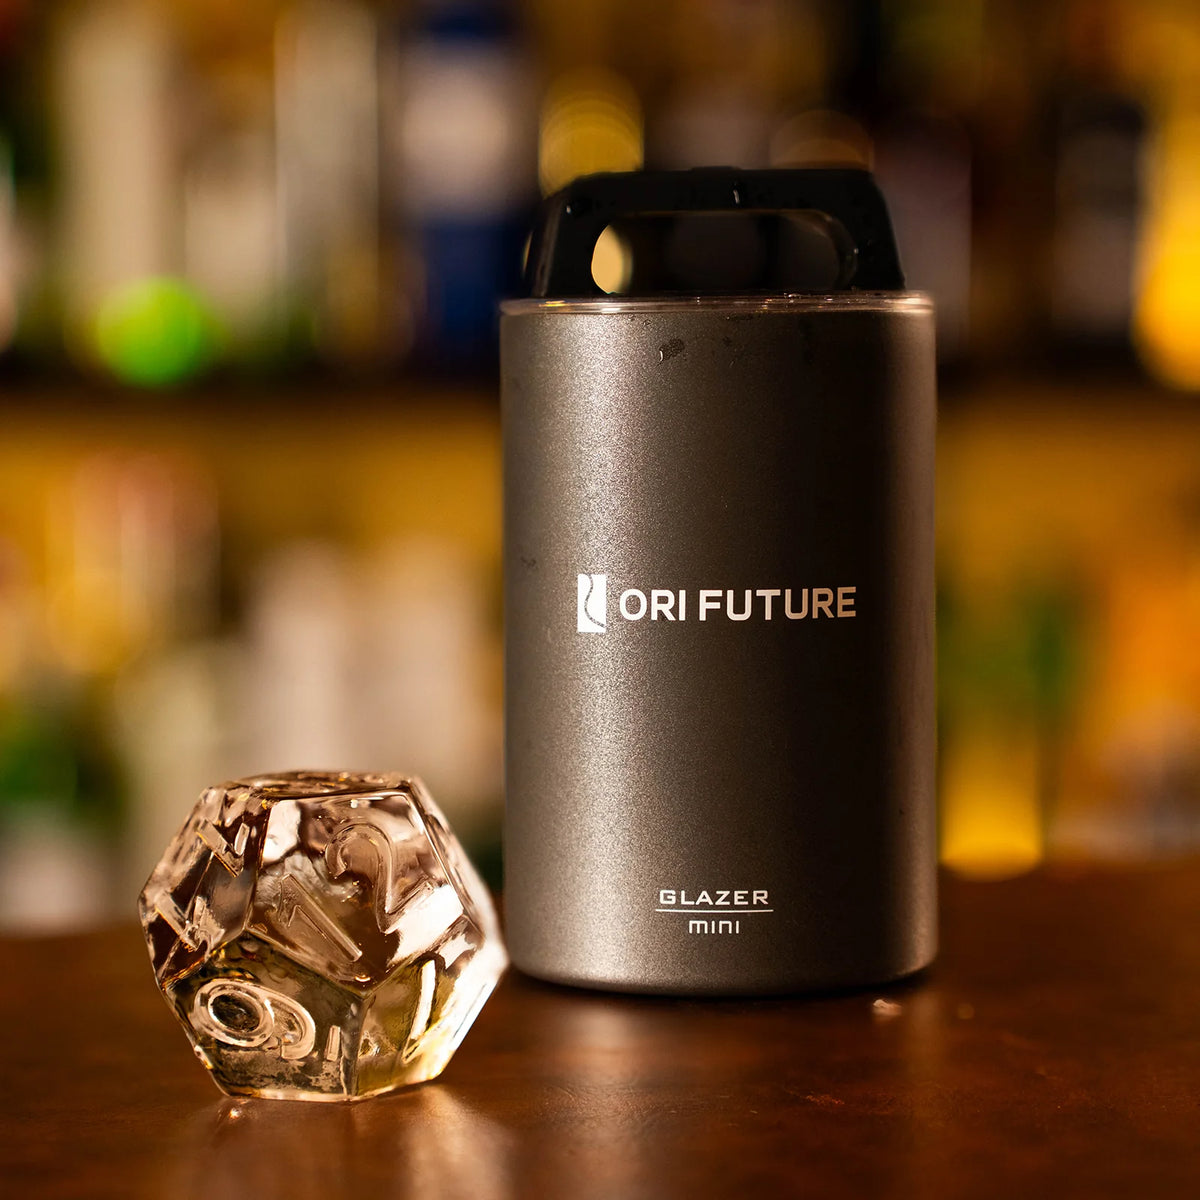
A dedicated mold system like ORI Future's GLAZER mini Halloween Ice gives you repeatable results at home. The finished piece measures 1.8 x 2.7 inches, and the crystal-clear skull reads sharp in any glass. A food-grade stainless steel body insulates the sides while a BPA-free silicone mold releases the shape with a simple twist. The unit fits neatly into a compact freezer, carries a 12-month warranty, and holds a 4.74-star rating from more than 1,800 customers. The same line also offers a D20, diamond, sphere, and cube, so you can mix shapes across a party.
Pre-made pieces suit hosts who want zero prep. You open the bag, drop one in, and pour. Basic trays cost the least and work fine for punch bowls and backup batches. Compare them on the things that matter:
Option |
Performance |
Fit |
Compliance |
Cost |
|---|---|---|---|---|
Dedicated mold system |
Clear, dense, repeatable |
Compact freezer footprint |
Food-grade steel, BPA-free silicone |
Higher upfront, reusable for years |
Basic tray |
Cloudier, smaller pieces |
Fits any freezer |
Standard food-safe plastic |
Lowest |
Pre-made pieces |
Clear and consistent |
Needs freezer space |
Varies by seller |
Per-bag, ongoing |
Matching Options to Needs
Hosting a halloween party with one signature cocktail? A dedicated mold earns its keep. You freeze a batch days ahead, and every glass gets the same dramatic centerpiece. The upfront cost spreads across seasons of use, and the clear result never disappoints.
Serving a crowd on a tight budget? Basic trays and pre-made bags cover volume without fuss. Buy pre-made when your freezer is full or your schedule is tight. Grab a tray when you want flexibility and low cost. Pick the mold system when clarity and the spooky reveal matter most. Any of the three keeps your drinks cold, and your guests will notice the difference in presentation.
Best Halloween Cocktails
Whiskey, Rum, and the Smoked Old Fashioned
Dark spirits give you the best contrast against a pale skull. Whiskey brings amber and smoke. Rum brings deep molasses brown. Both hold their color when ice starts to melt, so the skull stays visible from the first sip to the last.
Start with the Smoked Old Fashioned. Add a sugar cube and three dashes of bitters to a rocks glass. Pour in two ounces of bourbon or rye. Stir for about twenty seconds. Drop in your skull ice and let it sit for a minute. Light a small piece of smoking wood, cover the glass, and let the smoke settle over the drink. Lift the cover at the table. The skull stares up through a haze of smoke, and your guests will love it.
Rum works just as well. Try a black widow cocktail: dark rum, blackberry liqueur, and fresh lime, shaken and strained over the skull. The deep purple liquid makes the skull pop. A zombie cocktail is another strong pick. Blend light and dark rum with grapefruit, lime, and a touch of cinnamon syrup. Pour it over the skull and watch the layers swirl.
For a whiskey-forward option, try a pumpkin margarita with a twist: swap the tequila for bourbon and add a spoon of pumpkin puree. The orange hue glows against the clear ice. These halloween cocktail recipes give you range without extra fuss.
The Smoking Skull Sour
The Smoking Skull Sour is the showstopper of the night. You need two ounces of whiskey, one ounce of fresh lemon juice, and three-quarters of an ounce of simple syrup. Shake with ice until the tin feels cold. Strain into a rocks glass over your skull. Add a dash of aromatic bitters on top.
Now for the smoke. Place a small smoking chip or a smoking gun nozzle at the rim. Trap the smoke under an inverted glass for a few seconds. Release it slowly. The smoke curls around the skull and drifts across the surface. This is one of the easy halloween cocktail recipes that looks far harder than it is.
Want more variety? A color-changing cocktail adds a magic trick to the table. Butterfly pea flower tea shifts from blue to purple when you add lemon. Pour the tea over the skull first, then let guests squeeze in citrus. The color-changing halloween cocktail recipes crowd will ask for seconds.
Round out your menu with a halloween-approved punch for the crowd. Mix apple cider, ginger beer, and spiced rum in a large bowl. Float a skull in the center. For a sweeter option, candy corn coladas blend coconut cream, pineapple, and a drizzle of caramel. The candy corn coladas look bright and festive next to a dark skull.
A witches' brew lemonade gives you a green glow under black light. Black magic margaritas bring a deep purple swirl. Serve bloody mary syringes as a savory starter. These halloween drinks recipes cover every taste. Any halloween drink for a party works better with a skull in the glass. Plan your halloween drinks for a party around one dark spirit and one bright mixer, and you have a full menu of spooky drinks ready to go.
Presentation and Timing
Glassware and Inserting the Skull
Pick a heavy rocks glass for whiskey and rum drinks. A thick base and wide mouth give the skull room to sit upright. You want the face to point toward your guest, so the eye sockets catch the light. A clear skull-shaped glass works too, but the ice reads best against a plain wall of glass.
Chill the glass in the freezer for a few minutes before you pour. A cold glass slows the melt and keeps the detail sharp. Lower the skull in with a spoon or your fingers, then pour your cocktail slowly down the side. A fast pour splashes over the face and hides the features. Add a dark garnish last, like a black cherry or a sprig of charred rosemary, and let the skull stay the star of your spooky setup.
Dry Ice Safety and Timing
Regular skull ice chills without much fuss. Dry ice adds fog, and dry ice safety matters more than drama. Follow these dry ice safety rules every time:
Never touch dry ice with bare skin. Use tongs or thick gloves.
Keep it out of sealed bottles and closed containers.
Work in a ventilated room, never in a small closed space.
Keep it away from children and pets.
Place a small chunk in a separate cup behind the glass, not in the drink itself. That gives you fog without any risk of swallowing a shard. Dry ice safety also means serving the drink right away, since the fog fades fast.
For a longer chill, start with a cold glass and cold mixers. A larger skull melts slower than a small cube, and the 1.8 x 2.7 inch piece holds its shape through a full round. Time your pour for when guests arrive. Dry ice safety and good timing turn a simple halloween cocktail into the moment everyone photographs.
Skull ice is the easiest, highest-impact upgrade for your halloween. Freeze your own with a mold, or buy a clear piece ready to drop in. One skull does the work.
Pair it with whiskey or rum. A Smoked Old Fashioned in a sturdy rocks glass looks best, and the Smoking Skull Sour brings the smoke. Chill the glass, pour slowly, and time the reveal.
Pick one halloween cocktail recipe. Then twist it your way. Add a dark garnish, swap the spirit, or float a second skull.
Hosting a halloween party should feel fun, not fussy. Grab your mold, pour a drink, and let the skull steal the show. Your spooky centerpiece awaits.
FAQ
How long does a skull take to freeze?
Plan on 20 to 24 hours in your freezer. The stainless steel body insulates the sides while the mold and liner guide the freeze, so the piece needs that full window to turn out clear. Start a batch two days before your party and you'll have plenty of margin.
Will the skull make my drink watery?
A larger piece melts slowly, so your drink stays cold without turning thin too fast. The GLAZER mini measures 1.8 x 2.7 inches, which holds its shape through a full round. Chill your glass first and the melt slows even more.
Can I use the mold for shapes other than a skull?
Yes. The same line includes a D20, diamond, sphere, and cube, so you can mix shapes across one party. Use the skull as the centerpiece and the smaller shapes for backup batches. Guests love spotting a different shape in each glass.
How do I get the ice out without cracking it?
Just twist. The dedicated plastic liner releases the piece with no tapping, soaking, or hot water. Rinse the parts afterward and refill for the next round. The BPA-free silicone mold stays flexible, so the detailed face comes out sharp every time.
Is the mold safe to use with drinks?
The body is food-grade stainless steel and the mold is BPA-free silicone, so both are safe for water and drinks. The unit also carries a 12-month warranty. Rinse it between batches and you're set for the whole spooky season.
