


Klare Eiswürfel selber machen durch gerichtetes Gefrieren
Möchten Sie zu Hause klares Eis herstellen? Normales Eis sieht trüb aus, weil Luft und Schmutz darin eingeschlossen sind. Gerichtetes Gefrieren behebt dies, indem es Blasen nach unten bewegt. Verwenden Sie gefiltertes Wasser und kochen Sie es zuerst ab. Isolieren Sie Ihren Klareisbereiter. Sie können kristallklare Würfel in Ihrem Gefrierschrank herstellen!
Wie man klares Eis zu Hause herstellt

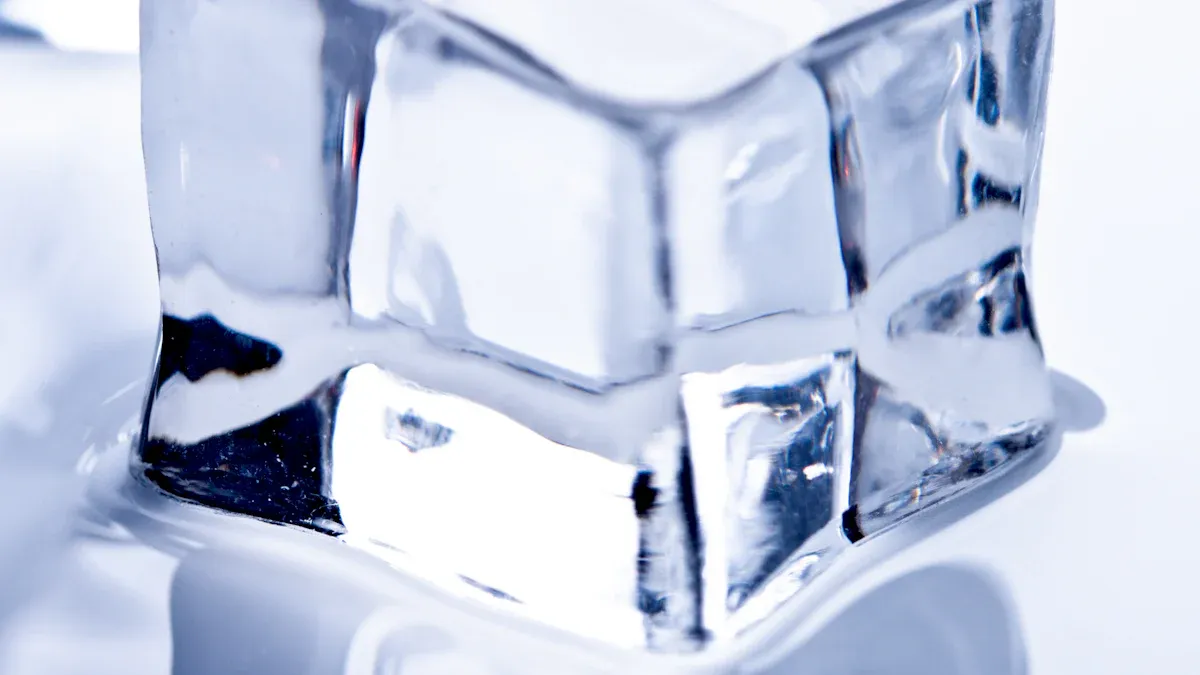
Warum normales Eis trüb ist
Haben Sie sich jemals gefragt, warum das Eis aus Ihrem Gefrierschrank trüb aussieht? Sie sind nicht allein! Die meisten Menschen bemerken, dass normale Eiswürfel einen weißen, nebligen Kern haben. Dies geschieht aufgrund der Art und Weise, wie Eis in einem Haushaltsgefrierschrank gefriert.
-
Wenn Sie Wasser schnell einfrieren, werden Luft und Mineralien im Eis eingeschlossen.
-
Das Gefrieren beginnt an den Rändern der Form und bewegt sich nach innen. Dies drängt gelöste Gase und winzige Partikel zur Mitte.
-
Diese eingeschlossenen Blasen und Mineralien bilden Frosteinschlüsse, die das Eis trüb aussehen lassen.
-
In der Natur sieht Eis oft klar aus, weil es langsam von oben nach unten gefriert. Dieser Prozess drängt Verunreinigungen weg und hinterlässt einen transparenteren Block.
Wenn Sie also wissen wollen, wie man klares Eis herstellt, müssen Sie kontrollieren, wie das Wasser gefriert. Hier kommt die nächste Methode ins Spiel!
Was ist gerichtetes Gefrieren?
Gerichtetes Gefrieren ist das Geheimnis, kristallklares Eis zu Hause herzustellen. Anstatt Wasser von allen Seiten einzufrieren, frieren Sie es in eine Richtung ein – normalerweise von oben nach unten. Diese Methode drängt Luftblasen und Verunreinigungen nach unten, sodass der obere Teil des Eises klar bleibt.
Vergleichen wir die beiden Methoden:
|
Methode |
Beschreibung der Eisklarheit |
|---|---|
|
Gerichtetes Gefrieren |
Luftblasen und Verunreinigungen werden nach unten gedrückt, was zu klarerem Eis führt. |
|
Traditionelles Gefrieren |
Eis gefriert von allen Seiten, schließt Luft und Verunreinigungen ein, was zu trübem Eis führt. |
Wenn Sie lernen möchten, wie man klares Eis herstellt, müssen Sie gerichtetes Gefrieren verwenden. Hier sind einige Tipps, die Ihnen helfen, die besten Ergebnisse zu Hause zu erzielen:
-
Verwenden Sie das richtige Wasser. Wählen Sie destilliertes oder ultrafiltriertes Wasser, um Verunreinigungen zu reduzieren.
-
Kochen Sie das Wasser vor dem Einfrieren ab. Das Abkochen entfernt gelöste Gase, die Ihr Eis trüb machen können.
-
Gießen Sie heißes Wasser in Ihre Formen. Heißes Wasser hilft, dass das Eis klarer wird.
-
Frieren Sie das Wasser langsam ein. Geben Sie ihm etwa 24 Stunden Zeit, damit Verunreinigungen entweichen können.
-
Lagern Sie Ihr klares Eis in einem luftdichten Behälter. Dies verhindert, dass es Gefrierschrankgerüche annimmt.
Tipp: Isolieren Sie Ihre Eiswürfelform oder verwenden Sie eine kleine Kühlbox, um den Gefrierprozess zu verlangsamen. Sie können sogar versuchen, Ihre Form auf den Kopf zu stellen, um bessere Ergebnisse zu erzielen!
Jetzt wissen Sie, wie man klares Eis zu Hause herstellt. Mit gefiltertem Wasser, Abkochen und Isolierung können Sie Ihre Freunde mit schönen, durchsichtigen Würfeln beeindrucken. Probieren Sie diese Schritte aus und überzeugen Sie sich selbst vom Unterschied!
Einrichtung eines Klareisbereiters
Benötigte Materialien und Geräte
Sie brauchen keine ausgefallenen Geräte, um zu Hause klare Eiswürfel herzustellen, aber ein paar Werkzeuge können Ihnen helfen, jedes Mal kristallklares Eis zu bekommen. Hier ist ein kurzer Überblick über das, was Sie verwenden könnten:
|
Produktname |
Preis |
Eisgröße |
Beschreibung |
|---|---|---|---|
|
Wintersmith’s Phantom Mini |
85 $ |
2,36" und 1,11" |
Macht große und kleine Kugeln; ideal zur Herstellung klarer Eiswürfel. |
|
Kühlbox-Methode |
~30 $ |
Anpassbar |
Verwendet eine Kühlbox für gerichtetes Gefrieren; perfekt für Anfänger der Klareisbereitung. |
|
Ghost Ice System |
300 $ |
Bis zu 3" Würfel |
Passt in eine Standard-Kühlbox; produziert kristallklare Eiswürfel für Partys. |
|
Clinebell Maschine |
5.500 $ |
300-Pfund-Block |
Kommerzieller Klareisbereiter; nicht für den Heimgebrauch, aber interessant zu wissen! |
Sie können auch Silikonformen, Kunststoffschalen, Luftpolsterfolie oder eine Styroporbox verwenden. Eine spezielle klare Eiswürfelform oder spezielle Form kann Ihnen helfen, Ihre Würfel zu formen.
Empfohlener Klareisbereiter
Wenn Sie zu Hause perfektes kristallklares Eis möchten,
ist die Verwendung eines professionellen Klareisbereiters der einfachste Weg.
✔ Gerichtetes Gefrierdesign
✔ Große klare Eiswürfel
✔ Einfach zu Hause zu verwenden

Zubereitung von Wasser für klares Eis
Beginnen Sie mit sauberem Wasser. Gefiltertes, Quell- oder abgekochtes destilliertes Wasser eignet sich am besten für die Herstellung klarer Eiswürfel. Hier ist, was Sie tun sollten:
-
Verwenden Sie abgekochtes destilliertes Wasser, um Luft und Mineralien zu entfernen.
-
Kochen Sie Wasser ab und lassen Sie es abkühlen, bevor Sie es in Silikonformen gießen.
-
Wasser mit weniger Mineralien macht kristallklare Eiswürfel.
-
Verwenden Sie immer einen Klareisbereiter für die besten Ergebnisse.
Isolierungstechniken für klares Eis
Die Isolierung hilft Ihnen, zu kontrollieren, wie Ihr klares Eis gefriert. Probieren Sie diese Tipps aus:
-
Verwenden Sie eine isolierte Kühlbox oder umwickeln Sie Ihre Silikonformen mit Luftpolsterfolie.
-
Stellen Sie Ihren Klareisbereiter mit offenem Deckel in den Gefrierschrank, damit das Eis von oben nach unten gefriert.
-
Füllen Sie Ihre Kühlbox mit abgekochtem destilliertem Wasser und frieren Sie es langsam ein.
-
Silikonformen funktionieren gut, aber Kunststoffschalen halten Gerüche besser fern.
-
Für kristallklares Eis frieren Sie es auf dem Kopf stehend ein und schneiden Sie die Würfel von oben ab.
Tipp: Die Herstellung von klarem Eis erfordert Geduld, aber Ihre Getränke werden mit kristallklaren Eiswürfeln fantastisch aussehen!
Möchten Sie perfektes klares Eis ohne den Aufwand?
Probieren Sie einen professionellen Klareisbereiter aus.
✔ Kein Zuschneiden erforderlich
✔ Kristallklare Würfel
✔ Funktioniert in jedem Gefrierschrank

Klares Eis herstellen: Schritt-für-Schritt-Anleitung
Einfrieren und Entnehmen
Bereit, klares Eis zu Hause herzustellen? Sie können es mit ein paar einfachen Schritten tun. Füllen Sie zuerst Ihre isolierte Form oder Kühlbox mit abgekochtem, gefiltertem Wasser. Stellen Sie die Form mit offenem Deckel in Ihren Gefrierschrank. Dies hilft dem Eis, von oben nach unten zu gefrieren, wodurch Luftblasen und Verunreinigungen nach unten gedrückt werden. Sie möchten das Wasser langsam einfrieren. Die meisten Leute stellen fest, dass klares Eis je nach Gefrierschrank und Größe Ihrer Form zwischen einigen Stunden und einem ganzen Tag zum Gefrieren benötigt.
Hier sind einige schnelle Schritte, die Sie befolgen sollten:
-
Kochen Sie Ihr Wasser zweimal ab und lassen Sie es leicht abkühlen, bevor Sie es in Ihre Form gießen.
-
Stellen Sie die Form in Ihren Gefrierschrank und stellen Sie sicher, dass sie waagerecht steht.
-
Lassen Sie die Oberseite offen, damit das Eis von oben nach unten gefriert.
-
Warten Sie geduldig. Langsames Gefrieren ist der Schlüssel für klares Eis.
-
Sobald das Eis fest ist, nehmen Sie die Form aus dem Gefrierschrank.
Tipp: Wenn Sie Blasen oder trübe Stellen am Boden sehen, können Sie diese später entfernen. Das ist normal!
Sie könnten einige Herausforderungen bemerken. Luftblasen und Verunreinigungen können eindringen, selbst wenn Sie destilliertes Wasser verwenden. Das Kochen hilft, aber manchmal bleibt ein leichter Schleier. Das Isolieren Ihrer Form und langsames Gefrieren ergeben die besten Ergebnisse.
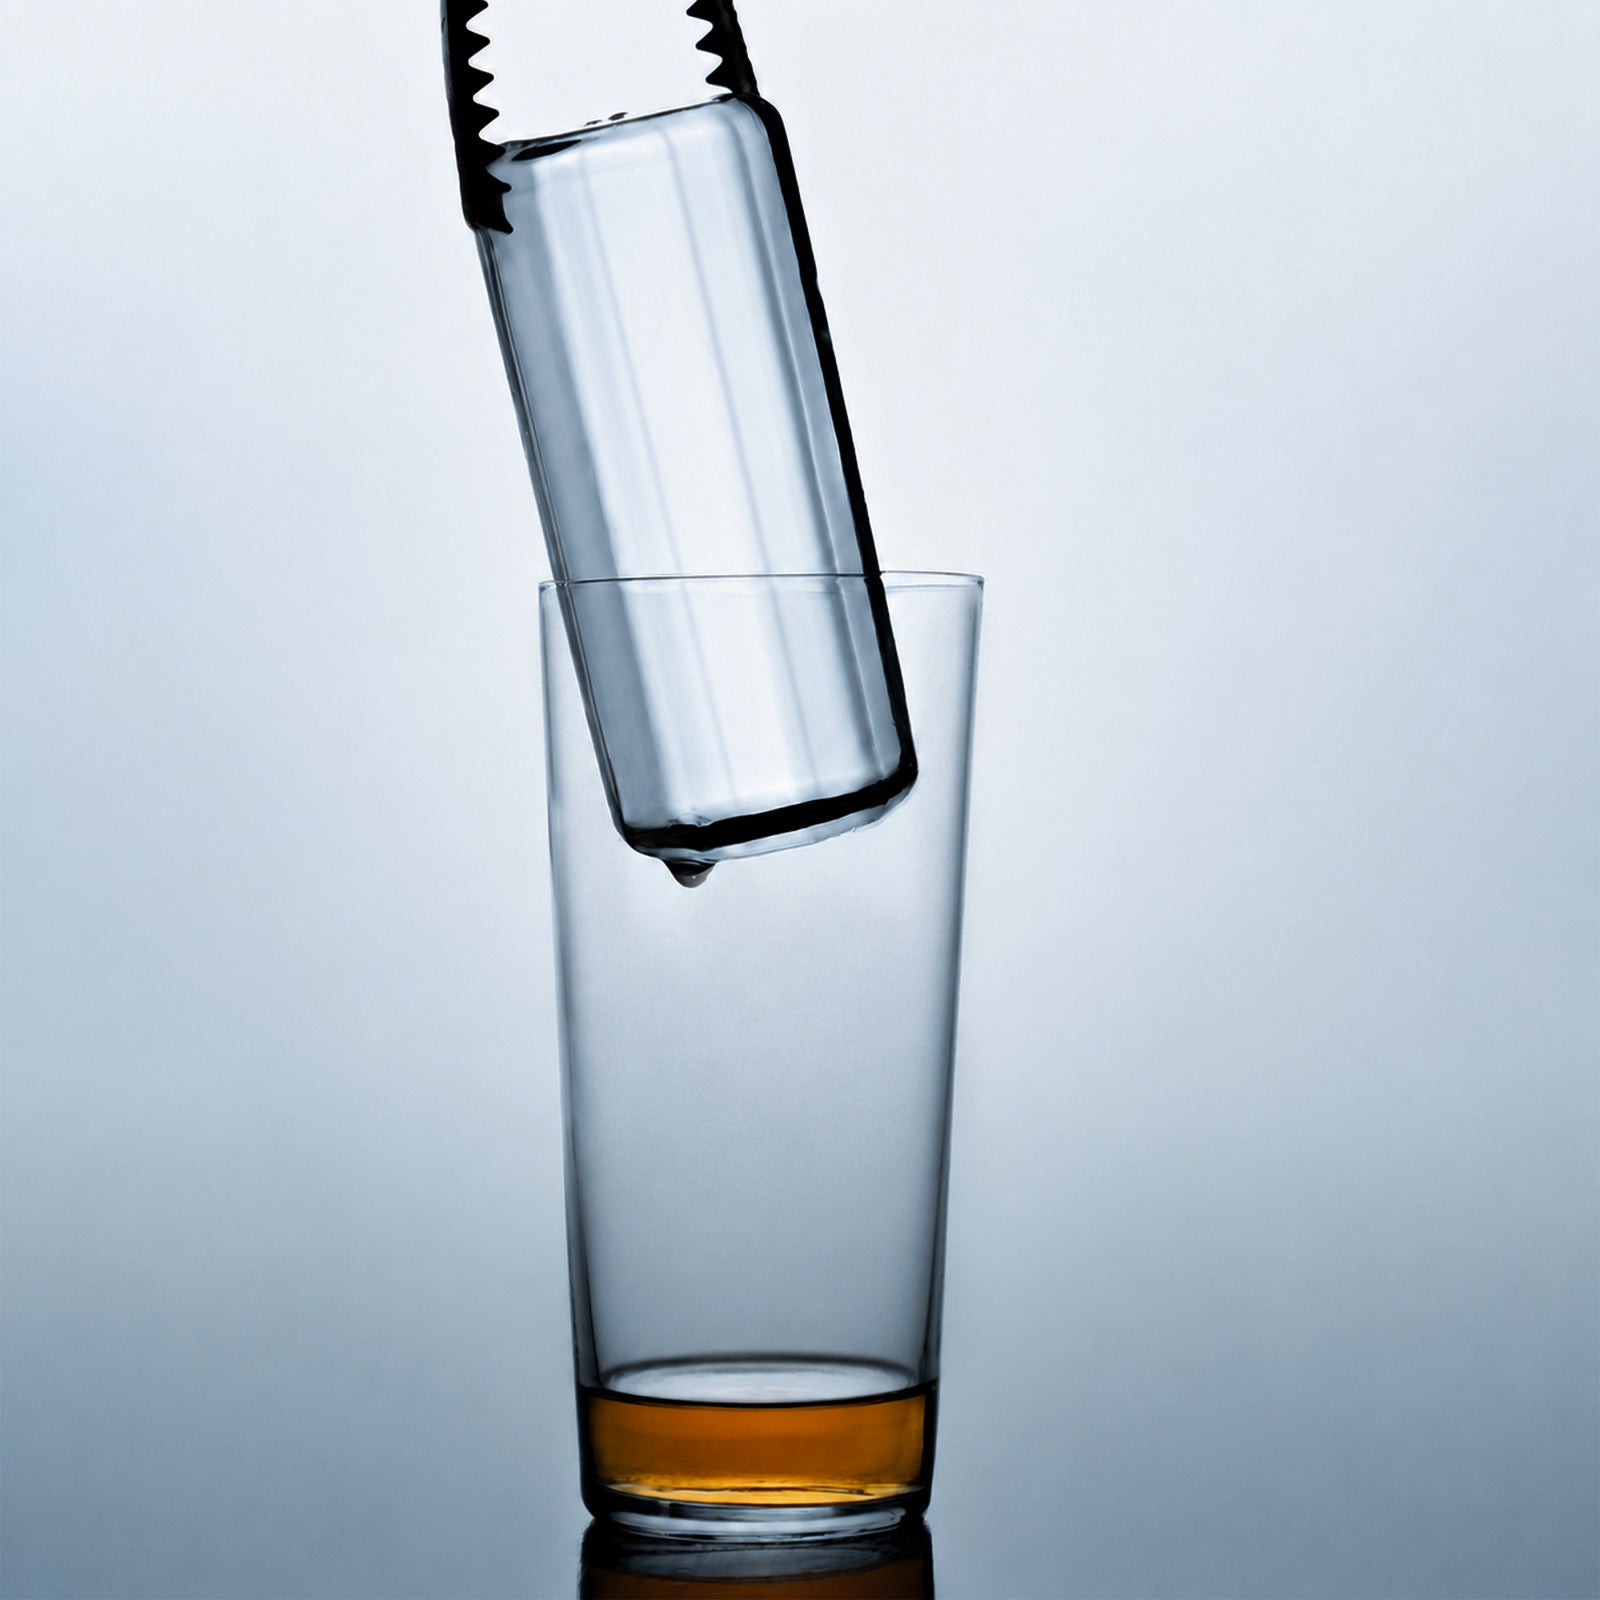
Schneiden und Lagern von klarem Eis
Nachdem Sie Ihr klares Eis gefroren haben, müssen Sie es entnehmen und formen. Sie können verschiedene Werkzeuge verwenden, um Ihr Eis zu schneiden, ohne es zu zerbrechen oder zu trüben. Hier ist eine praktische Tabelle, die Ihnen hilft, das richtige Werkzeug auszuwählen:
|
Werkzeug |
Zweck |
|---|---|
|
Gezahntes Brotmesser |
Zum Schneiden von Eis |
|
Schälmesser |
Für detailliertes Schnitzen |
|
Hölzernes Schneidebrett |
Um eine stabile Schnittfläche zu bieten |
|
Japanische Eissäge |
Optional zum Anritzen größerer Blöcke |
|
Latex- oder Nitrilhandschuhe |
Um das Erwärmen des Eises mit den Händen zu verhindern |
Sie können auch ein scharfes Hackbeil, einen Hammer, einen sauberen Meißel, einen Eispickel oder einen Schraubendreher verwenden. Viele Leute finden, dass die Verwendung eines scharfen Hackbeils und eines Hammers mit kaltem Wasser am besten funktioniert. Schneiden Sie immer auf einem Holzbrett und tragen Sie Handschuhe, um zu verhindern, dass Ihr Eis zu schnell schmilzt.
Wenn Sie klares Eis lagern, möchten Sie es frisch und frei von Gefrierschrankgerüchen halten. Hier sind einige Tipps:
-
Reservieren Sie einen speziellen Platz in Ihrem Gefrierschrank nur für Eis.
-
Reinigen Sie Ihre Formen mit einer Wasser-Essig-Lösung, um Gerüche zu entfernen.
-
Lagern Sie Eis in einem geschlossenen Behälter, um Aromen von anderen Lebensmitteln fernzuhalten.
-
Halten Sie Ihren Gefrierschrank auf einer konstanten Temperatur, idealerweise um 0 °F.
-
Trennung der Würfel, wenn Sie sie erneut einfrieren, damit sie nicht zusammenkleben.
Hinweis: Wenn Sie Eiswürfel zu lange in den Formen lassen, können sie schrumpfen und an Qualität verlieren. Nehmen Sie sie bald nach dem Gefrieren heraus, um die besten Ergebnisse zu erzielen.
Fehlerbehebung bei häufigen Problemen
Manchmal laufen die Dinge nicht wie geplant. Hier sind einige häufige Probleme und wie Sie sie beheben können:
Trübe Stellen
-
Verwenden Sie gefiltertes Wasser und eine isolierte Form für konsistente Ergebnisse.
-
Versuchen Sie, Leitungswasser abzukochen, abzukühlen und erneut abzukochen, bevor Sie es einfrieren.
-
Verwenden Sie destilliertes Wasser, um Verunreinigungen zu reduzieren.
-
Stellen Sie sicher, dass Sie gerichtetes Gefrieren verwenden. Platzieren Sie Ihre Silikonform mit Löchern auf einer Erhöhung in einer Kühlbox, die mit warmem Wasser gefüllt ist.
Rissbildung
-
Vermeiden Sie schnelle Temperaturänderungen. Bewegen Sie Eis nicht direkt vom Gefrierschrank in einen warmen Raum.
-
Stellen Sie sicher, dass Ihre Form waagerecht ist und nicht überfüllt wird.
-
Frieren Sie langsam und gleichmäßig ein, um eine ungleichmäßige Abkühlung zu vermeiden.
Geruchsabsorption und Sublimation
-
Bewahren Sie Lebensmittel in Ihrem Gefrierschrank versiegelt auf, damit das Eis keine Gerüche annimmt.
-
Nehmen Sie Eiswürfel bald nach dem Gefrieren aus den Silikonformen.
-
Lagern Sie Eis in einem geschlossenen Behälter, um Gefrierbrand zu vermeiden.
Luftblasen
-
Frieren Sie Wasser langsam ein, damit Blasen entweichen können.
-
Verwenden Sie die Vakuummethode oder rühren Sie Wasser vor dem Einfrieren um.
-
Gerichtetes Gefrieren hilft, Blasen nach unten zu drücken.
Tipp: Die Temperatur Ihres Gefrierschranks ist wichtig. Stellen Sie ihn zwischen -1 °C und -10 °C ein, um das klarste Eis zu erhalten. Niedrigere Temperaturen können Eis trüb machen.
Klares Eis zu Hause herzustellen kann knifflig erscheinen, aber mit Geduld und Übung können Sie es schaffen. Viele Leute finden den Prozess etwas umständlich, aber die Ergebnisse sind es wert. Wenn Sie weitere Tipps zur Verwendung von klarem Eis wünschen, versuchen Sie, mit verschiedenen Formen und Wassertypen zu experimentieren. Sie werden Ihre Freunde jedes Mal mit schönen, kristallklaren Würfeln beeindrucken!
Sie profitieren stark, wenn Sie klares Eis in Ihren Getränken verwenden.
-
Klares Eis sieht fantastisch aus und schmilzt langsam, sodass Ihr Getränk kalt und lecker bleibt.
-
Sie schmecken reine Aromen ohne seltsamen Nachgeschmack.
-
Probieren Sie verschiedene Formen und Methoden aus, um herauszufinden, was für Sie am besten funktioniert.
Wenn Sie auf Probleme stoßen, überprüfen Sie diese hilfreichen Ressourcen:
|
Ressourcentitel |
Beschreibung |
|---|---|
|
Detaillierte Anleitungen und Tipps zur Fehlerbehebung. |
|
|
Antworten auf häufig gestellte Fragen. |
Klares Eis lässt sich einfach zu Hause herstellen. Sie brauchen nur etwas Geduld und Übung. Ihre Getränke werden jedes Mal besser aussehen und schmecken, wenn Sie klares Eis verwenden.

Der beste Weg, klares Eis zu Hause herzustellen
Wenn Sie die einfachste Methode wünschen, verwenden Sie eine Klareisform oder einen Klareisbereiter.
