
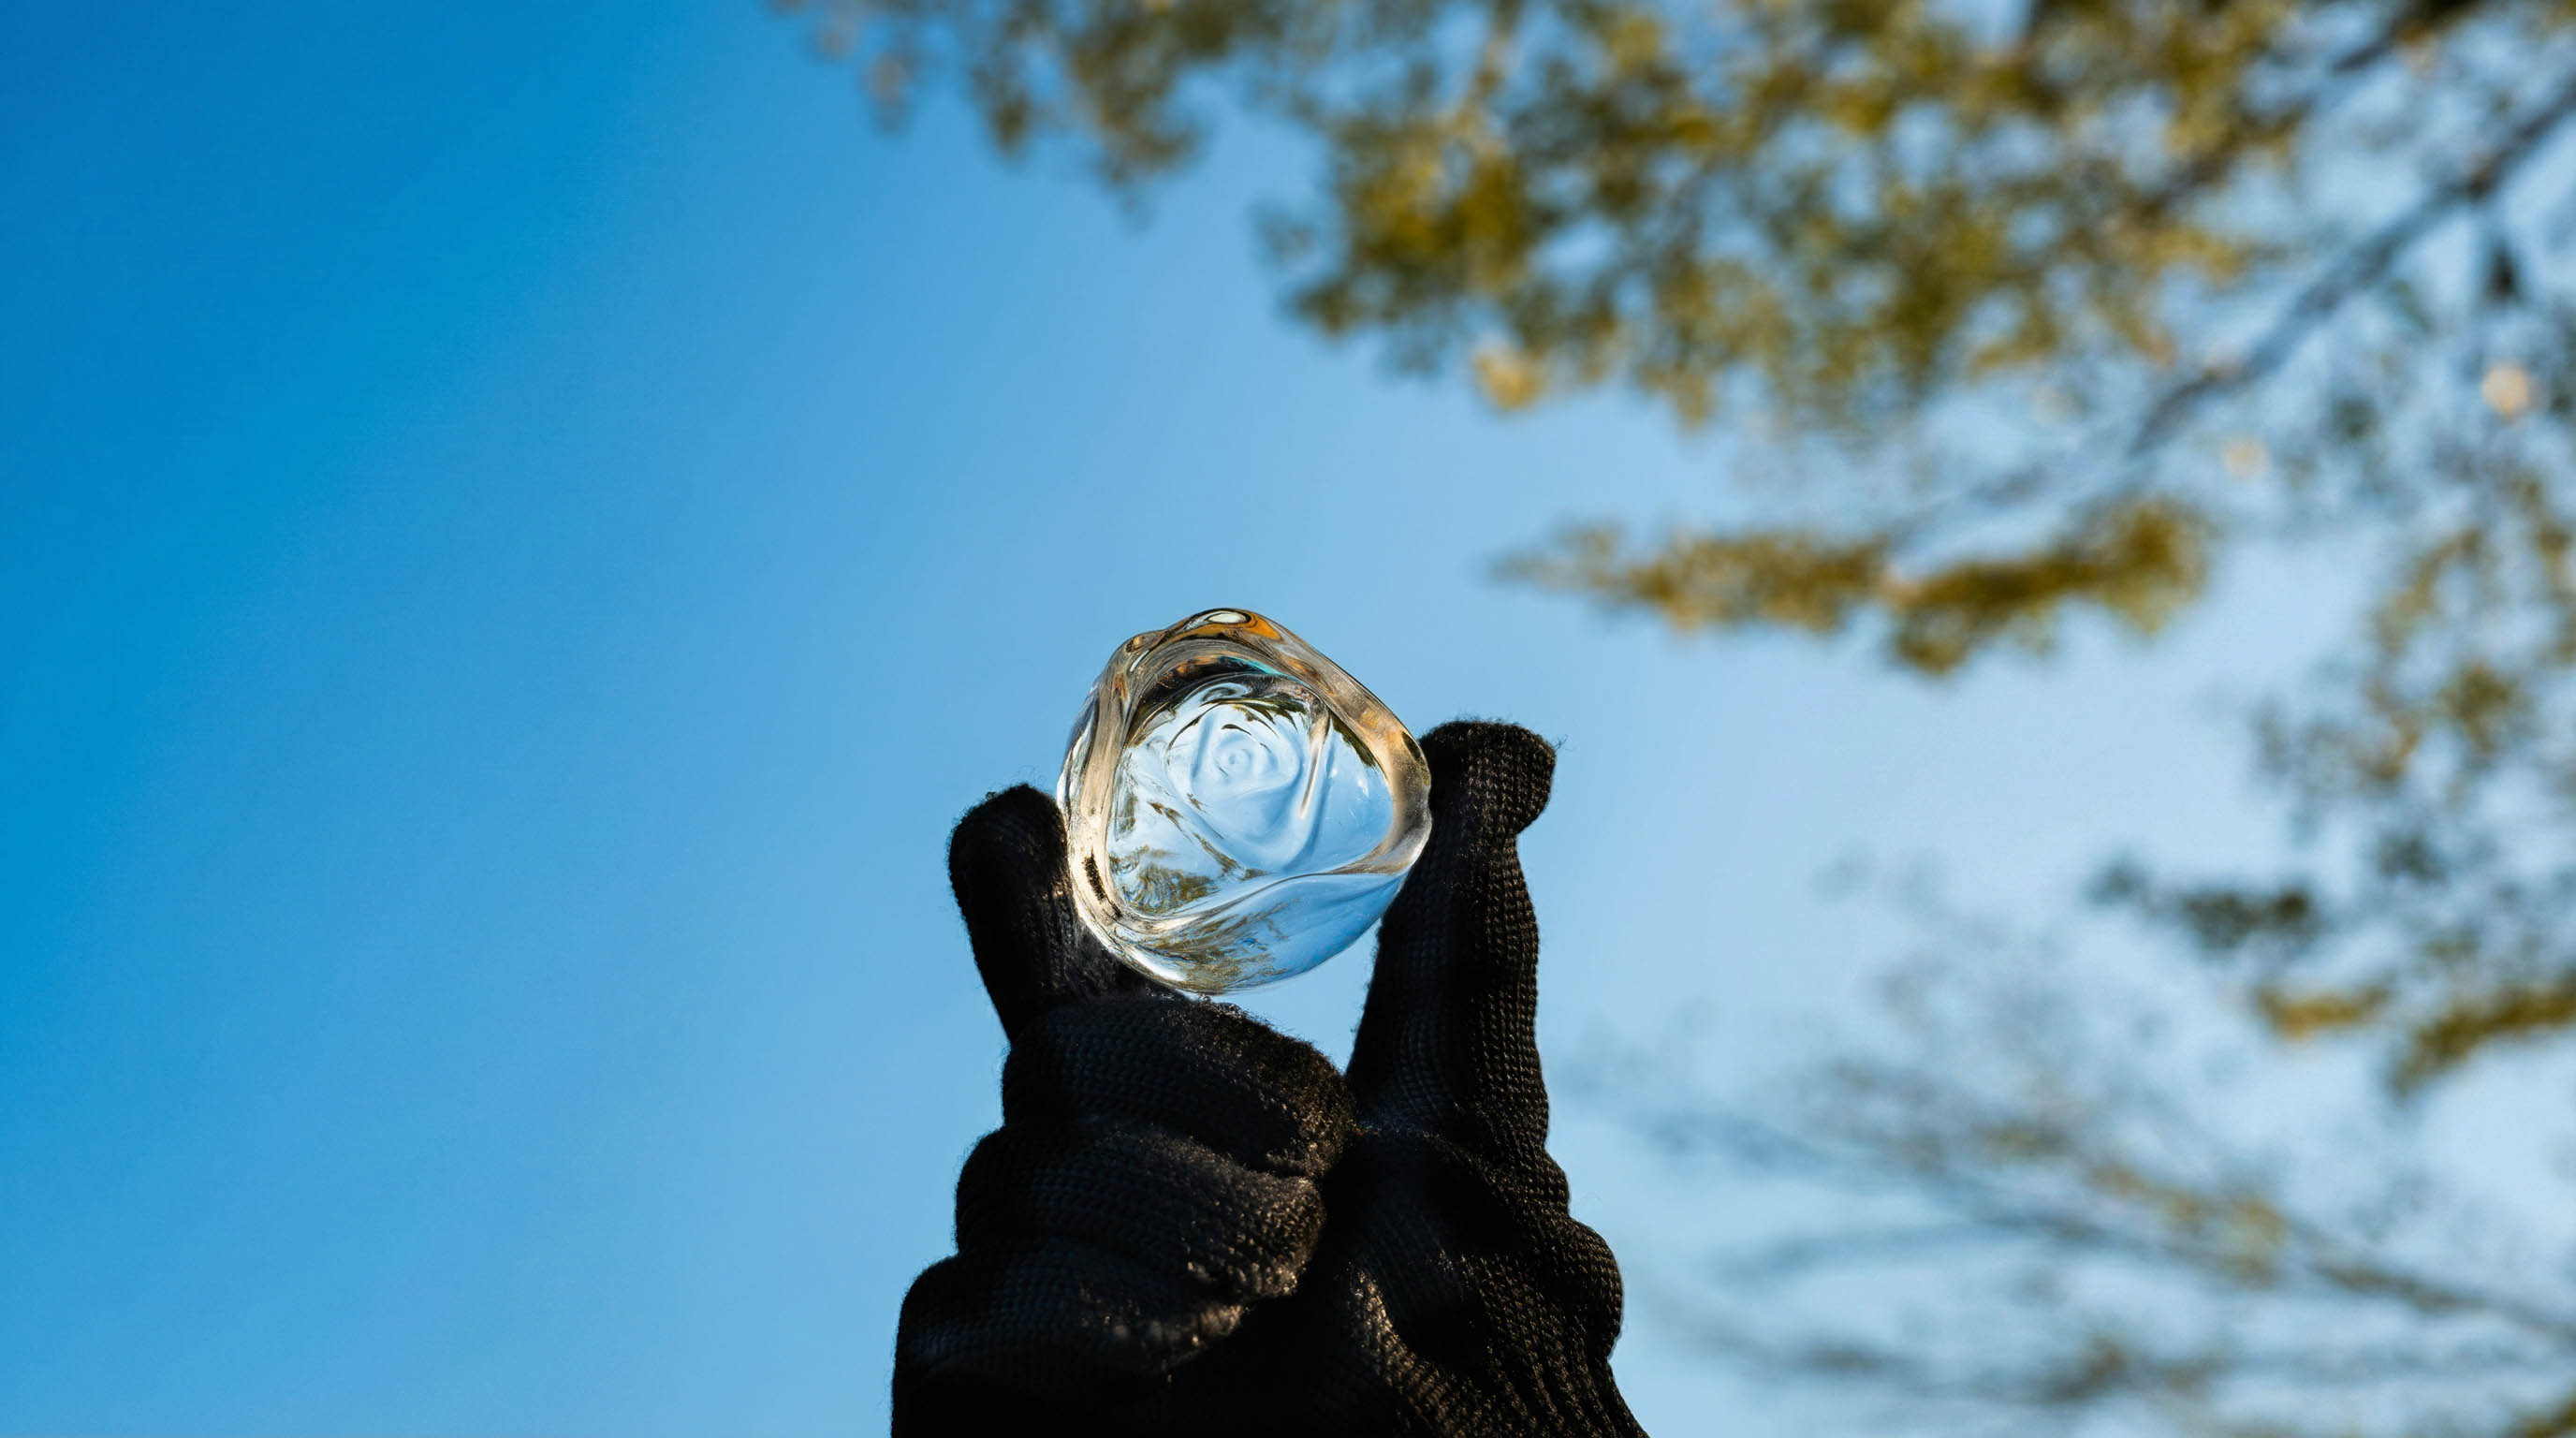


3 Simple Ways How to Make Clear Ice at Home
You want to impress your friends with crystal-clear ice cubes, right? You might think it’s tricky, but you can do it at home. When you learn how to make clear ice, your drinks look amazing. Give these simple tricks a try and see the difference for yourself!
Key Takeaways
-
Use distilled or filtered water to get clear ice. Boil the water two times to take out things that make ice cloudy. Boiling also removes gases that cause cloudiness.
-
Try directional freezing with an insulated cooler. This way, water freezes from the top down. It pushes impurities to the bottom. This gives you clearer ice.
-
Buy clear ice molds for easy and steady results. These molds freeze water slowly. They help make big, clear cubes. Clear cubes make your drinks look better.
How to Make Clear Ice with Boiling Water

Boiling Water Steps
You want to know how to make clear ice at home? Start with clean water. Use filtered or distilled water for the best results. Here’s a simple way to do it:
-
Boil your water once. Let it cool for a few minutes.
-
Boil the same water again. This step helps remove even more air and impurities.
-
Let the water cool to room temperature.
-
Pour the cooled water into your ice tray or mold.
-
Cover the tray with plastic wrap. This keeps dust out and helps slow down freezing.
-
Place the tray in your freezer. Set it in the coldest part.
-
Check after 24 hours. Remove the ice before the bottom layer freezes completely. This step helps you avoid cloudy spots.
Why Double Boiling Works
Double boiling makes a big difference! When you boil water twice, you drive out dissolved gases like oxygen and carbon dioxide. These gases cause tiny bubbles and cloudiness in ice. Boiling also helps minerals settle out, so they don’t get trapped in your cubes.
-
Boiling water removes dissolved gases and impurities that cause cloudiness in ice.
-
Double boiling helps eliminate even more gases and minerals.
-
Slow freezing forms larger, clearer ice crystals.
Tips for Best Results
-
Use distilled or filtered water for the clearest ice.
-
Cover your tray with plastic wrap to keep out dust.
-
Don’t overfill your tray. Leave a little space at the top.
-
Remove the ice before the bottom freezes solid to avoid cloudy spots.
-
Making clear ice with this method takes about 24–48 hours. Check out this quick guide:
|
Method |
Time Required |
|---|---|
|
Boiled + Distilled Water + Slow Freeze |
24–48 hours |
If you follow these steps, you’ll master how to make clear ice for your drinks at home.
Directional Freezing Method
What Is Directional Freezing
Directional freezing is a cool trick you can use to get super clear ice at home. Instead of freezing water from all sides, you freeze it from just one direction—usually from the top down. This method pushes air bubbles and minerals to the bottom, so the top part of your ice comes out crystal clear.
-
Directional freezing controls how water turns into ice, pushing impurities away from the clear part.
-
If you freeze water the regular way, air and minerals get trapped in the middle, making the ice cloudy.
-
By freezing from one direction, you get most of the impurities at one end, so your ice looks much better.
Home Freezing Setup
You don’t need fancy tools for this method. You can use a small insulated cooler that fits in your freezer. Here’s what you need and why:
|
Equipment |
Purpose |
|---|---|
|
Insulated cooler (10–20 qt) |
Keeps the sides warm so ice freezes from the top down. |
|
Snug-fitting lid |
Stops frost but lets a little air escape. |
|
Food-grade silicone molds/containers |
Makes it easy to pop out the ice. |
|
Stable freezer (−18°C or colder) |
Gives you steady, slow freezing for clear ice. |
A study in the Journal of Food Engineering found that this method can give you over 95% clear ice. That’s way better than just boiling water, which only helps a little.
Here’s how to make clear ice with this setup:
-
Fill your cooler with filtered or distilled water.
-
Leave the lid off or slightly open.
-
Place the cooler in your freezer.
-
Wait 12–24 hours. Check the ice. When most of the water is frozen but there’s a little left at the bottom, take the cooler out.
-
Dump out the unfrozen water and pop out your clear ice block.
Troubleshooting Cloudy Ice
If your ice still looks cloudy, don’t worry. Here are some common reasons:
-
Minerals in tap water, like calcium or magnesium, can make ice cloudy.
-
If your ice freezes from all sides, impurities get trapped in the middle.
-
Freezing too fast can trap air bubbles and cause cracks.
Tip: Use filtered or distilled water and freeze slowly for the best results. If you see cloudiness, try removing the ice before it freezes all the way through.
You can compare this method to others in the table below:
|
Method |
Time Required |
Clarity Consistency |
Key Limitation |
|---|---|---|---|
|
Directional Freezer Tray (e.g., Tovolo) |
12–24 hours |
★★★☆☆ (75% success) |
Needs careful placement; not perfect in all freezers. |
|
Boiled + Distilled Water + Slow Freeze |
24–48 hours |
★★☆☆☆ (50–60%) |
Still gets cloudy in the center. |
Now you know another way how to make clear ice at home!
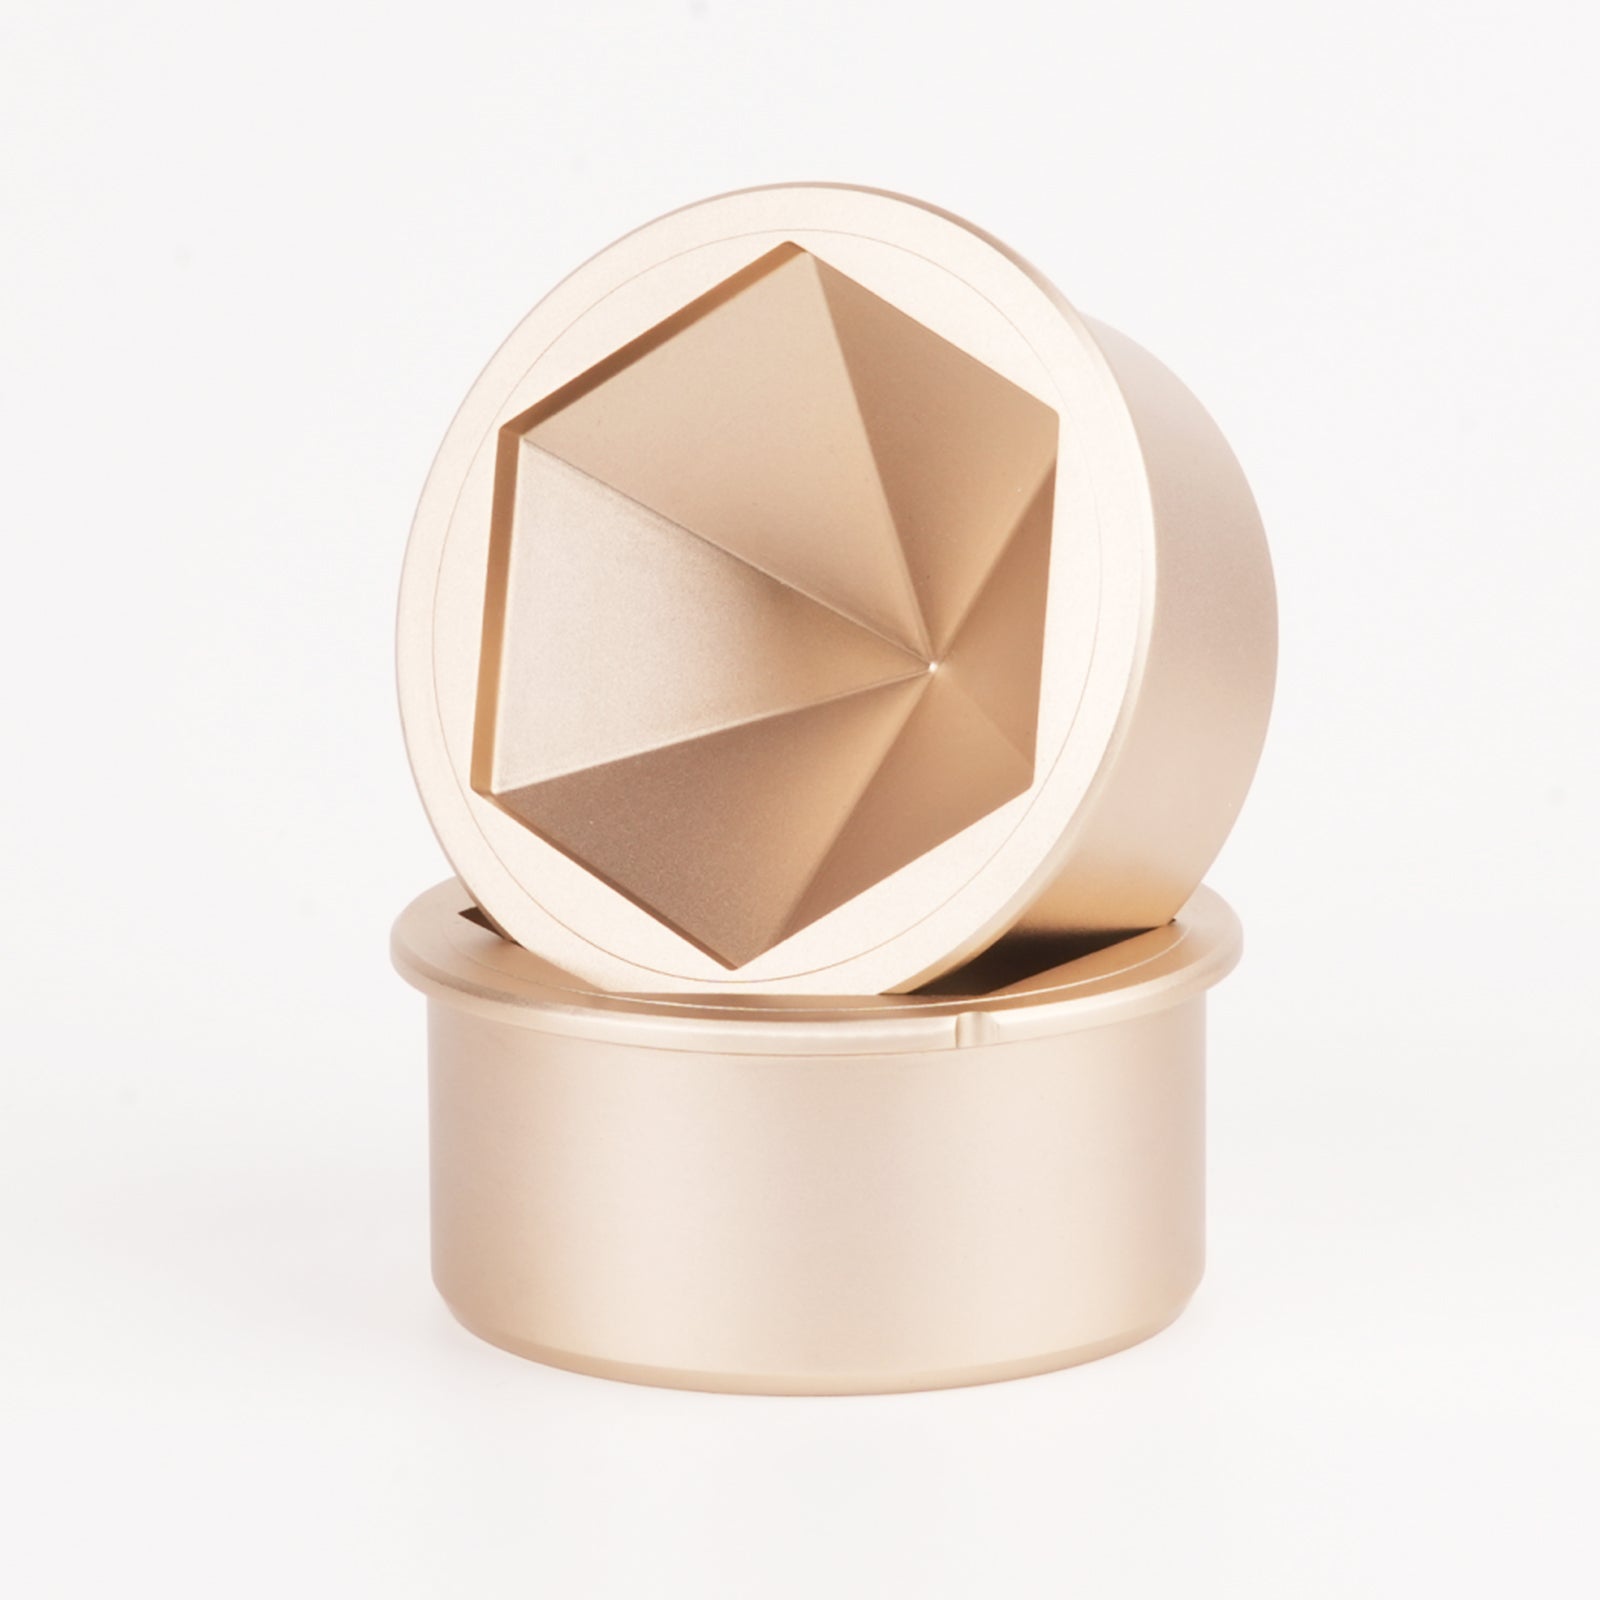
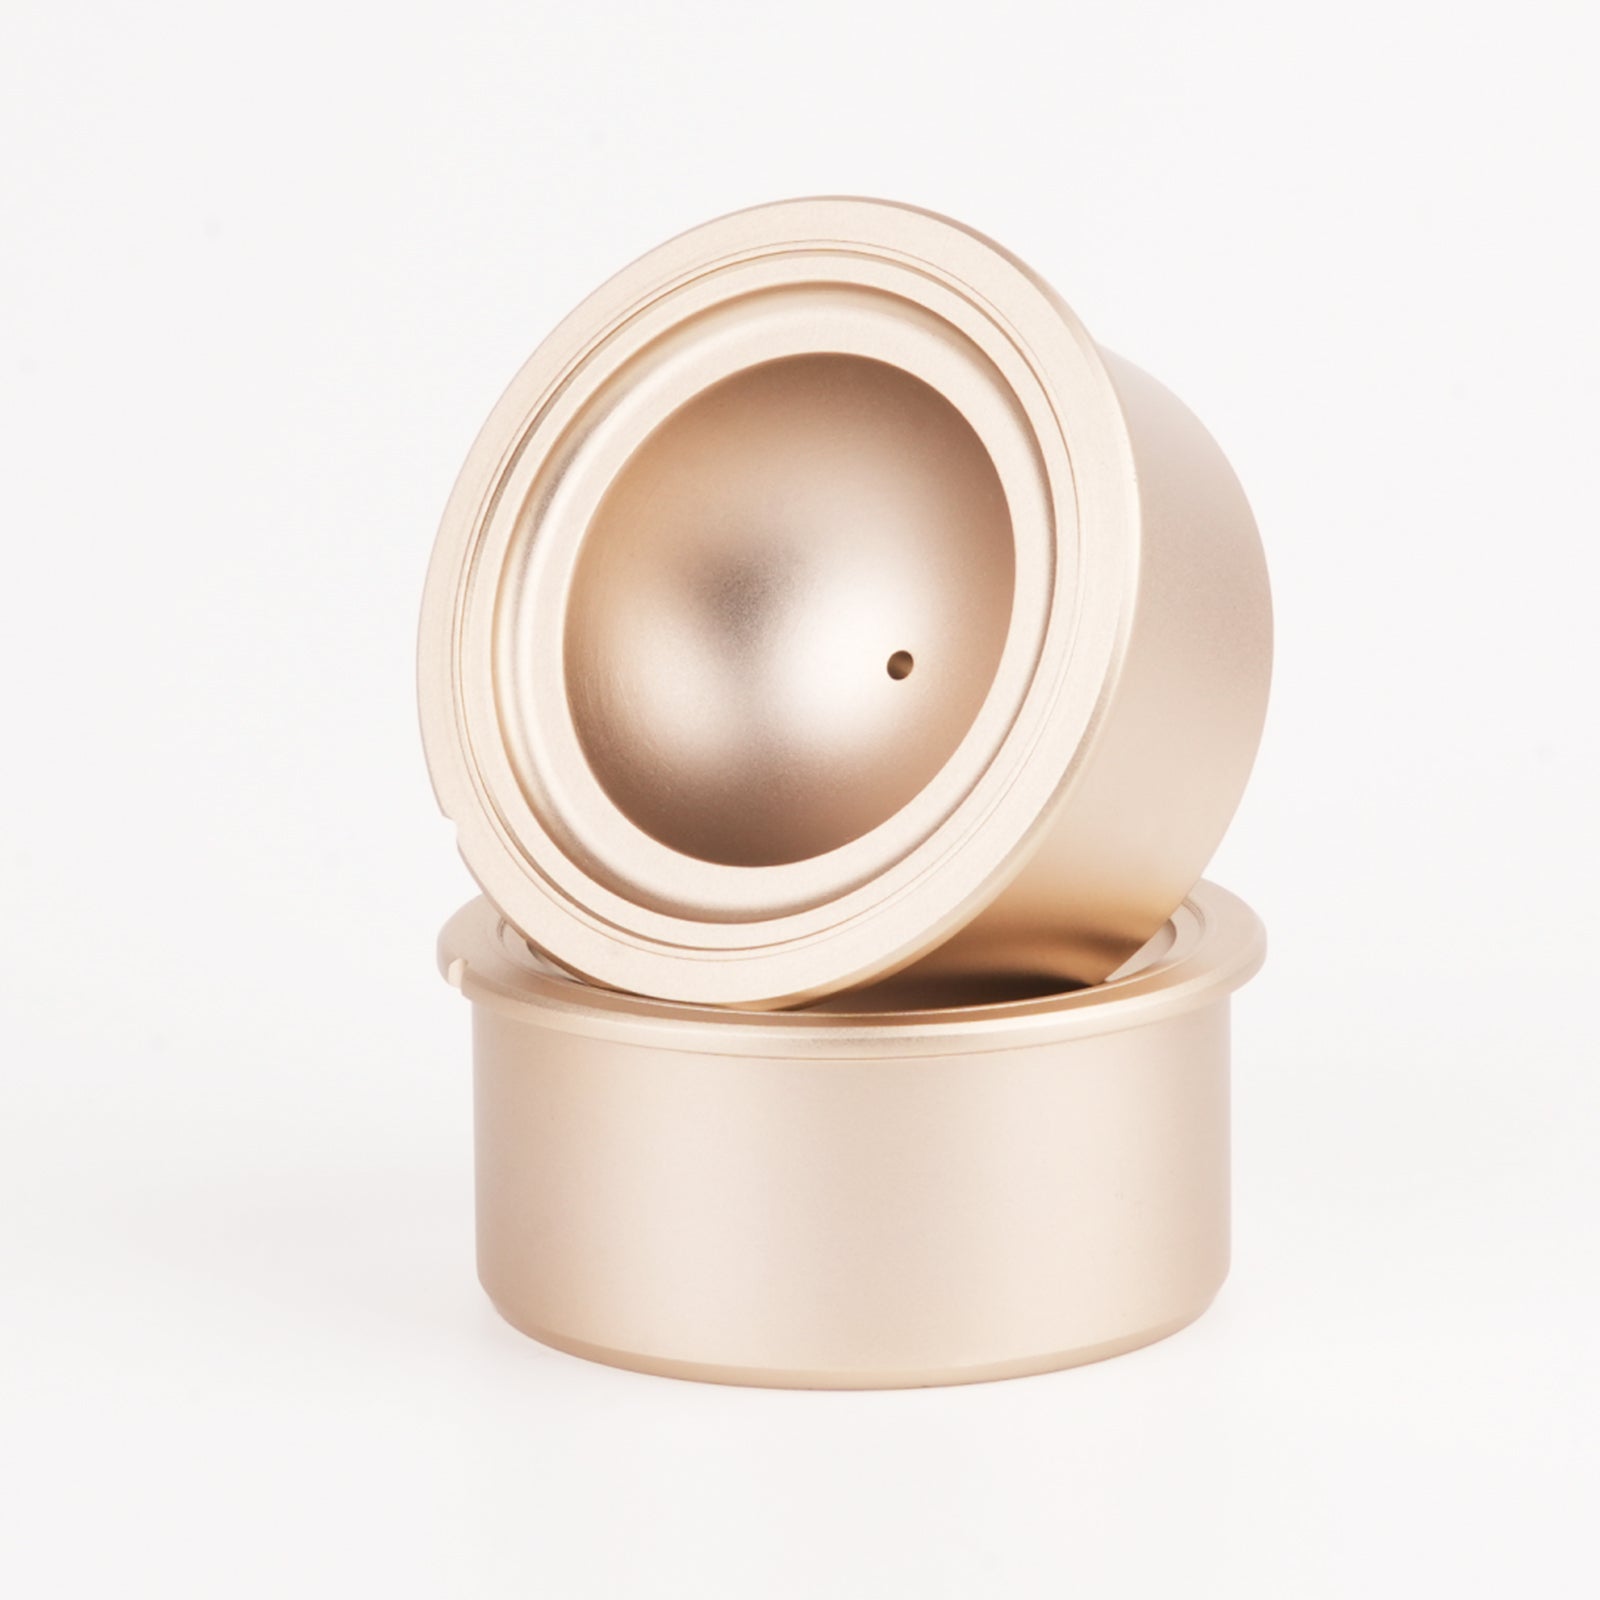
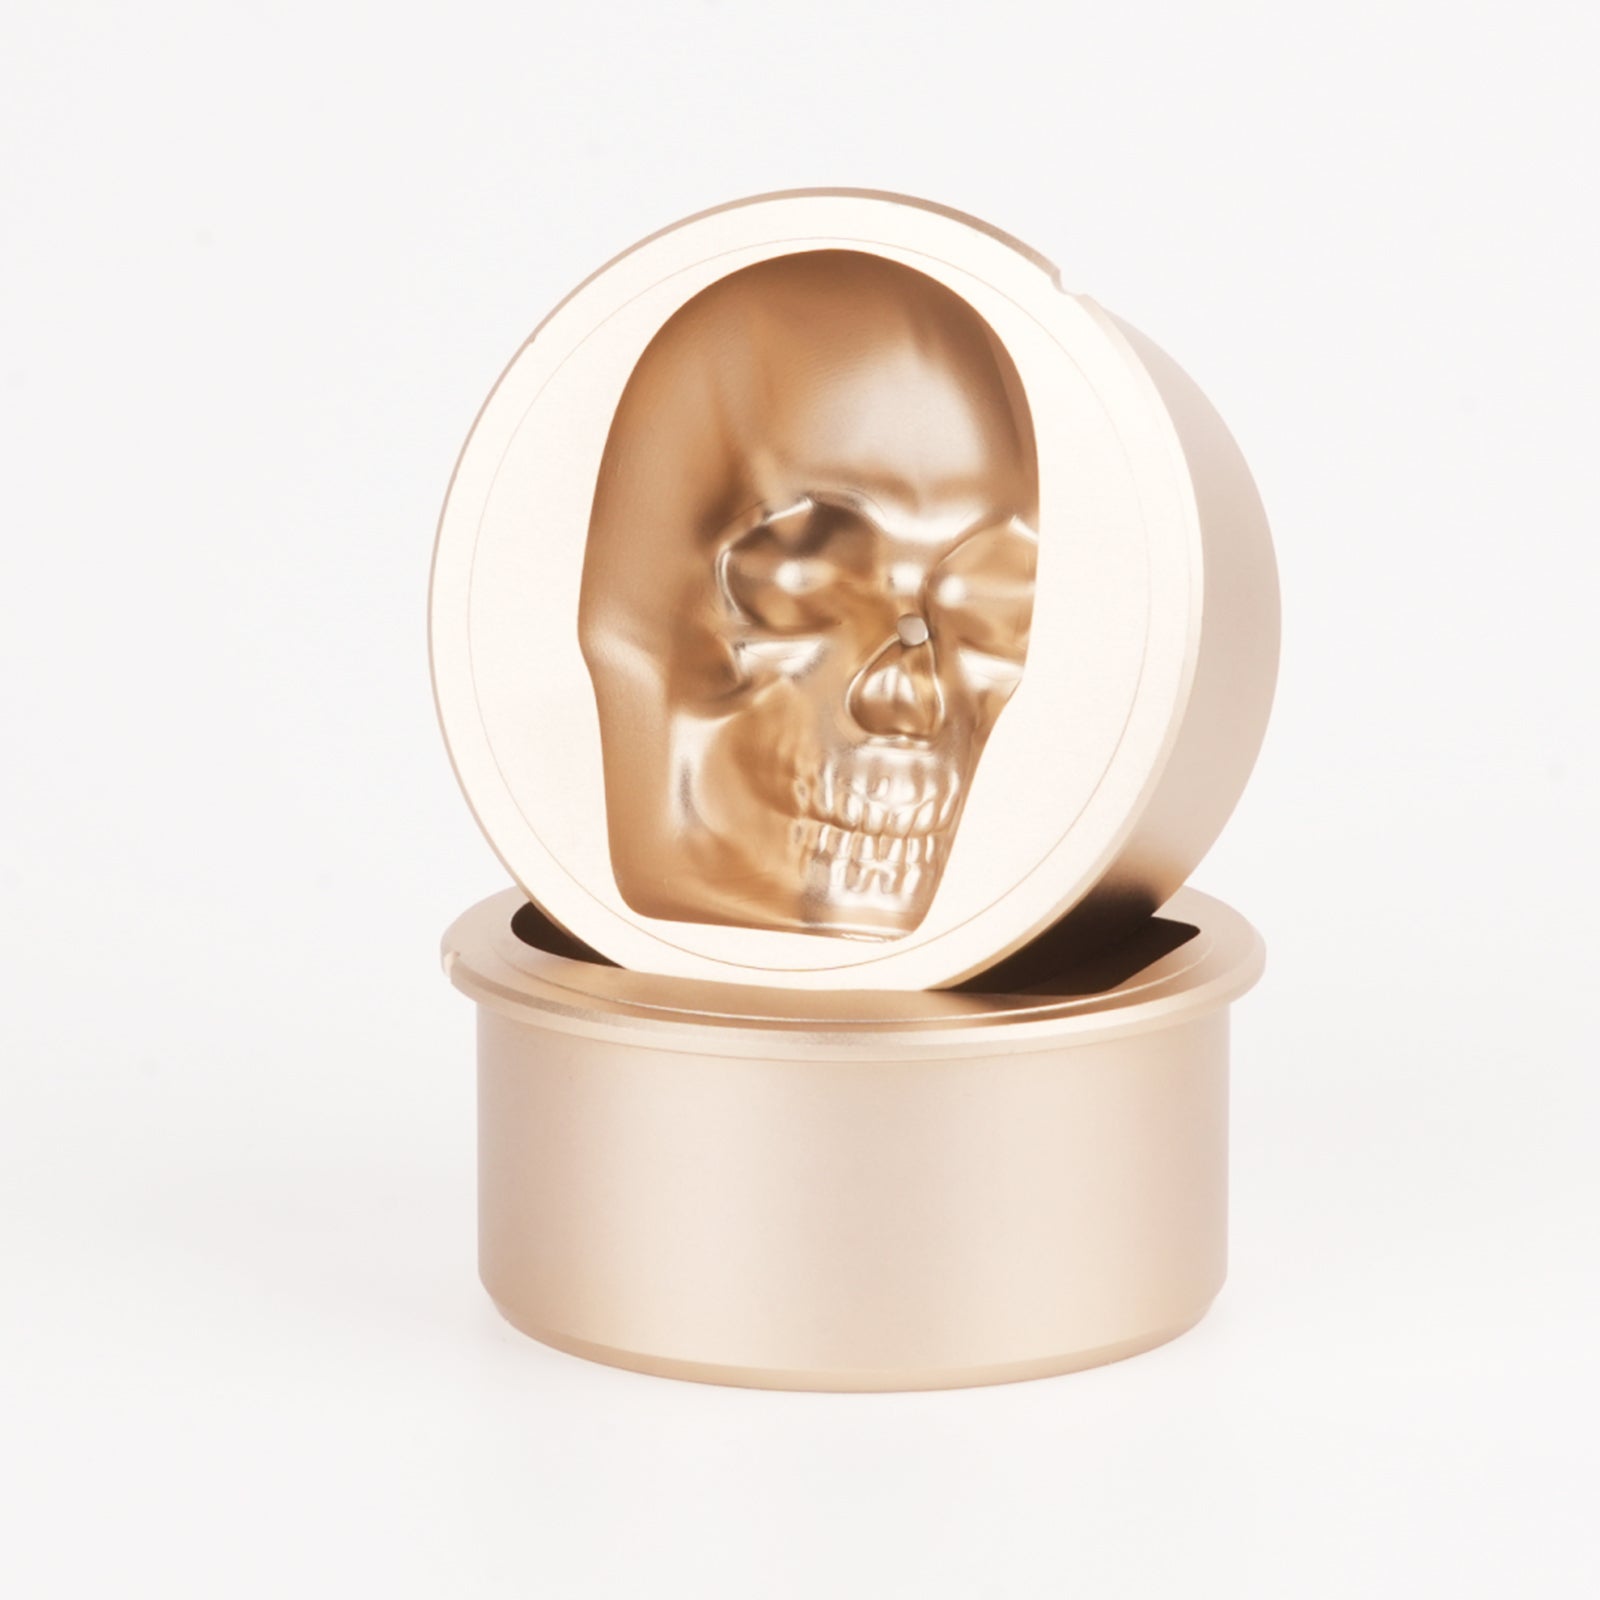
Using Clear Ice Molds
How Clear Ice Molds Work
Clear ice molds use smart design to freeze water slowly and in one direction. This means ice forms from the top down. As the ice freezes, air and minerals get pushed to the bottom. You can toss out the last bit of water, so you only keep the clear part.
-
Slow freezing helps keep out cloudiness and cracks.
-
Directional freezing pushes impurities away from your ice cubes.
-
You get ice that looks almost invisible in your drink.
Tip: The freezing method matters more than the type of water you use. Slow and steady wins the race for clear ice.
Step-by-Step Mold Use
You can use a clear ice mold in just a few easy steps:
-
Fill the mold with filtered or distilled water.
-
Place the mold in your freezer. Make sure it sits flat.
-
Wait 18–24 hours for the ice to freeze from the top down.
-
Remove the mold and pop out your clear ice cubes.
-
Discard any cloudy water left at the bottom.
You will notice your drinks stay cold longer because large, clear cubes melt slowly.
Choosing the Right Mold
When you pick a clear ice mold, look for these features:
-
Food-grade silicone or stainless steel for safety and durability.
-
Easy-release design so you don’t struggle to get your ice out.
-
A mold that makes large, uniform cubes for better presentation.
Here’s a quick comparison of materials:
|
Material |
Clarity Potential |
Release Ease |
Durability |
Freezing Consistency |
|---|---|---|---|---|
|
Food-Grade Platinum-Cure Silicone |
★★★★☆ |
★★★★★ |
★★★★★ |
★★★★☆ |
|
Stainless Steel (double-walled) |
★★★★★ |
★★★☆☆ |
★★★★★ |
★★★★★ |
|
Hard-Plastic (PP or HDPE) |
★★★☆☆ |
★★★☆☆ |
★★★☆☆ |
★★★★☆ |
“Clarity isn’t magic—it’s physics. Slower freezing pushes minerals and oxygen to the surface.” — Rafael Mendoza, Glacier Ice Labs
If you want a great tool, try the GLAZER mini. It’s easy to use and makes crystal-clear cubes every time. Now you know another way how to make clear ice at home with less effort.
Tools for Making Clear Ice
Essential Tools
You don’t need a fancy bar to get clear ice at home. You just need the right tools and a little patience. Here’s what you should have on hand:
-
Small insulated cooler (fits in your freezer)
-
Serrated knife
-
Cutting board
-
Cut-resistant gloves
-
Hammer or wooden mallet
A small cooler helps you control how your ice freezes. When you use directional freezing, the water freezes from the top down. This pushes air and minerals to the bottom, so you get a clear block on top. Once the ice is ready, you can use a serrated knife and mallet to cut it into cubes. Gloves keep your hands safe while you work.
Tip: Always use a cutting board to protect your countertop and make cleanup easy.
If you want to know how to make clear ice with less effort, these tools make the process simple and safe.
GLAZER Mini Benefits
You might want something even easier. The GLAZER Mini is a favorite for many home bartenders. People love it because it gives you crystal-clear ice every time. You don’t have to worry about cloudy spots or tricky release methods.
|
Feature |
GLAZER Mini |
Standard Molds |
|---|---|---|
|
Ice Clarity |
Crystal-clear, no cloudy spots |
Often cloudy |
|
Release Mechanism |
Quick and mess-free |
Can be tricky |
|
Melting Rate |
Slower, keeps drinks cold longer |
Melts faster |
|
Material |
Food-grade stainless steel |
Usually plastic |
|
Warranty |
12-month warranty |
Usually none |
The GLAZER Mini makes your drinks look professional. The ice melts slowly, so your drink stays cold and tasty. You just fill, freeze, and pop out perfect cubes—no extra tools needed!
Common Mistakes to Avoid
Water Quality Issues
You might think any water will do, but water quality makes a big difference. If you use hard water, your ice can taste funny and look cloudy. Tap water often has minerals and dissolved gases that get trapped in the ice, making it look milky. Distilled or filtered water works best because it has fewer impurities.
-
Always use filtered or distilled water for clearer ice.
-
Boil your water before freezing to remove extra gases and minerals.
-
Clean your ice trays well. Old smells and residue can sneak into your ice.
-
Keep trays covered in the freezer so your ice does not pick up odors.
Tip: If your ice smells weird, check your freezer and trays for hidden odors.
Freezing Too Fast
If you freeze water too quickly, you trap air bubbles and impurities inside the ice. This makes your cubes cloudy and weak. Studies show that slower freezing gives you clearer ice.
-
Set your freezer to a steady, cold temperature.
-
Try directional freezing to slow down the process.
-
Avoid putting trays right next to the freezer fan.
Slow freezing helps ice form bigger, clearer crystals.
Overfilling Trays
Filling trays to the top seems smart, but it causes problems. When you overfill, the outside freezes first and traps air and minerals inside. This leads to cloudy ice and sometimes cracks.
-
Fill trays just below the rim.
-
Leave a little space for the water to expand as it freezes.
Clear ice forms best when you give it room to freeze from one direction.
By avoiding these common mistakes, you can make ice that looks and tastes amazing every time.
Extra Tips for Perfect Ice
Storing Clear Ice
You want your clear ice to stay perfect until you use it. Here are some simple ways to keep it fresh and crystal clear:
-
Store your ice in a closed container to block out freezer odors.
-
Clean your freezer often. This stops smells from getting into your ice.
-
Use distilled or filtered water when making ice. This helps avoid cloudiness.
-
Set your freezer just below 32°F (0°C). Slow freezing lets oxygen escape and forms bigger, clearer cubes.
Tip: If you notice any strange smells, check your freezer and clean it right away.
Handling and Serving
Clear ice looks amazing, but you need to handle it with care. Try these tricks to keep your ice looking its best:
-
Use serrated tongs to pick up ice. This keeps fingerprints and chips away.
-
Handle ice gently. Don’t hit or run it under water.
-
Let your ice sit for a minute before serving. This helps it “acclimate” and keeps it from cracking in your drink.
-
Spray a little vodka on the ice if it sticks together. This makes it easier to separate.
-
Always use filtered water and slow freezing for the clearest results.
Bartenders love using insulated coolers and silicone trays with warm water for easy release.
Presentation Ideas
Want to wow your guests? Try these fun ways to show off your clear ice:
|
Technique |
Description |
|---|---|
|
Large clear ice spheres |
Perfect for whisky or cocktails. They look cool and melt slowly. |
|
Long clear ice rods |
Great for tall drinks like highballs. They fill the glass and show off the ice. |
|
Attractive garnishing |
Add fruit, herbs, or flowers to make your drink pop next to the clear ice. |
Clear ice makes your drinks look fancy and keeps them cold without watering them down. Show off those cubes and enjoy every sip!
You now know three easy ways to make clear ice at home. Each method gives you pure, slow-melting cubes that taste great. Check out these top benefits:
|
Benefit |
Description |
|---|---|
|
Purity |
Clear ice uses pure water, free from impurities. |
|
Slower Melting Rate |
It melts slowly, keeping drinks cold longer. |
|
Better Taste |
Clear ice stays tasteless and fresh in your glass. |
Try these tips and see what works best for you! Got questions? Many people ask things like:
-
Does boiled or distilled water help?
-
How long does clear ice take to freeze?
-
Can you add fruit or herbs to your cubes?
Share your results or ask for help below. I’d love to hear how your clear ice turns out!
FAQ
Does clear ice really make drinks taste better?
Yes! Clear ice melts slower and does not add weird flavors. Your drink stays cold and tastes fresh longer.
Can I use tap water for clear ice?
You can, but filtered or distilled water works best. Tap water often has minerals that make ice cloudy.
How do I cut clear ice at home?
-
Use a serrated knife.
-
Wear gloves for safety.
-
Tap gently with a mallet to break the ice.