

6 Steps to Make Clear Ice Balls With Ice Molds
The GLAZER Press Standard
The GLAZER Ice Press brings bar-quality ice directly to your home. By utilizing a highly engineered heated core and versatile magnetic inserts, our device creates stunning ice shapes in exactly 2 minutes. We eliminate the fuss and operational delays of traditional presses, delivering perfect spheres, skulls, diamonds, and more for parties, professional bars, or home mixology. Precision engineering means better drinks.

The visual presentation and thermal dynamics of a cocktail are fundamentally dictated by the quality of its ice. Professional mixologists and dedicated home bartenders understand that standard freezer ice is inherently flawed. It is cloudy, brittle, and melts at an accelerated rate, rapidly over-diluting premium spirits. To elevate your beverage experience, you must learn to make clear ice balls with ice molds using the principles of directional freezing. By manipulating the freezing environment, we can force trapped gasses and mineral impurities out of the crystalline structure, yielding ice that is completely transparent and structurally dense.
From our experience engineering advanced ice modification technology at GLAZER Press, achieving absolute clarity requires a synergy of thermal management and precision shaping. Standard silicone molds freeze from the outside in, trapping air in the geometric center of the ice. To successfully make clear ice balls with ice molds, you must force the water to freeze from the top down. In this authoritative guide, we will dismantle the thermodynamics of directional freezing and provide a definitive, six-step protocol to make clear ice balls with ice molds. We will also demonstrate how integrating advanced pressing equipment elevates standard molded ice into flawless, seam-free geometric art.
Table of Contents
- 1. The Thermodynamics of Directional Freezing
- 2. Step 1: Selecting the Right Insulated Enclosure
- 3. Step 2: Preparing and Degassing the Water
- 4. Step 3: The Controlled Freezing Process
- 5. Step 4: Extracting the Ice Core safely
- 6. Step 5: Tempering the Ice to Prevent Thermal Shock
- 7. Step 6: Flawless Shaping with the GLAZER Press
- 8. Summary Table: Traditional Molds vs. GLAZER Press
- 9. Frequently Asked Questions (FAQs)
- 10. Industry References
1. The Thermodynamics of Directional Freezing
To understand how to make clear ice balls with ice molds, we must first address why ice becomes cloudy. Water contains dissolved oxygen, nitrogen, and various trace minerals. When placed in a conventional freezer, water freezes from all six sides of the container simultaneously. The pure water molecules crystallize first, pushing the dissolved gasses and minerals inward. As the outer walls freeze solid, the impurities are trapped in the center, creating the white, cloudy core.
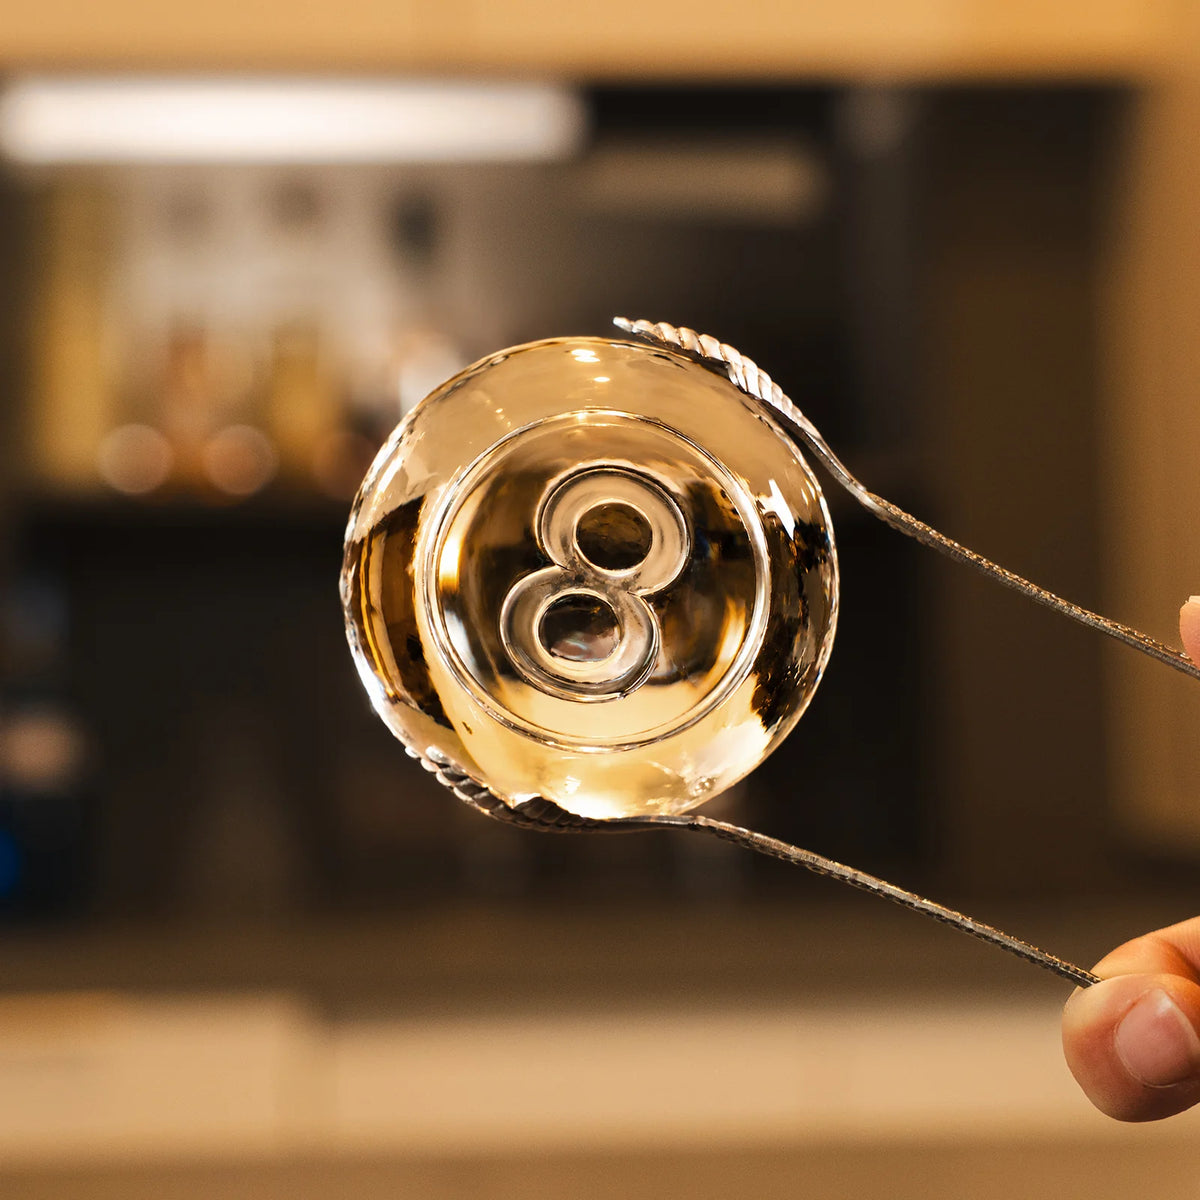
Directional freezing solves this by insulating the sides and bottom of the mold. The ambient cold air of the freezer can only interact with the uninsulated top surface of the water. As the water freezes from the top down, the pure ice crystal lattice forms, continuously pushing the air bubbles and impurities downward into the unfrozen liquid below. By utilizing this method to make clear ice balls with ice molds, the resulting top layer of ice is optically flawless, possessing a higher density and a significantly slower dilution rate.
2. Step 1: Selecting the Right Insulated Enclosure
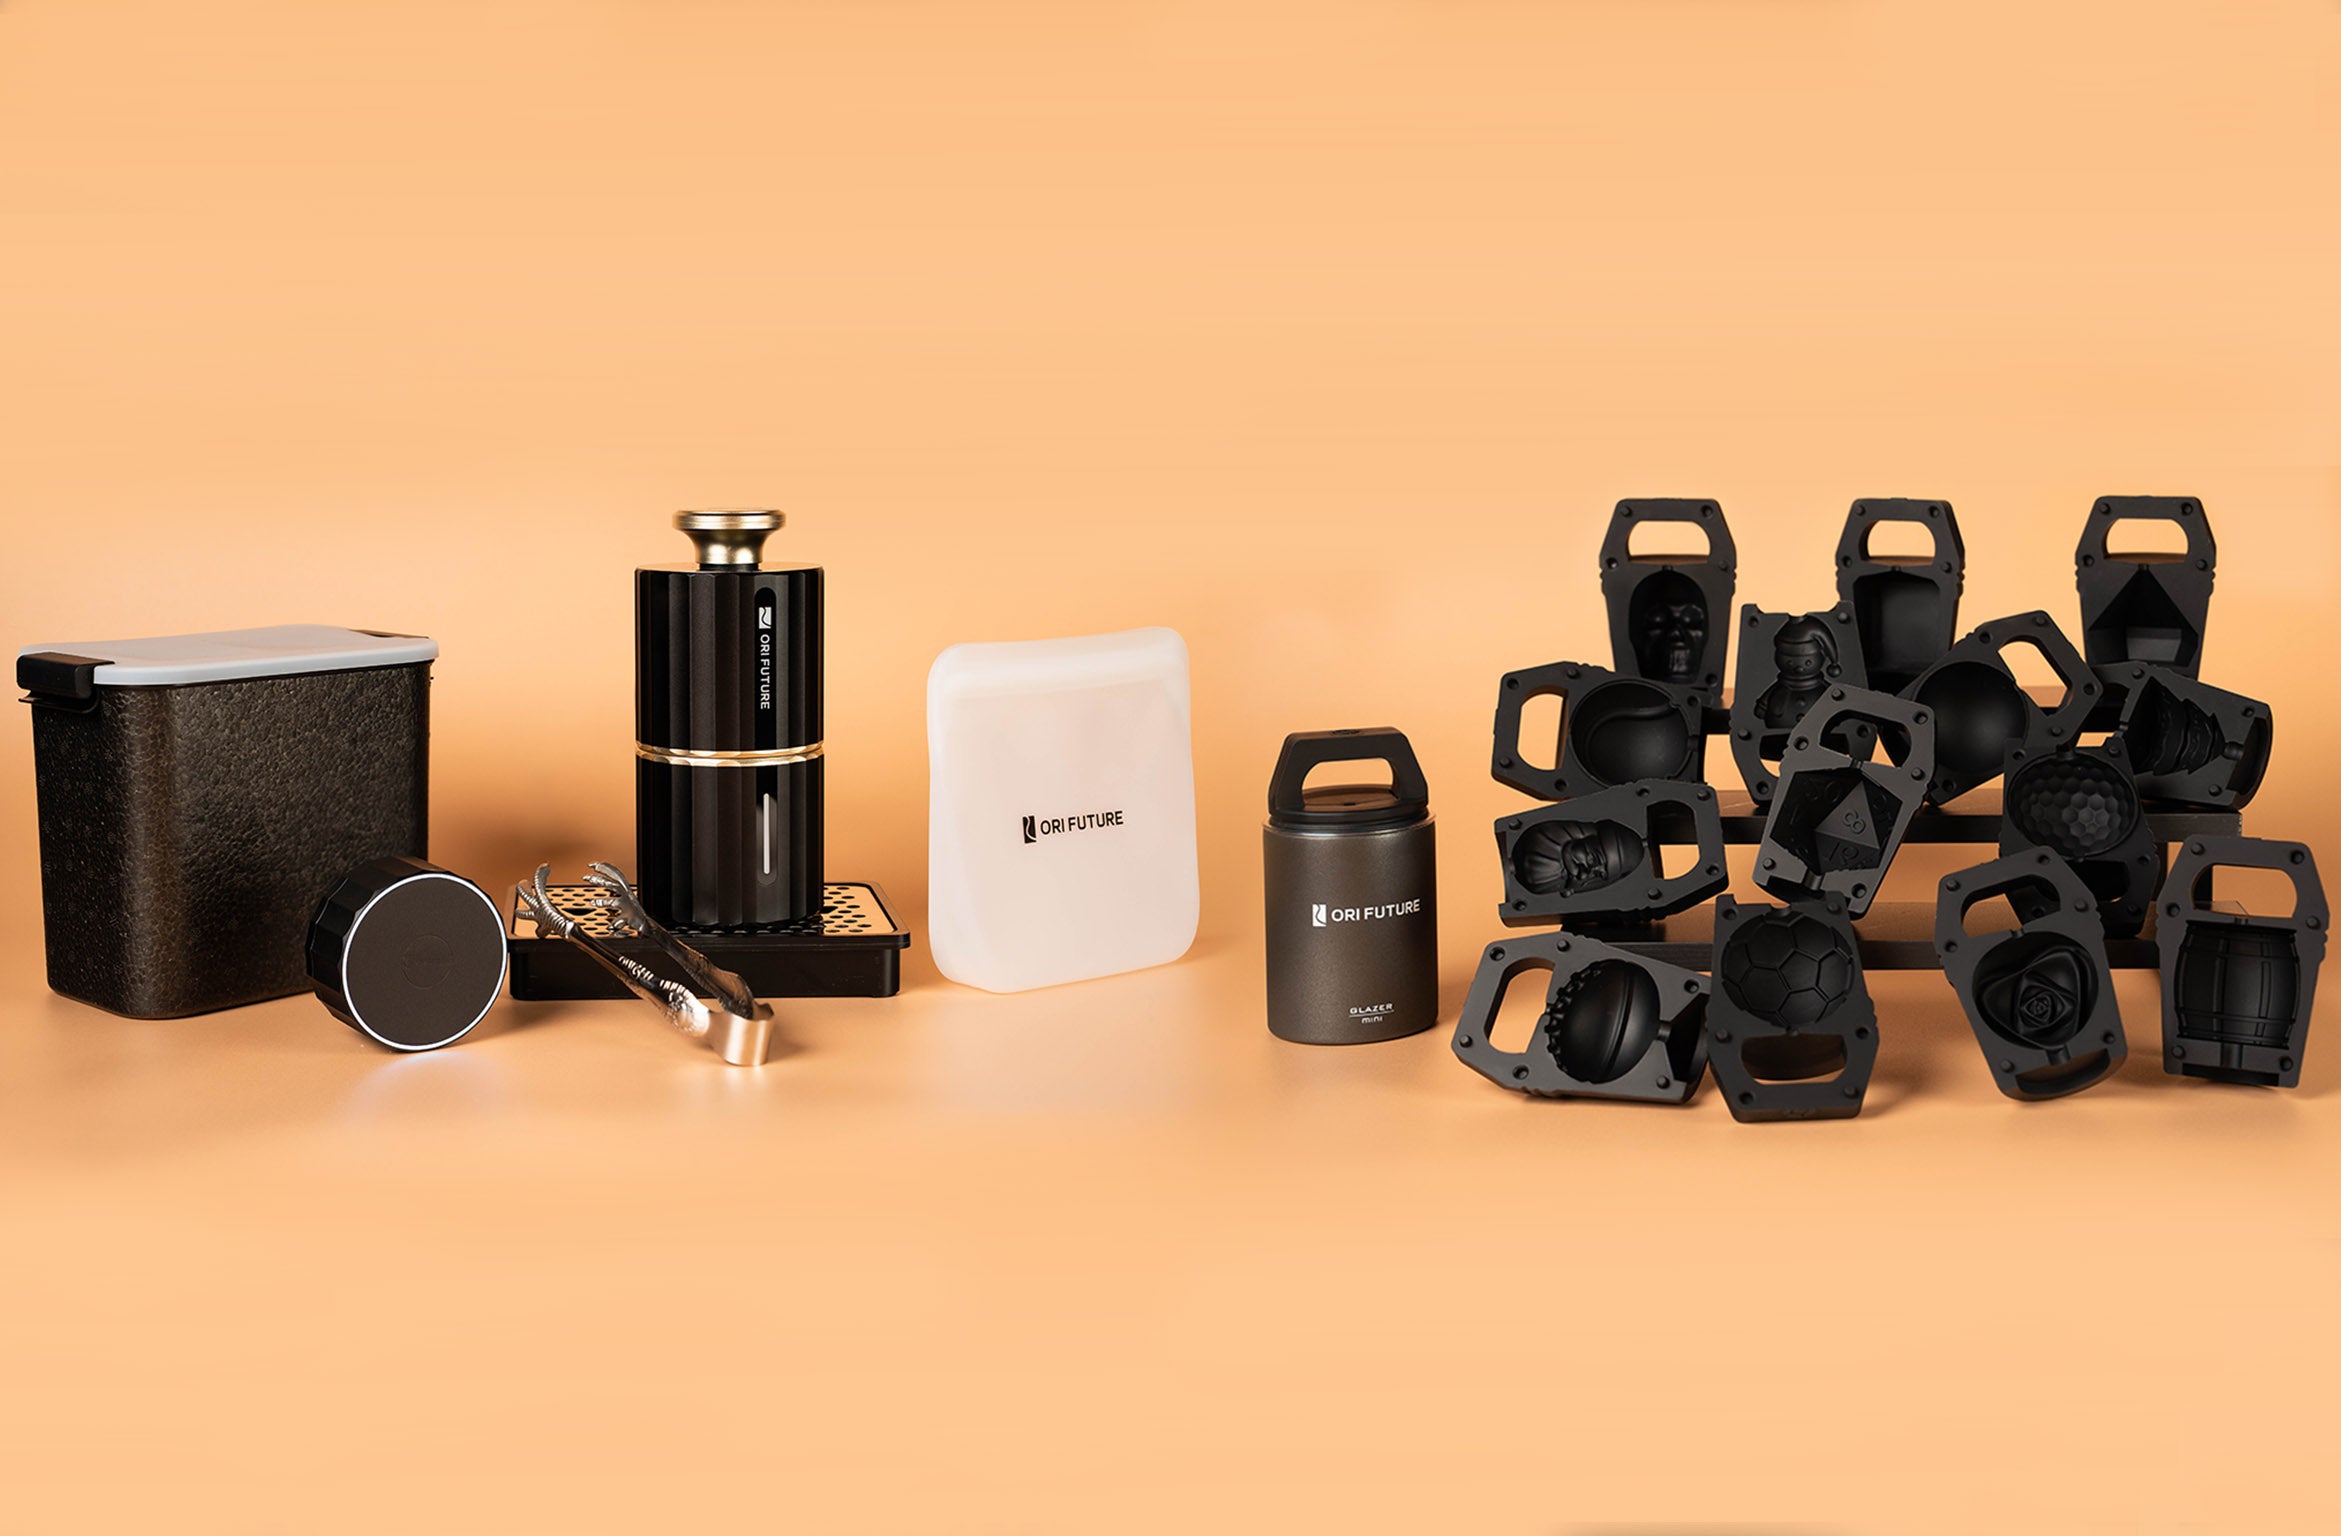
The success of your endeavor to make clear ice balls with ice molds depends entirely on the insulation. You cannot use a standard, uninsulated silicone tray. We recommend utilizing a directional freezing system, which typically consists of an outer insulated thermos (often made of expanded polypropylene or hard foam), a hard plastic reservoir for the water, and an inner silicone mold that holds the shape of the ice balls.
When you assemble the unit, the silicone mold sits at the top of the water reservoir. There is a small hole at the bottom of the silicone mold that allows the impurities to be pushed down into the reservoir below as the ice freezes. Choosing a highly rated insulated enclosure is the foundational step when you attempt to make clear ice balls with ice molds.
3. Step 2: Preparing and Degassing the Water
While directional freezing will push impurities downward, reducing the initial volume of dissolved gasses in your water dramatically improves the clarity of the final product. To optimally make clear ice balls with ice molds, we recommend using filtered or distilled water.
Furthermore, boiling the water before freezing is a highly effective technique for degassing. Boil the water for ten minutes, let it cool, and then boil it a second time. This process expels a significant portion of the trapped oxygen and nitrogen. Allow the water to cool to room temperature before pouring it into your insulated mold system to prevent warping the silicone or altering the internal thermal dynamics of the freezer.
4. Step 3: The Controlled Freezing Process
Once your insulated system is filled with prepared water, place it carefully into the freezer. Stability is key when you make clear ice balls with ice molds; do not place the mold near the freezer door where temperature fluctuations are severe due to constant opening and closing. Place it in the deepest, most thermally stable section of the freezer.
The time required depends on your freezer's ambient temperature, but it generally takes between 24 and 30 hours. The goal is to allow the water inside the silicone mold to freeze completely, while ensuring the water in the reservoir below (containing the concentrated impurities) does not freeze solid. If the bottom reservoir freezes completely, it expands and can rupture the silicone mold above it.
5. Step 4: Extracting the Ice Core Safely
After 24 hours, remove the entire insulated unit from the freezer. To make clear ice balls with ice molds effectively, extraction must be handled with care. Pull the hard plastic reservoir out of the insulated foam sleeve. Let it sit at room temperature for five to ten minutes. This slight warming allows the bond between the silicone mold and the plastic reservoir to loosen.
Gently pull the silicone mold free from the base. If the reservoir water has frozen slightly, you may need to run cold tap water over the plastic housing to release it. Once the silicone mold is isolated, peel back the flexible layers to reveal the clear ice spheres inside. You will likely notice small ice "tails" or imperfections at the bottom where the water passed through the drainage hole.
6. Step 5: Tempering the Ice to Prevent Thermal Shock
This is arguably the most overlooked stage when mixologists attempt to make clear ice balls with ice molds. Ice straight out of the freezer is approximately 0 degrees Fahrenheit (-18 degrees Celsius). If you drop a sphere of this temperature directly into a glass and pour room-temperature alcohol over it, the severe and rapid change in temperature will cause catastrophic thermal shock. The clear ice ball will crack internally, ruining the visual clarity and compromising its structural integrity.
You must temper the ice. Let the clear ice balls sit at room temperature for 5 to 10 minutes until the exterior surface becomes slightly wet and glossy. This warming period equalizes the internal pressure of the ice, preparing it for liquid contact.
7. Step 6: Flawless Shaping with the GLAZER Press
While learning to make clear ice balls with ice molds via directional freezing yields excellent clarity, traditional silicone molds invariably leave an unsightly equatorial seam line where the two halves of the mold connect. Furthermore, silicone molds restrict you to a single, static shape. To achieve true, flawless bar-quality presentation, the final step involves mechanical thermal pressing.

From our experience, the ultimate workflow is to freeze a solid block of clear ice using a directional mold, and then utilize the GLAZER Press whiskey ice ball machine to shape it. The GLAZER Press is the most advanced ICE Press in the world. Operating on a 100~120 V / 220~240 V power supply, it features a 600 W active heating core that pulses at a precise 100 °F (37.8 °C).
You place your clear ice block between the specialized inserts. The heated weight of the top platen smoothly melts the excess ice away in exactly 2 minutes. Unlike passive aluminum presses that drop in temperature and require 30-minute recovery times, the GLAZER Press performs back-to-back pressing instantly. Furthermore, our exclusive magnetic inserts allow you to rapidly switch shapes. You are not limited to a sphere; in seconds, you can swap out the 3.2 × 3.2 × 1.6 inch inserts to create a Skull, Diamond, Heart, or Saturn design. Weighing only 4.4 pounds (with inserts around 0.9 to 1.5 pounds), it is highly portable, unlike competitor presses that exceed 10 pounds and lack internal heating.
8. Summary Table: Traditional Molds vs. GLAZER Press
To highlight the technological disparity in ice shaping, we have compiled the following operational matrix comparing traditional methods to the GLAZER Press.
| Operational Feature | GLAZER Press Whiskey Ice Machine | Traditional Unheated Presses / Molds |
|---|---|---|
| Back to Back Pressing | Yes (Active Heated Core maintains temp) | No (Ambient metal cools rapidly, requires hot water bath) |
| Pressing Time | 2 minutes per round | 5 minutes initially, up to 30 minutes for subsequent rounds |
| Change Inserts | Magnetic system (Skull, Diamond, Heart, Saturn, Sphere) | Locked into only one shape |
| Portability & Weight | Yes, Highly Portable (~4.4 pounds / ~2 kg) | No, exceptionally heavy (>10 lbs) |
| Thermal Management | Heating Pulse Temp. exactly 100 °F (37.8 °C) | Relies entirely on ambient room temperature |
9. Frequently Asked Questions (FAQs)
Why does my ice still have bubbles even when I make clear ice balls with ice molds?
If you are utilizing a directional freezing system and still encountering bubbles, your freezer may be set too low. Extremely rapid freezing can trap gasses before they have a chance to be pushed down into the lower reservoir. We recommend raising your freezer temperature slightly to slow the freezing process, ensuring flawless clarity when you make clear ice balls with ice molds.
Do I need to boil the water if I use the GLAZER Press?
The GLAZER Press shapes the ice; it does not freeze it. You still need to start with a block of clear ice to achieve a transparent final product. While boiling water helps degas it, utilizing an insulated directional freezing mold to create the initial block is the most critical step to ensure the ice you load into the GLAZER Press is crystal clear.
Is the GLAZER Press safe for home bar use?
Yes. The GLAZER Press is engineered for optimal safety and efficiency in ambient temperatures of 60° to 86°F (15° to 30°C). Its 600 W heated core is strictly regulated to pulse at 100 °F (37.8 °C), providing enough thermal energy to melt the ice rapidly without creating a burn hazard for the operator. Its compact footprint (6 × 6 × 11 inches) makes it perfect for residential countertops.
10. Industry References
For further reading on the physics of ice crystallization, fluid thermodynamics, and advanced mixology techniques, we recommend consulting the following authoritative sources:
