


Semplici modi per creare cubetti di ghiaccio cristallini per i cocktail di Natale

Desiderate cubetti di ghiaccio cristallini per i vostri cocktail di Natale. Basta congelare lentamente acqua pulita e non usare il coperchio. Questi cubetti scintillanti renderanno le vostre bevande magnifiche a qualsiasi festa. Non avete bisogno di attrezzature sofisticate: un fabbricatore di cubetti di ghiaccio cristallino aiuta, ma potete ottenere ottimi risultati con ciò che già avete.
Le basi del ghiaccio trasparente
Perché il ghiaccio diventa torbido
Avete mai notato che i cubetti di ghiaccio del vostro congelatore sembrano bianchi o torbidi al centro? Questo accade per alcuni motivi:
-
Quando si congela l'acqua rapidamente, intrappola minuscole bolle d'aria e impurità al suo interno.
-
Queste bolle e minerali disperdono la luce, quindi il ghiaccio appare torbido anziché trasparente.
-
Man mano che l'acqua congela, inizia dai bordi e spinge l'aria e i minerali verso il centro. Questo crea sacche opache al centro.
Ecco le principali cose che rendono torbido il vostro ghiaccio:
-
I minerali disciolti nell'acqua del rubinetto rimangono intrappolati nel ghiaccio mentre congela.
-
Il cloro dell'acqua di città può aggiungere sia torbidità che uno strano sapore.
-
Le bolle d'aria rimangono intrappolate quando l'acqua congela troppo velocemente.
Suggerimento: Se volete che il vostro ghiaccio sia cristallino, dovete rallentare il processo di congelamento e usare acqua pulita.
Cosa rende il ghiaccio cristallino
Potete creare a casa splendidi cubetti di ghiaccio trasparenti. Il segreto sta nel modo in cui congelate l'acqua e in cosa essa contiene. Quando usate acqua pura e la congelate lentamente, permettete all'aria e alle impurità di fuoriuscire prima che il ghiaccio si formi. Questo vi darà quell'aspetto perfetto e vetroso.
|
Processo |
Descrizione |
|---|---|
|
Rimozione delle impurità |
Utilizzare acqua pura per evitare punti torbidi. |
|
Controllo del tasso di raffreddamento |
Congelare l'acqua lentamente per tenere fuori le bolle. |
|
Congelamento direzionale |
Congelare da un lato, come i ghiaccioli, per i risultati più chiari. |
All'interno di ogni cubetto di ghiaccio, le molecole d'acqua si allineano in un modello ordinato. Questa struttura ordinata permette alla luce di passare, rendendo il ghiaccio trasparente. Seguendo questi passaggi, otterrete ghiaccio trasparente che farà brillare qualsiasi cocktail natalizio.
Cubetti di ghiaccio perfettamente trasparenti a casa

Metodo di congelamento direzionale
Potete fare ghiaccio che sembra vetro direttamente nella vostra cucina. Il segreto è congelare l'acqua da una direzione, di solito dall'alto verso il basso. Questo metodo spinge l'aria e i minerali verso il basso, così otterrete un blocco di ghiaccio trasparente in alto.
Ecco come potete provare il congelamento direzionale a casa:
-
Fate bollire l'acqua due volte. Lasciatela raffreddare un po' prima di usarla. La bollitura aiuta a rimuovere aria e alcune impurità.
-
Versate lentamente l'acqua nello stampo per il ghiaccio o in una piccola borsa termica. Cercate di non spruzzare o versare troppo velocemente, altrimenti potreste aggiungere bolle d'aria.
-
Mettete lo stampo o la borsa termica nel congelatore. Assicuratevi che sia piatto e livellato.
-
Lasciate il coperchio aperto. Questo permette al ghiaccio di congelare dall'alto verso il basso, che è fondamentale per il ghiaccio trasparente.
-
Aspettate dalle 24 alle 36 ore. Il congelamento lento vi darà i migliori risultati.
-
Togliete lo stampo o la borsa termica dal congelatore. Vedrete uno spesso strato di ghiaccio trasparente in cima e uno strato torbido sotto.
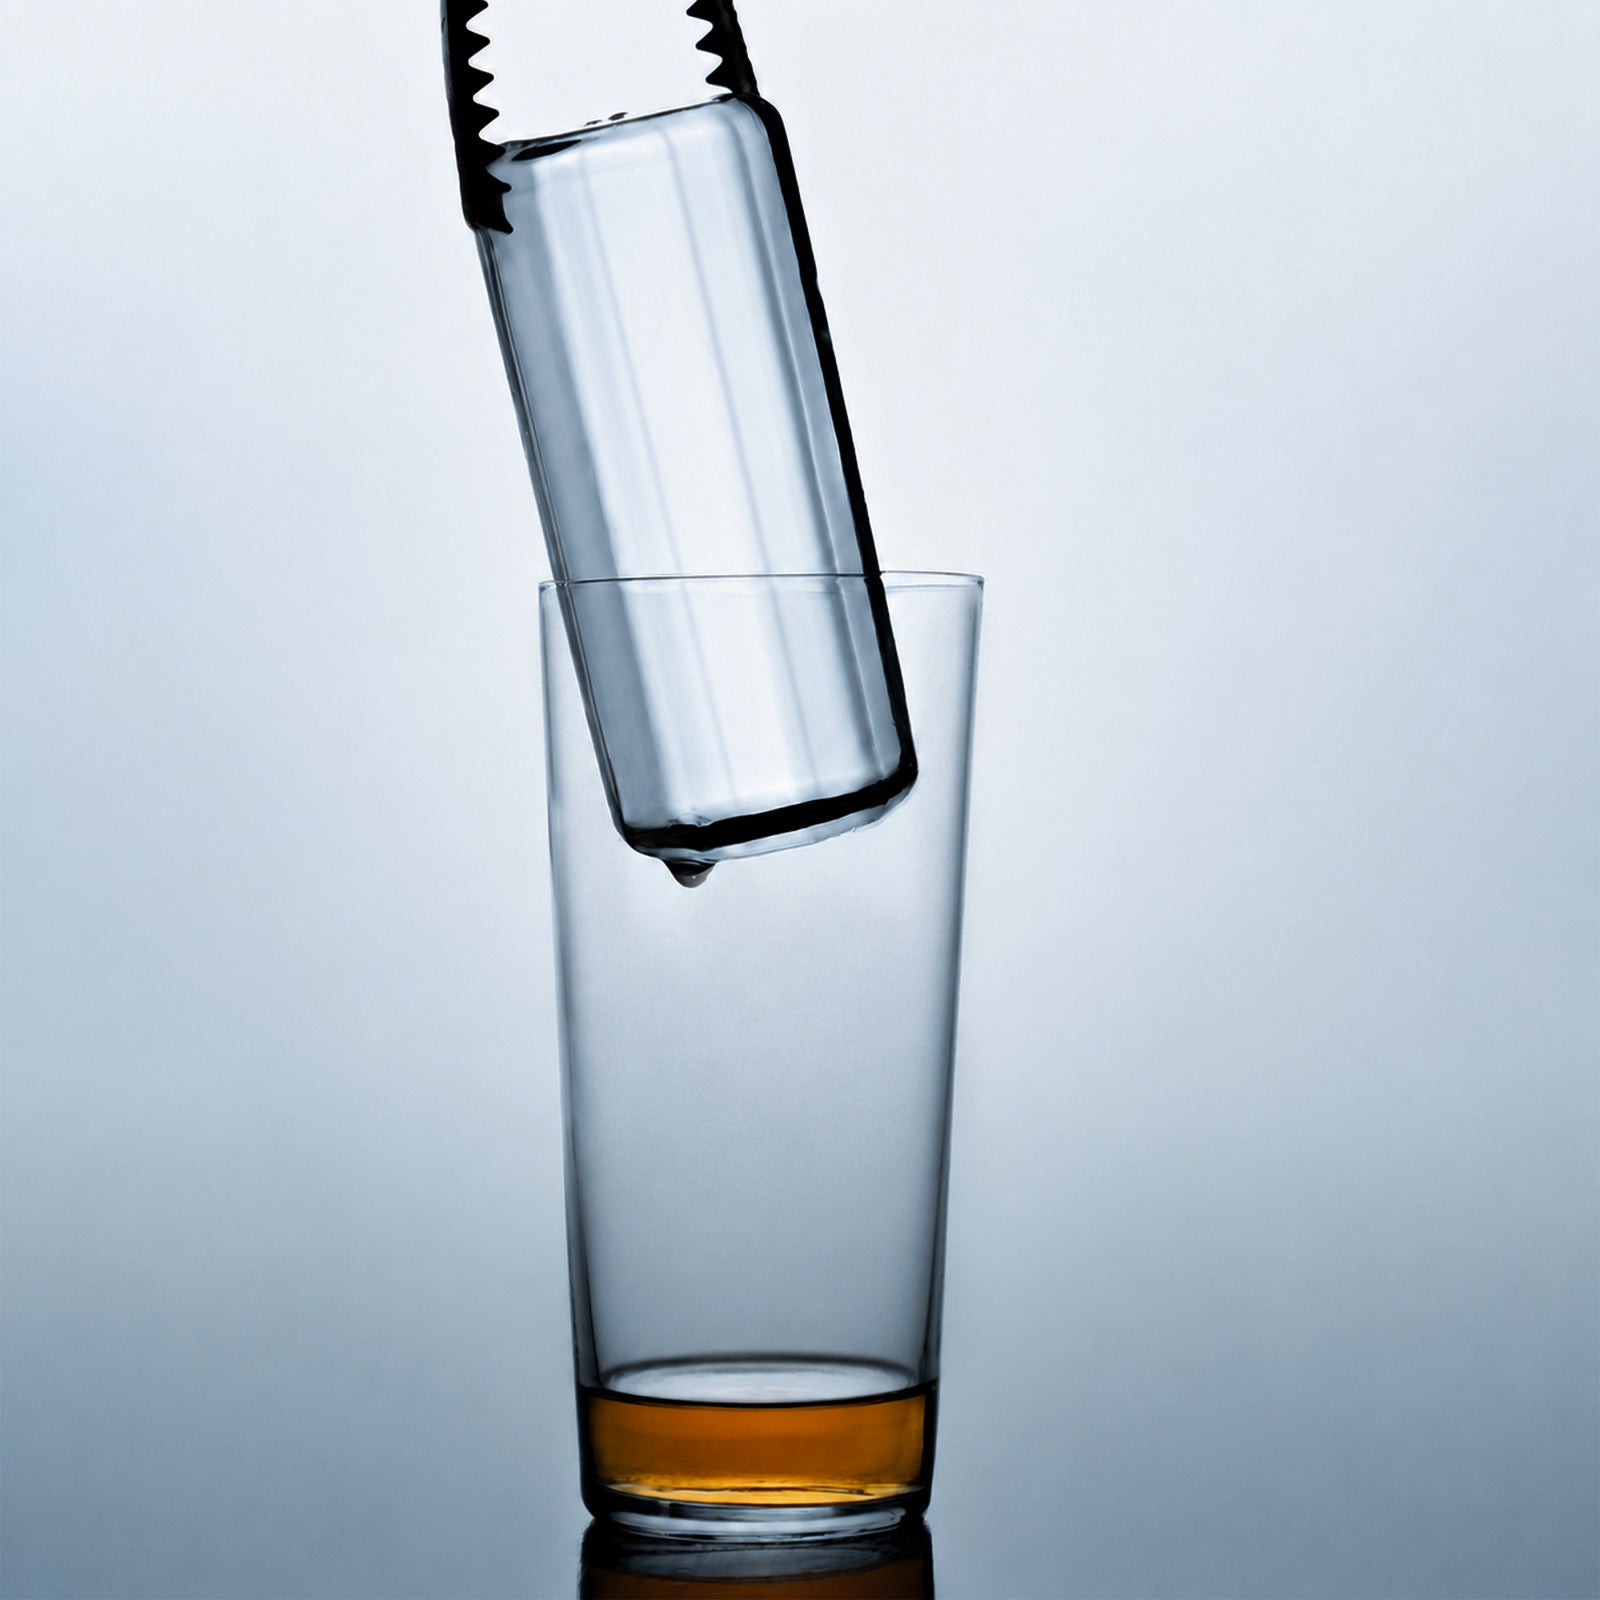
-
Usate un coltello o un punteruolo per ghiaccio per tagliare via la parte torbida. Ora avete un blocco di ghiaccio trasparente pronto per i vostri cocktail di Natale!
Suggerimento: Se volete realizzare cubetti di ghiaccio perfettamente trasparenti, usate acqua distillata o filtrata. Questo riduce i minerali che causano la torbidità.
Usare un frigorifero portatile per ghiaccio trasparente
Un piccolo frigorifero portatile isolato è ottimo per fare ghiaccio trasparente a casa. Il frigorifero impedisce ai lati e al fondo di congelare troppo velocemente, in modo che il ghiaccio si formi dall'alto verso il basso. Questo imita il modo in cui i laghi congelano in natura.
Ecco una semplice guida passo-passo:
-
Riempite un frigorifero portatile pulito e piccolo con acqua distillata o filtrata bollita. Lasciate un po' di spazio in cima affinché il ghiaccio si espanda.
-
Mettete il frigorifero portatile nel congelatore. Lasciate il coperchio aperto. Questo aiuta le bolle d'aria a fuoriuscire e permette al ghiaccio di congelare lentamente dall'alto.
-
Lasciate il frigorifero portatile nel congelatore per almeno 24 ore. Volete che la maggior parte dell'acqua congeli, ma non tutta.
-
Quando vedete uno spesso strato di ghiaccio trasparente in cima (circa 5-6 cm), togliete il frigorifero portatile.
-
Capovolgete il frigorifero portatile nel lavandino. Il blocco di ghiaccio dovrebbe scivolare fuori. Noterete uno strato torbido sul fondo, basta scheggiarlo o tagliarlo via.
-
Tagliate il ghiaccio trasparente in cubetti o forme che vi piacciono.
L'uso di una piccola borsa termica per la produzione di cubetti di ghiaccio migliora la trasparenza imitando il processo naturale di congelamento dall'alto verso il basso, che riduce l'intrappolamento dell'aria rispetto ai vassoi per il ghiaccio standard che congelano dall'esterno verso l'interno.
Suggerimenti per i migliori risultati
-
Lascia riposare l'acqua per qualche ora prima di congelarla. Questo aiuta le bolle d'aria a salire e a fuggire.
-
Usa acqua distillata, se puoi. Ha meno minerali e rende il ghiaccio più trasparente.
-
Fai bollire l'acqua e lasciala raffreddare prima di versarla nel contenitore. Questo elimina ancora più aria.
-
Sciacqua il tuo contenitore o stampo prima di ogni utilizzo per evitare l'accumulo di minerali.
Errori comuni da evitare
-
Non usare acqua direttamente dal rubinetto se contiene molti minerali o cloro. Questo può rendere il ghiaccio torbido.
-
Non congelare l'acqua troppo velocemente. Il congelamento rapido intrappola aria e impurità.
-
Non usare il coperchio del frigorifero portatile. Il coperchio impedisce all'aria di fuoriuscire e può rendere il ghiaccio torbido.
-
Non versare l'acqua troppo velocemente. Questo può aggiungere bolle d'aria.
-
Non dimenticare di lasciare spazio per l'espansione del ghiaccio. Se riempi il frigorifero portatile fino all'orlo, potrebbe creparsi o rovesciarsi.
Con questi semplici passaggi, puoi creare ghiaccio trasparente a casa senza alcuna attrezzatura sofisticata. I tuoi cocktail di Natale saranno splendidi e i tuoi ospiti rimarranno impressionati dai tuoi cubetti di ghiaccio perfettamente trasparenti!
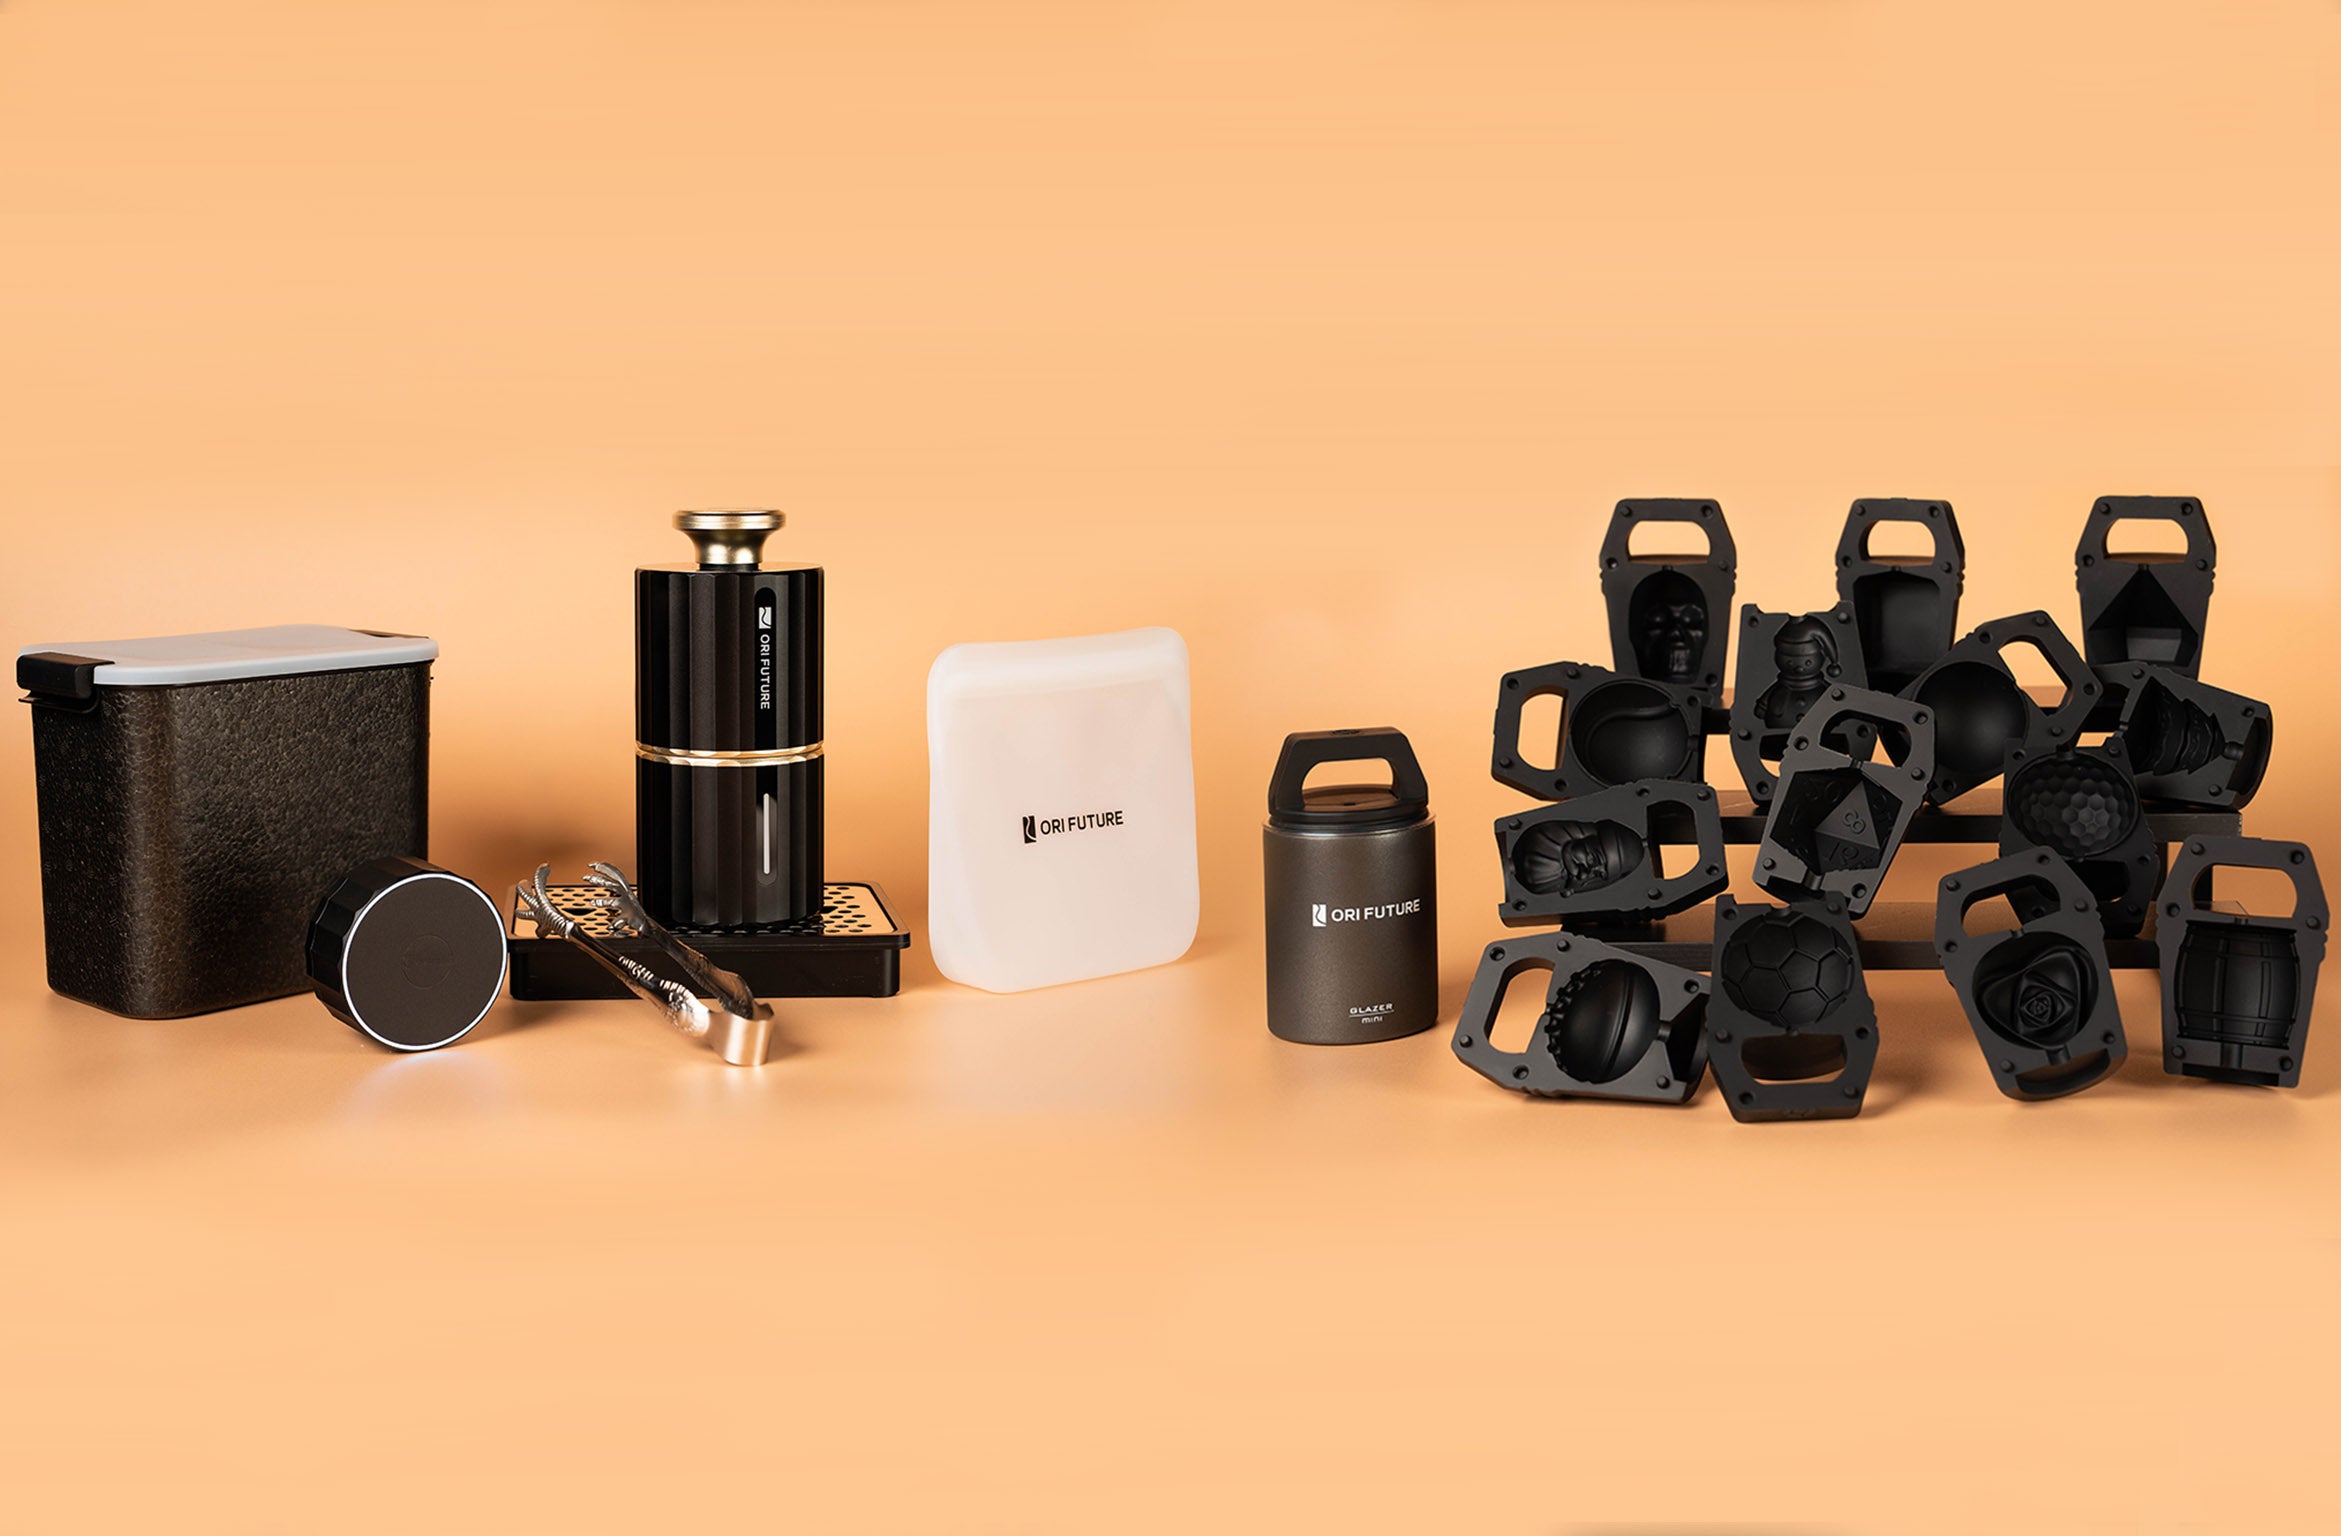
Fabbricatore di cubetti di ghiaccio di cristallo e altri strumenti
Uso di un fabbricatore di cubetti di ghiaccio cristallino
Se volete del ghiaccio trasparente con quasi nessuno sforzo, un fabbricatore di cubetti di ghiaccio cristallino può essere il vostro migliore amico. Basta riempirlo d'acqua, metterlo nel congelatore e lasciarlo fare il suo lavoro. Questo strumento utilizza il congelamento direzionale, il che significa che congela l'acqua da un lato e spinge via aria e impurità. Otterrete cubetti trasparenti e uniformi ogni volta.
Ecco un rapido confronto tra un fabbricatore di cubetti di ghiaccio cristallino e i metodi tradizionali casalinghi:
|
Vantaggio |
Descrizione |
|---|---|
|
Produzione automatica |
Il fabbricatore di cubetti di ghiaccio cristallino crea il ghiaccio senza che dobbiate controllarlo. |
|
Facilità d'uso |
Non è necessario riempire vassoi o preoccuparsi dei tempi. |
|
Qualità costante |
Ogni volta si ottengono le stesse dimensioni e forme. |
|
Risparmio di tempo |
Non dovrete più aspettare i vassoi o correre al negozio per il ghiaccio. |
|
Sempre disponibile |
Avrete sempre ghiaccio trasparente pronto per i vostri cocktail di Natale. |
La maggior parte dei fabbricatori di cubetti di ghiaccio cristallino utilizza speciali vassoi o stampi che congelano l'acqua dall'alto verso il basso. Alcuni, come il vassoio ClearlyFrozen, possono persino produrre cubetti trasparenti durante la notte. Amerete quanto sia facile impressionare i vostri ospiti con un ghiaccio perfetto.
Pluriball e Vassoi in Silicone
Non hai un fabbricatore di cubetti di ghiaccio cristallino? Puoi comunque ottenere ottimi risultati con le cose che hai in casa. Il pluriball e i vassoi in silicone aiutano a isolare i tuoi stampi per il ghiaccio. Il pluriball funziona bene perché l'aria all'interno delle bolle impedisce al freddo di raggiungere l'acqua troppo rapidamente. Questo congelamento lento aiuta a spingere fuori l'aria e le impurità, proprio come fanno i professionisti.
-
Il pluriball ha una bassa conduttività termica, quindi mantiene il congelamento lento e costante.
-
Anche i vassoi in silicone isolano l'acqua, aiutandoti a ottenere cubetti più trasparenti.
-
Entrambe le opzioni ti permettono di sperimentare forme e dimensioni per le tue bevande natalizie.
Suggerimento: Avvolgi il tuo stampo per il ghiaccio nel pluriball o usa un vassoio in silicone per aumentare le tue possibilità di creare ghiaccio cristallino a casa.
Tecniche alternative per il ghiaccio trasparente
Metodo dell'acqua bollente
Puoi usare il metodo dell'acqua bollente per cubetti di ghiaccio più trasparenti. Per prima cosa, fai bollire l'acqua del rubinetto o l'acqua distillata. La bollitura rimuove le bolle d'aria e uccide i batteri. Aiuta anche a eliminare i minerali che rendono il ghiaccio torbido.
In questo metodo, si fa bollire l'acqua per rimuovere impurità e bolle d'aria. La bollitura uccide anche i batteri ed elimina i gas e i minerali che possono rendere il ghiaccio torbido.
Lasciate raffreddare l'acqua bollita prima di versarla nel vassoio del ghiaccio. Mettete il vassoio nel congelatore. I cubetti di ghiaccio appariranno più chiari di quelli fatti con acqua normale. La maggior parte dei cubetti è trasparente in alto e a metà. Solo una piccola macchia torbida si trova in basso.
Non ho ottenuto ghiaccio cristallino, ma c'è stata una grande differenza. I cubetti di ghiaccio fatti con acqua bollente erano per lo più trasparenti. Erano chiari in alto e a metà, con solo una piccola parte torbida in basso.
Aggiunta di succo di limone per la trasparenza
È possibile aggiungere una piccola quantità di succo di limone all'acqua prima di congelarla. Il succo di limone è acido. Aiuta a scomporre i minerali e a ridurre le bolle d'aria. Questo trucco può rendere i cubetti di ghiaccio più trasparenti. Usare solo poche gocce, altrimenti il ghiaccio potrebbe avere un sapore acido.
Pro e contro di ogni metodo
|
Metodo |
Pro |
Contro |
|---|---|---|
|
Bollire acqua distillata |
Rimuove aria e impurità, facile da fare |
Potrebbe non essere trasparente al 100% |
|
Bollire acqua del rubinetto |
Migliora la trasparenza, usa acqua del rubinetto normale |
Alcuni minerali potrebbero rimanere |
|
Succo di limone |
Riduce le bolle, aumenta la trasparenza |
Può alterare il sapore se si usa troppo |
-
L'acqua bollente elimina impurità e bolle d'aria. Questo rende il ghiaccio più trasparente rispetto all'uso di acqua a temperatura ambiente.
-
Il metodo potrebbe non dare un ghiaccio completamente trasparente, ma aiuta molto.
-
L'uso di acqua distillata può anche produrre ghiaccio trasparente perché contiene meno impurità.
Suggerimento: Prova a far bollire acqua distillata e ad aggiungere una goccia di succo di limone. Scopri quale funziona meglio per i tuoi cocktail di Natale!
Usi festivi del ghiaccio trasparente
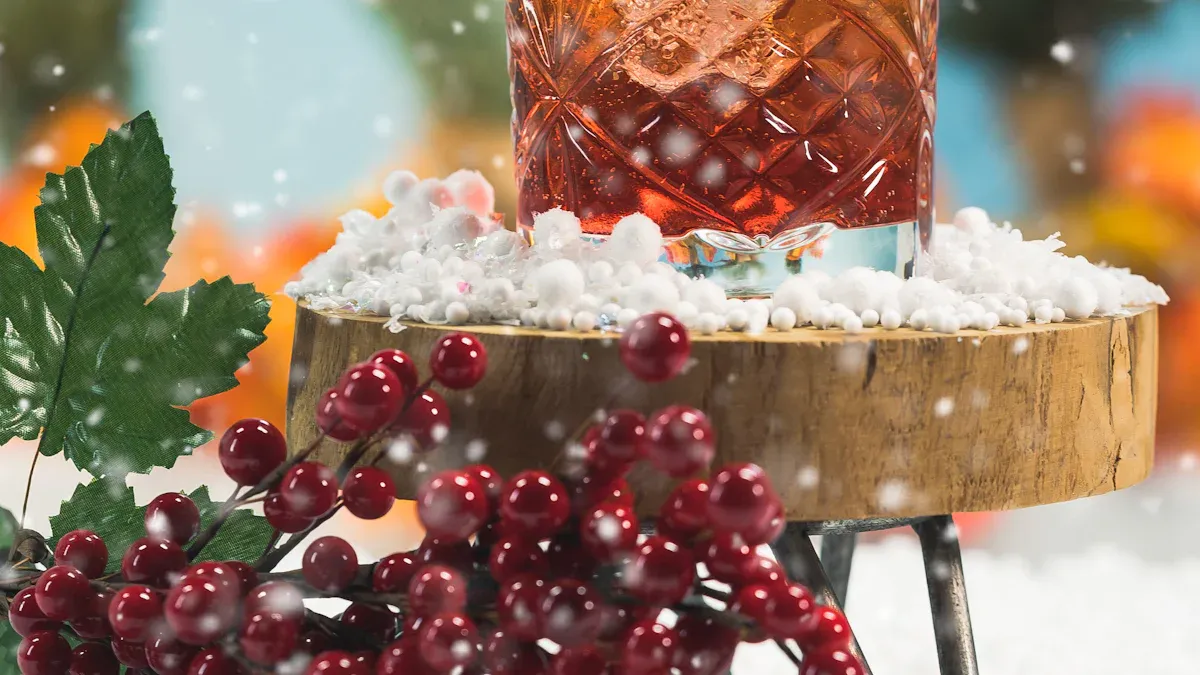
Presentazione dei cocktail natalizi
Volete che i vostri cocktail di Natale siano belli quanto buoni. Il ghiaccio trasparente fa brillare le vostre bevande e le fa risaltare a qualsiasi festa. Quando usate ghiaccio trasparente, i vostri cocktail assomigliano a quelli di un bar di lusso, con ghiaccio di qualità. Gli ospiti noteranno subito la differenza.
-
Il ghiaccio trasparente esalta l'aspetto visivo delle tue bevande, rendendole più invitanti per le occasioni festive.
-
La trasparenza ti permette di mostrare mixer colorati, frutta o erbe nel tuo bicchiere.
-
I tuoi cocktail sembrano moderni ed eleganti, non torbidi o spenti come con il ghiaccio normale.
Gli ospiti spesso dicono che il ghiaccio trasparente rende le loro bevande speciali. Si scioglie lentamente, quindi il tuo cocktail rimane freddo e gustoso senza annacquarsi troppo velocemente.
Forme e guarnizioni divertenti
Puoi divertirti con le forme e gli extra che aggiungi ai tuoi cubetti di ghiaccio. Prova a usare stampi diversi o ad aggiungere tocchi festivi all'interno del ghiaccio. Ecco alcune idee popolari:
|
Tipo di forma/guarnizione |
Descrizione |
|---|---|
|
Grandi forme |
Grandi cubi o sfere si sciolgono lentamente e hanno un aspetto impressionante. |
|
Forme uniche |
Stelle o stampi a forma di gemma aggiungono un'atmosfera giocosa e festiva. |
|
Disegni incorporati |
Stampi con motivi rendono il ghiaccio ancora più accattivante. |
|
Altri sapori |
Congelare succhi, tè o caffè per un tocco in più rispetto al ghiaccio classico. |
|
Congelato all'interno |
Aggiungi bacche, rosmarino o timo per un aspetto e un sapore festivo. |
Potete preparare questi cubetti in anticipo. Quando inizia la festa, basta metterli in un bicchiere e versare la vostra bevanda. I vostri ospiti apprezzeranno l'aspetto e il sapore. Potrebbero persino chiedere come avete fatto a rendere i vostri cocktail così sorprendenti!
Potete creare cubetti di ghiaccio cristallini a casa seguendo semplici passaggi. Provate a congelare l'acqua dall'alto verso il basso. Usate acqua distillata e fatela bollire prima. Conservate il ghiaccio in contenitori chiusi. Aggiungete rosmarino o mirtilli rossi per renderlo festivo.
I vostri ospiti rimarranno stupiti questo Natale. I vostri cocktail appariranno brillanti e avranno un sapore delizioso!
