


5 einfache Schritte zur Herstellung von klarem Eis mit einer Eispresse
In der Welt der professionellen Mixologie entscheidet oft die Qualität des Eises über den Unterschied zwischen einem guten Drink und einem Weltklasse-Erlebnis. Trübe, gefrierbrandige Eiswürfel schmelzen schnell und verunreinigen Ihre Premium-Spirituosen. Um diese glasartige Transparenz zu erreichen, greifen Liebhaber und Profis gleichermaßen auf die Wissenschaft des gezielten Einfrierens zurück. Doch sobald Sie Ihren klaren Eisblock haben, besteht die Herausforderung darin, ihn zu einer perfekten, professionellen Kugel zu formen. Hier wird eine Eispresse unverzichtbar. Diese Anleitung führt Sie in 5 einfachen Schritten durch die Herstellung von klarem Eis mit einer Eispresse und sorgt dafür, dass Ihre Hausbar 2026 mit den exklusivsten Lounges mithalten kann.
 Artikelinhalt
- Warum klares Eis für Ihre Spirituosen wichtig ist
- Produktvorstellung: Die GLAZER Press
- Die Grundlage: Wie man durchsichtige Eisblöcke herstellt
- 5 einfache Schritte zur Herstellung von klarem Eis mit einer Eispresse
- So pflegen Sie Ihre Eispresse für eine lange Lebensdauer
- Technische Spezifikationen & Übersichtstabelle
- Häufig gestellte Fragen
- Referenzen
Warum klares Eis für Ihre Spirituosen wichtig ist
Das meiste Eis aus dem Haushalt ist trüb, weil es von allen Seiten gleichzeitig gefriert und dabei Luftblasen und mineralische Verunreinigungen im Kern einschließt. Stellt man hingegen mit einer Eispresse klares Eis her, verwendet man einen Eisblock, der „gerichtet gefroren“ ist – ein Prozess, der dem Gefrieren eines Sees von oben nach unten ähnelt, wodurch Verunreinigungen nach unten gedrückt werden.
Klares Eis ist nicht nur eine Frage der Optik. Da es dichter ist und keine Lufteinschlüsse enthält, hat es im Vergleich zu trübem Eis ein geringeres Verhältnis von Oberfläche zu Volumen. Das bedeutet, es schmilzt deutlich langsamer und kühlt Ihren Whisky oder Cocktail, ohne dessen komplexes Aroma zu verwässern. Im Jahr 2026 ist der Standard für Hobby-Barkeeper nicht mehr nur „kalt“, sondern „kristallklar“.
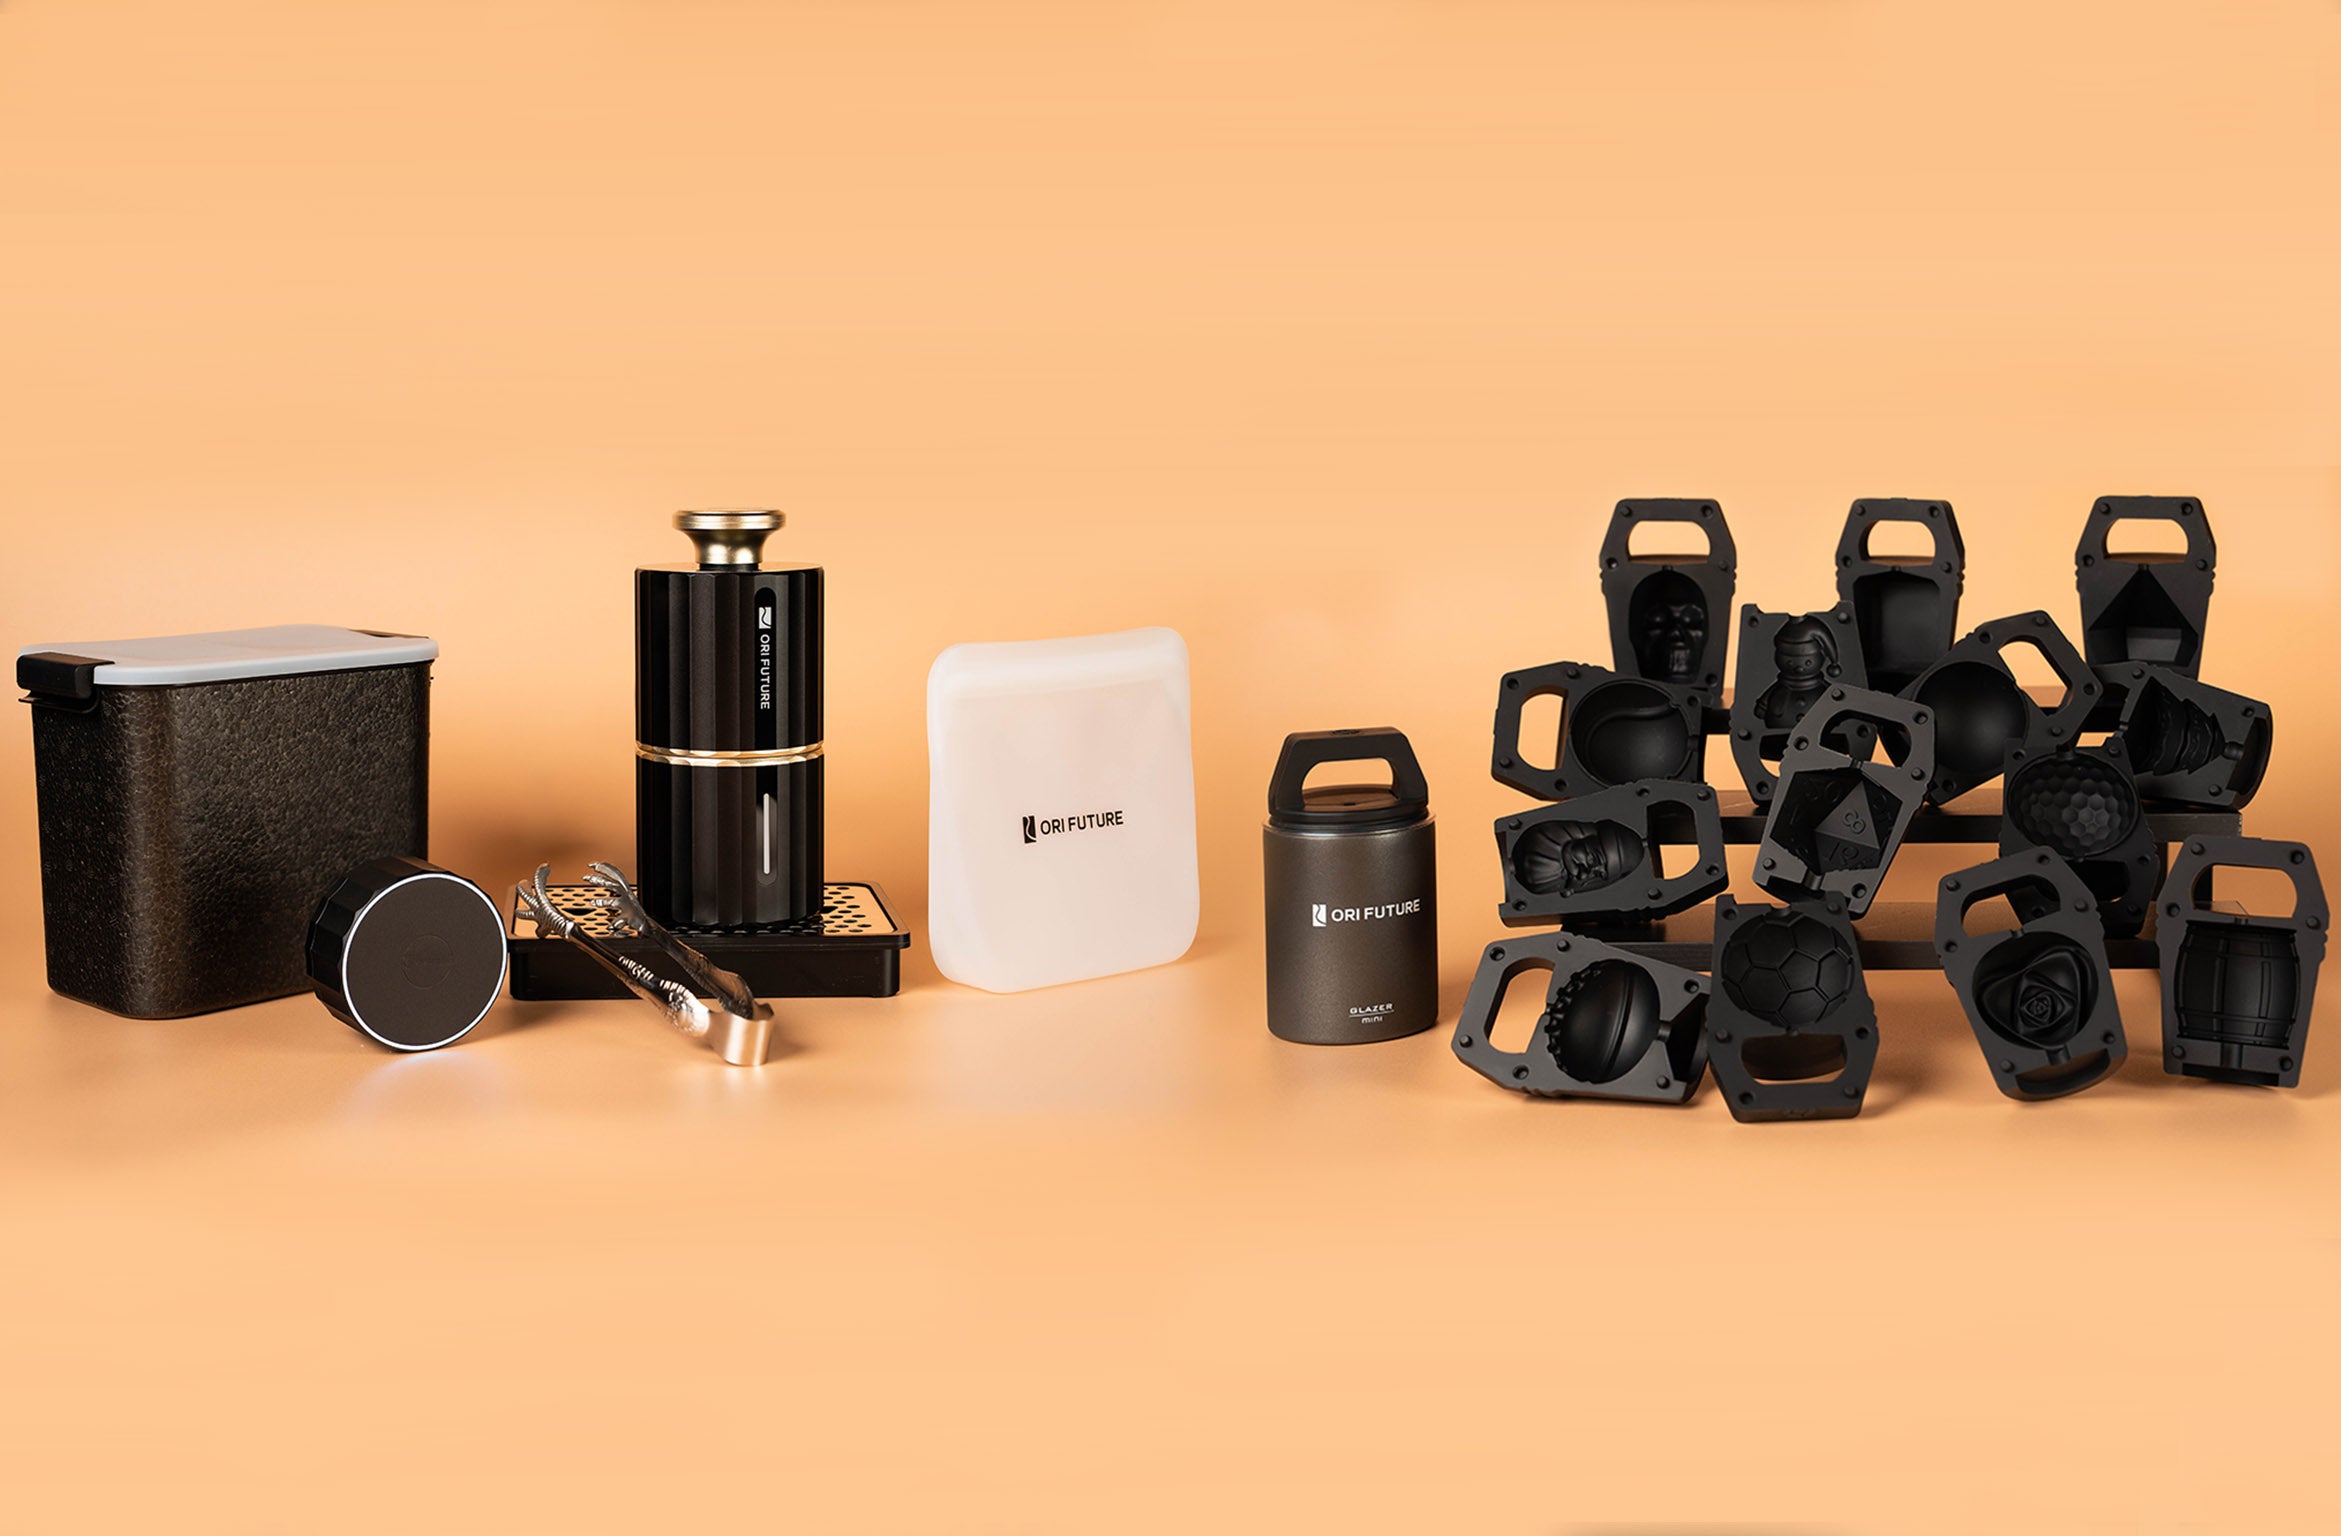
GLAZER Press Whiskey-Eisballmaschine
Die fortschrittlichste ICE-Presse der Welt

Die GLAZER Eispresse bringt Eis in Barqualität direkt zu Ihnen nach Hause. Kreieren Sie in nur 2 Minuten beeindruckende Eisformen mit dem beheizten Kern und verschiedenen Magneteinsätzen. Perfekt für Partys, Bars oder den Gebrauch zu Hause – unkompliziert und einfach bessere Drinks. Im Gegensatz zu herkömmlichen, schweren Kupferpressen, die ausschließlich mit Schwerkraft und Umgebungswärme arbeiten, nutzt die GLAZER Pulsheiztechnologie für schnelleres und gleichmäßigeres Arbeiten.
Schneller Eis: Mit der GLAZER ICE Press lassen sich mehrere Eisformen nacheinander herstellen, sodass Sie jeden Gast bei Ihrer Feier mühelos mit perfekt geformtem Eis versorgen können.
5 Formen und mehr: Die GLAZER ICE Press enthält jetzt 5 einzigartige Formen, und weitere folgen in Kürze, damit dein Eisspiel immer wieder neu und abwechslungsreich bleibt. Ob klassische Kugel, Diamant oder Herz – dank der magnetischen Einsätze lassen sich die Formen mühelos austauschen.
Die Grundlage: Wie man durchsichtige Eisblöcke herstellt
Bevor Sie Ihre Eispresse benutzen können, benötigen Sie ein hochwertiges Rohmaterial. Um mit einer Eispresse klares Eis herzustellen, müssen Sie zunächst einen klaren Eisblock formen. Die effektivste Methode für den Hausgebrauch ist die „Kühlermethode“.
- Nehmen Sie eine kleine, isolierte Kühlbox mit festen Wänden und entfernen Sie den Deckel.
- Füllen Sie es mit gefiltertem oder destilliertem Wasser (zweimaliges Abkochen des Wassers vor dem Befüllen hilft, Mikrobläschen weiter zu reduzieren).
- Legen Sie es für 24–30 Stunden in den Gefrierschrank.
- Nehmen Sie den Kühler heraus. Die oberen 5–7,5 cm sind glasklar, während der Boden (noch flüssig oder halbgefroren) die gesamte eingeschlossene Luft und Verunreinigungen enthält.
- Nehmen Sie den Block vorsichtig heraus und schneiden Sie mit einem Wellenschliffmesser den trüben Boden ab. Jetzt können Sie ihn pressen.
5 einfache Schritte zur Herstellung von klarem Eis mit einer Eispresse
Schritt 1: Bereiten Sie Ihren durchsichtigen Eisblock vor und temperieren Sie ihn.
Nehmen Sie Ihren durchsichtigen Eisblock aus dem Gefrierschrank und lassen Sie ihn etwa 2–3 Minuten bei Zimmertemperatur stehen. Diesen Vorgang nennt man „Temperieren“. Wenn Sie einen eiskalten Eisblock direkt in eine beheizte Presse geben, kann der extreme Temperaturunterschied dazu führen, dass das Eis Risse bekommt oder zerspringt. Temperiertes Eis ist an der Oberfläche leicht feucht, wodurch beim Pressvorgang eine glattere und transparentere Oberfläche entsteht.
Schritt 2: Wählen Sie Ihren Magneteinsatz und befestigen Sie ihn.
Eine der Besonderheiten der GLAZER-Presse ist ihre Vielseitigkeit. Wählen Sie Ihre Wunschform – zum Beispiel die klassische Kugel oder eine moderne Raute. Setzen Sie die Magneteinsätze in die obere und untere Platte der Presse ein. Achten Sie darauf, dass diese sauber und frei von Verunreinigungen sind, denn selbst kleinste Krümel können Dellen in Ihrem kristallklaren Eis hinterlassen.
Schritt 3: Eis positionieren und Heizkern aktivieren
Legen Sie Ihren durchsichtigen Eiswürfel (etwas größer als die gewünschte Endform) auf den unteren Einsatz. Senken Sie die obere Platte ab, bis sie das Eis berührt. Wenn Sie die GLAZER Press verwenden, aktivieren Sie den 600-W-Heizimpuls. Der Heizkern schmilzt das Eis präzise, sodass die obere Platte mühelos durch den Eisblock gleitet. Dieser Schritt beschleunigt den Vorgang und dauert in der Regel weniger als 2 Minuten.
Schritt 4: Kompression und Entspannung überwachen
Während die Presse arbeitet, läuft das überschüssige Wasser in die Auffangschale. Sobald die beiden Platten vollständig aufeinanderliegen, ist die Form fertig. Dank des „Pulsheizsystems“ der modernen 2026-Modelle gehört das bei älteren Kupferpressen häufige „Anhaften“ der Vergangenheit an. Die Hitze löst die Oberflächenspannung, sodass sich die fertige Form problemlos entnehmen lässt, ohne die Eisoberfläche zu beschädigen oder zu vereisen.
Schritt 5: Entnehmen und polieren Sie Ihr Eismeisterwerk
Öffnen Sie die Presse und entnehmen Sie die durchsichtige Eiskugel oder den Eisdiamanten mit einer Silikonzange. Für ein besonders professionelles Ergebnis polieren Sie die Kugel oder den Diamanten kurz, indem Sie sie/ihn (mit Handschuhen) zwischen den Händen rollen oder mit einem warmen Tuch über eventuelle Nahtstellen streichen. Geben Sie das Eis direkt in Ihr Glas und gießen Sie Ihre Lieblingsspirituose darüber. Die Klarheit ist so perfekt, dass das Eis nach dem Hinzufügen der Flüssigkeit fast unsichtbar wird.
So pflegen Sie Ihre Eispresse für eine lange Lebensdauer
Um weiterhin effektiv klares Eis mit einer Eispresse herzustellen, ist die Wartung entscheidend. Nach jeder Benutzung:
- Abwischen: Trocknen Sie die Teller und Einsätze gründlich mit einem Mikrofasertuch ab, um Wasserflecken oder Mineralablagerungen zu vermeiden.
- Überprüfen Sie den Sockel: Leeren Sie die Wasserauffangschale sofort, um ein Überlaufen auf Ihrer Bartheke zu vermeiden.
- Aufbewahrungshinweise: Bewahren Sie Ihre Magneteinsätze in einem gepolsterten Etui auf, um Kratzer auf den polierten Oberflächen zu vermeiden.
- Elektrische Sicherheit: Achten Sie darauf, dass das Netzkabel und die Heizelemente trocken gehalten und an einem kühlen, trockenen Ort aufbewahrt werden.
Technische Spezifikationen & Übersichtstabelle
| Besonderheit | GLAZER Press Spezifikationen |
|---|---|
| Stromverbrauch | 100–120 V / 220–240 V | 600 W |
| Heizimpuls-Temperatur | 100 °F (37,8 °C) |
| Produktionszeit | Etwa 2 Minuten pro Form |
| Gewicht | ~4,4 Pfund (~2 kg) |
| Verfügbare Formen | Kugel, Diamant, Herz, Totenkopf, Saturn |
Häufig gestellte Fragen
Schmilzt klares Eis tatsächlich langsamer als normales Eis?
Ja. Klares Eis ist dichter und enthält keine Lufteinschlüsse. Lufteinschlüsse vergrößern die Oberfläche und führen dazu, dass das Eis von innen nach außen schmilzt. Klares Eis schmilzt nur von außen und bewahrt so den Alkoholgehalt Ihres Getränks deutlich länger.
Kann ich die GLAZER Press mit normalem Gefrierschrankeis verwenden?
Das ist zwar möglich, aber das Ergebnis wird nicht zufriedenstellend sein. Die Presse formt das Eis, kann aber die bereits eingeschlossene Luft nicht entfernen. Um den glasartigen Look zu erzielen, benötigt man einen klaren Eisblock, der durch gerichtetes Gefrieren hergestellt wurde.
Kann man die erhitzten Teller gefahrlos berühren?
Der Heizimpuls erreicht 100 °F (37,8 °C), was zwar warm ist, aber in der Regel nicht ausreicht, um schwere Verbrennungen zu verursachen. Dennoch sollten Sie die Maschine stets an den dafür vorgesehenen Griffen anfassen und zum Entnehmen des Eises eine Zange verwenden, um Hygiene und Sicherheit zu gewährleisten.
Warum ist mein Eisball nach dem Drücken gesprungen?
Das liegt meist an mangelnder Temperierung. Ist das Eis zu kalt, wenn es auf die warme Presse oder den zimmerwarmen Whisky trifft, bricht es durch den Temperaturschock. Lassen Sie das Eis daher immer einige Minuten „schwitzen“, bevor Sie es pressen.
Referenzen
- Mixology Quarterly: „ Der Einfluss der Eisklarheit auf das Aromaprofil gereifter Spirituosen. “
- International Bartenders Association (IBA): "Standardrichtlinien für Premium-Eisservice."
Die Kunst, kristallklares Eis zuzubereiten, ist ein Markenzeichen des modernen Hobby-Barkeepers. Mit diesen 5 einfachen Schritten und einer Eispresse gelingt Ihnen die Herstellung von kristallklarem Eis – für ein wahres Sinneserlebnis. Die Kombination aus gezieltem Gefrieren und der fortschrittlichen Technologie der GLAZER Press garantiert, dass jeder Drink genau so serviert wird, wie der Destillateur es vorgesehen hat: unverfälscht, perfekt gekühlt und optisch ein Genuss.
