



Tips to Prevent Cloudy Ice in Whiskey for Christmas Parties
Cloudy ice happens because of trapped air and minerals in your water. You can stop this problem with filtered water and directional freezing. You can make clear ice at home without buying expensive machines. This post shows you how to get clear ice ready for whiskey before your Christmas party. You will learn to make ice that looks great in every glass. The steps are easy. Your holiday drinks will wow each guest. You can also use clear ice for whiskey and other drinks. A bit of planning gives you great results. Clear ice makes your party drinks look better. This guide makes it simple. You will serve amazing drinks this Christmas. Your guests will see the difference. Clear ice and whiskey make a simple, classy match. The best whiskey Christmas gift might be the skill you learn here. Whisky lovers will notice the work. Whiskey fans will be grateful. Start now and enjoy the holiday.
Key Takeaways
Use filtered or distilled water to get rid of minerals and gases that make the ice cloudy.
Use an insulated container to freeze water from the top downward, so impurities sink to the bottom.
Start making ice three to five days before your party to make sure you have clear ice.
Keep clear ice in a sealed container so freezer smells don't ruin the taste.
Use tongs to handle ice and serve it cold so it stays clear and melts slowly.
Why Cloudy Ice Ruins Clear Ice for Whiskey
The Simple Science of Cloudy Ice
Water freezes from the outside in. As it freezes, tiny bits of minerals and gases get pushed into the liquid that is left. The middle freezes last. This traps those bits inside. Trapped bubbles and minerals spread light around. That spreading makes ice look cloudy or white. High amounts of minerals like calcium, magnesium, or iron get stuck as ice forms. These minerals spread light and make it cloudy. Air and gases also get trapped when water freezes fast. They make air bubbles. These bubbles add more surface area and make ice melt faster.
Slow freezing in one direction changes what happens. You cover the sides and bottom of your container. Cold air only hits the top. Bits get pushed down. The top block freezes clear. The bottom holds the cloudy part. You can then take out the cloudy part. This way helps you remove bits and gases from the ice you serve.
Why Clear Ice Matters for Whiskey
Cloudy ice has more air pockets and bits in it. These make it melt faster. Fast melting waters down your drink quickly. Bits and minerals stuck in ice can also change how a drink tastes. They make it taste bad. Cloudy ice can leave stuff or fog in the glass when it melts. Clear ice melts clean and leaves nothing behind. This makes drinking better.
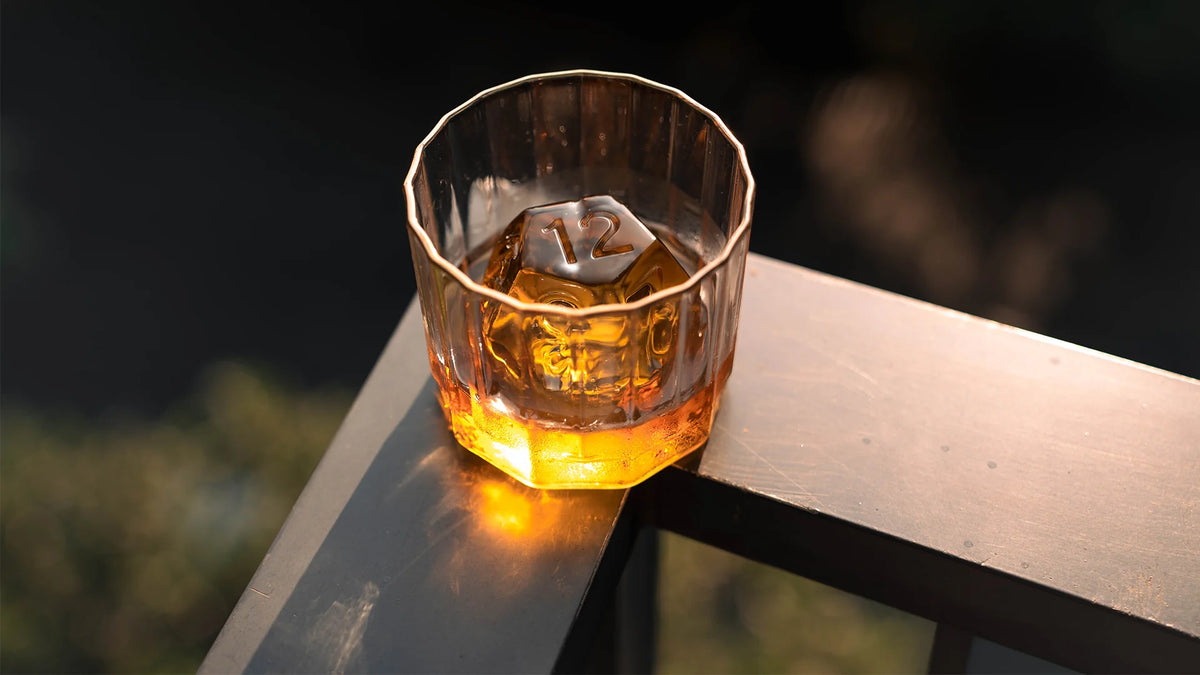
Clear ice is picked for a few reasons. It has no bits that change flavor. It melts slower so your drink does not get watered down. It looks better. It lasts longer. It melts cleaner. Clear ice works like a lens. It lets through 92% of light, while normal ice lets through 68%. It bends light and makes the drink look deeper and brighter. A dark amber whiskey looks richer under bar lights. The ice itself makes the spirit's color pop. This makes the ice and the drink look better. Clear ice for whiskey and other spirits gives you better control of temperature and how much it waters down. You get a fancy look with crystal-clear ice. The clear ice makes every pour feel special.
The Two Keys to Clear Ice
You need two things for this process. Filtered water takes out impurities. Directional freezing pushes air away. Do both steps for beautiful results.
Start With Filtered Water
Tap water has hidden impurities. Dissolved air and minerals make it cloudy. Calcium, magnesium, chlorine, and tiny particles cause the trouble. As water freezes, these things gather in one spot. That spot turns into the cloudy center.
Making clear ice starts with your water source. A normal filter removes chlorine, lead, fluoride, and arsenic. It catches calcium, sodium, and other dissolved solids. These dissolved solids make normal ice cloudy. Filtered water gives you a clean start. Fewer minerals mean better results. The ice gets much clearer. Make clear ice at home using filtered water.
Distilled water works even better. Distillation removes almost everything. Pure water freezes into crystal-clear ice more easily. Buy distilled water for this purpose. Use distilled water when making clear ice. This small step makes a big difference. Try making clear ice with distilled water.
Freeze From the Top Down
The second key is how you freeze the water. Normal trays freeze from all sides. Cold air hits every surface. Impurities have nowhere to go. They get stuck inside. The result is cloudy blocks.
Directional freezing fixes this problem. You cover the sides and bottom. Cold air reaches only the top surface. Freezing starts at the top and moves down. This process works like the way a lake freezes from the top down. The slow movement pushes air toward the bottom. The bottom layer stays cloudy. The upper part freezes completely clear. This slower, controlled freezing process gives beautiful results.
You can do directional freezing with a cooler. Fill a small cooler with filtered water. Leave the lid off. Place it in your freezer. Freeze for at least 24 hours. The top stays clear. The bottom stays slushy. You remove the frozen block. The end result is clear ice cubes. Cut or break the block into serving pieces.
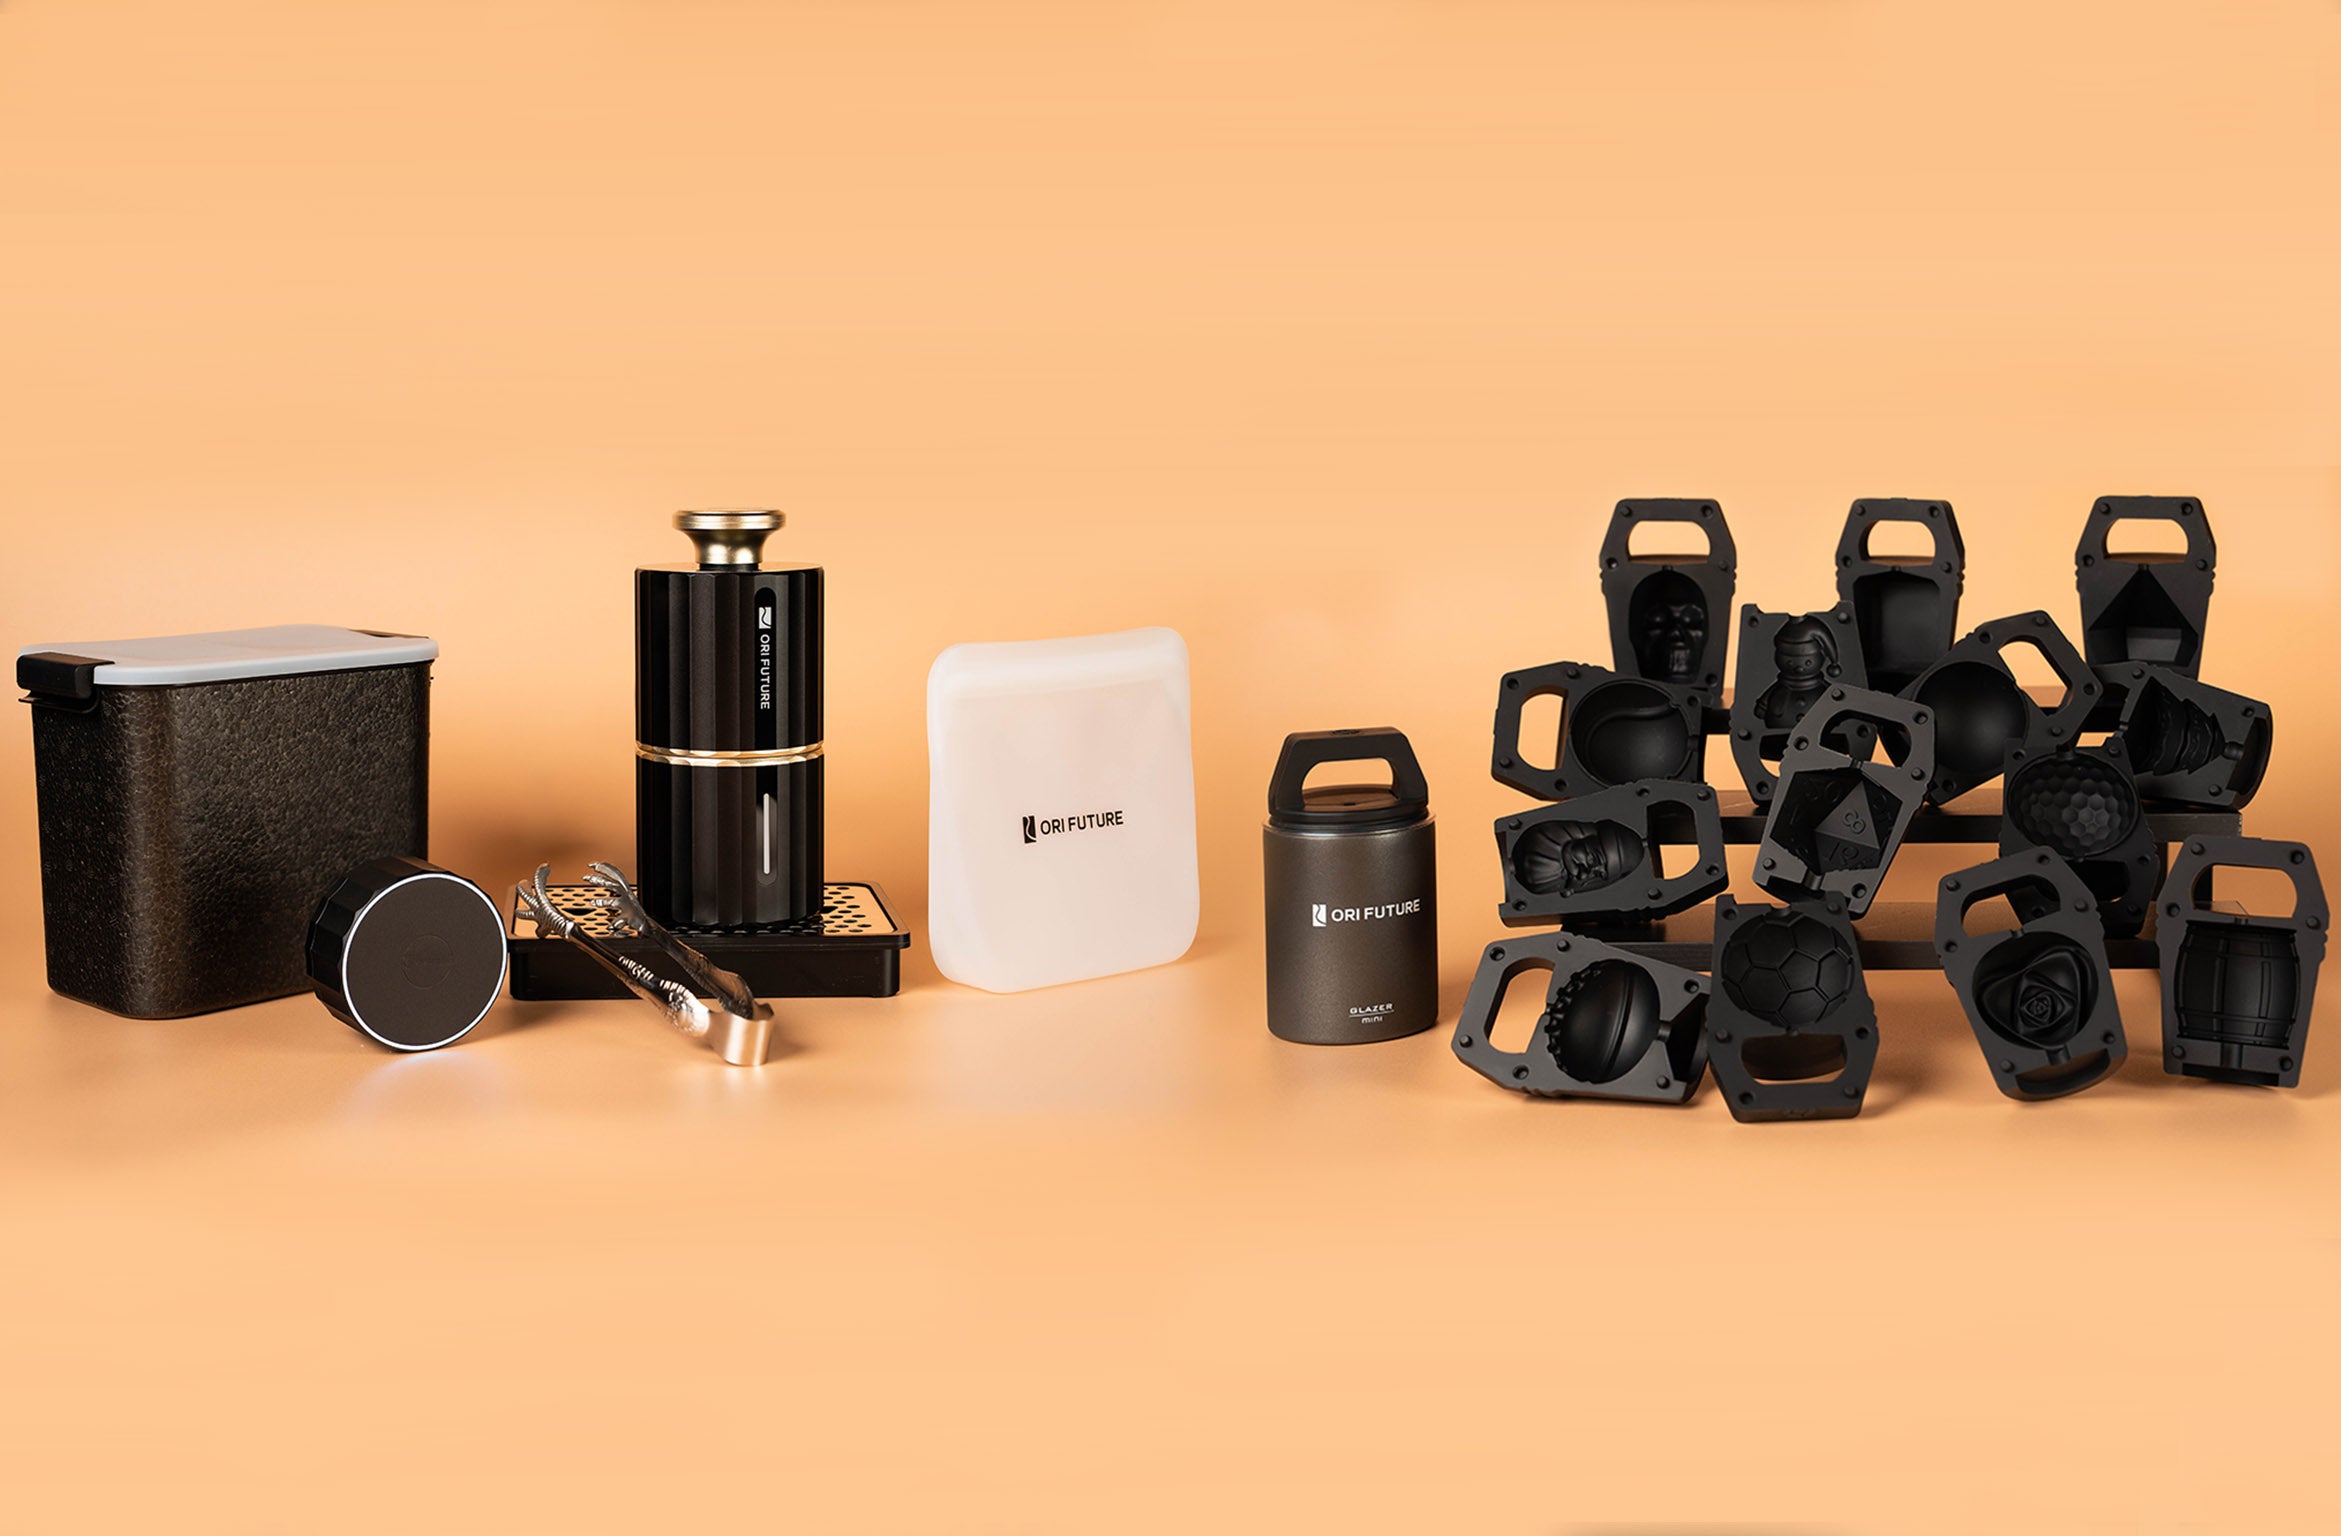
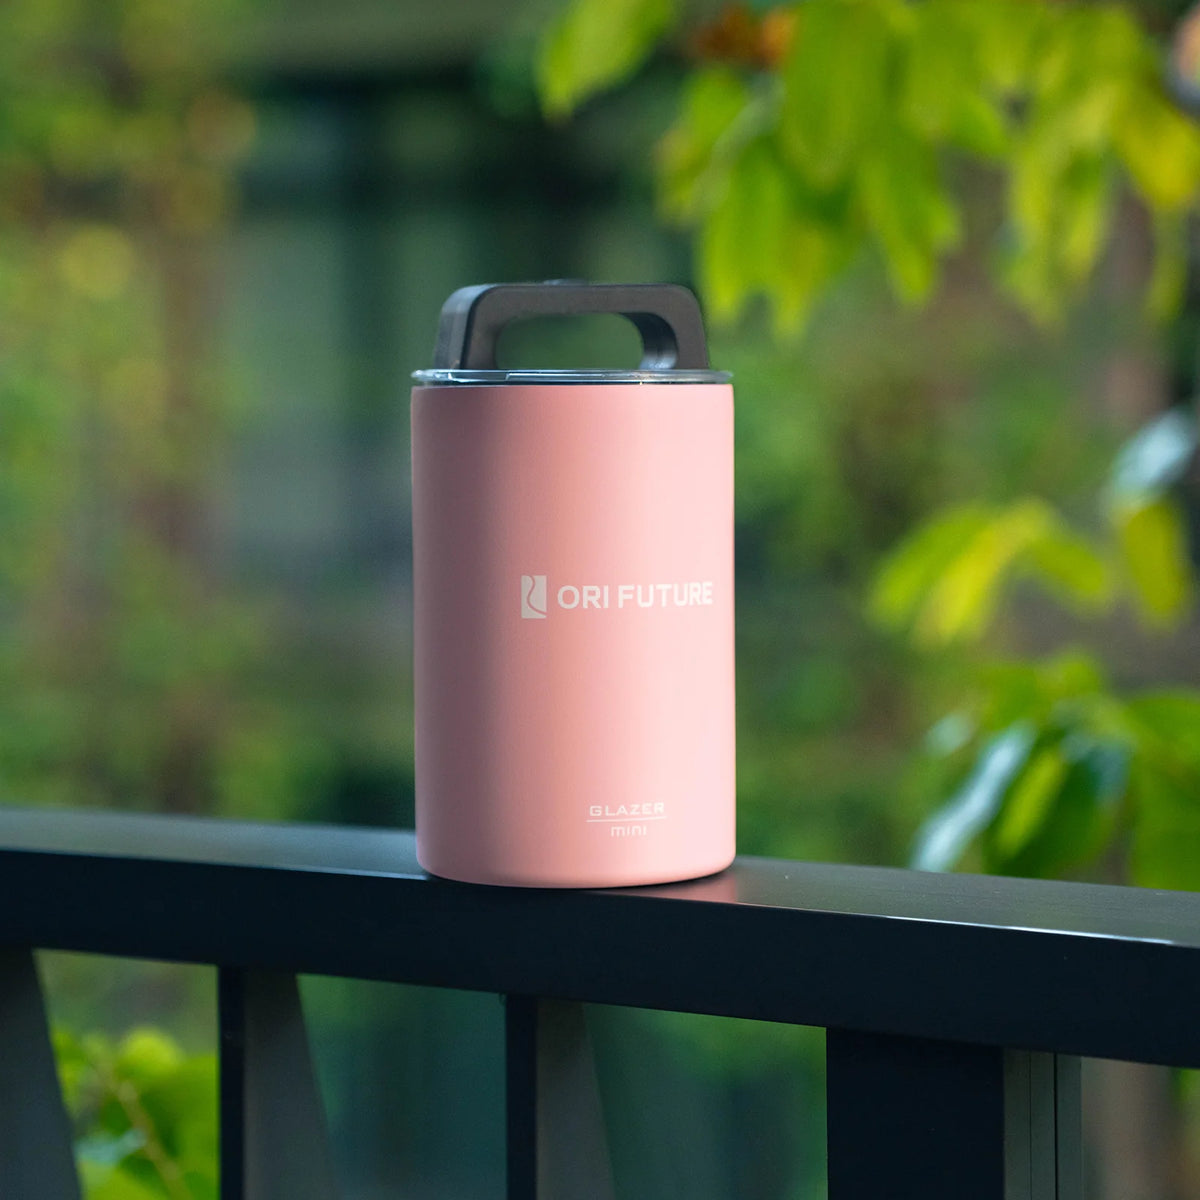
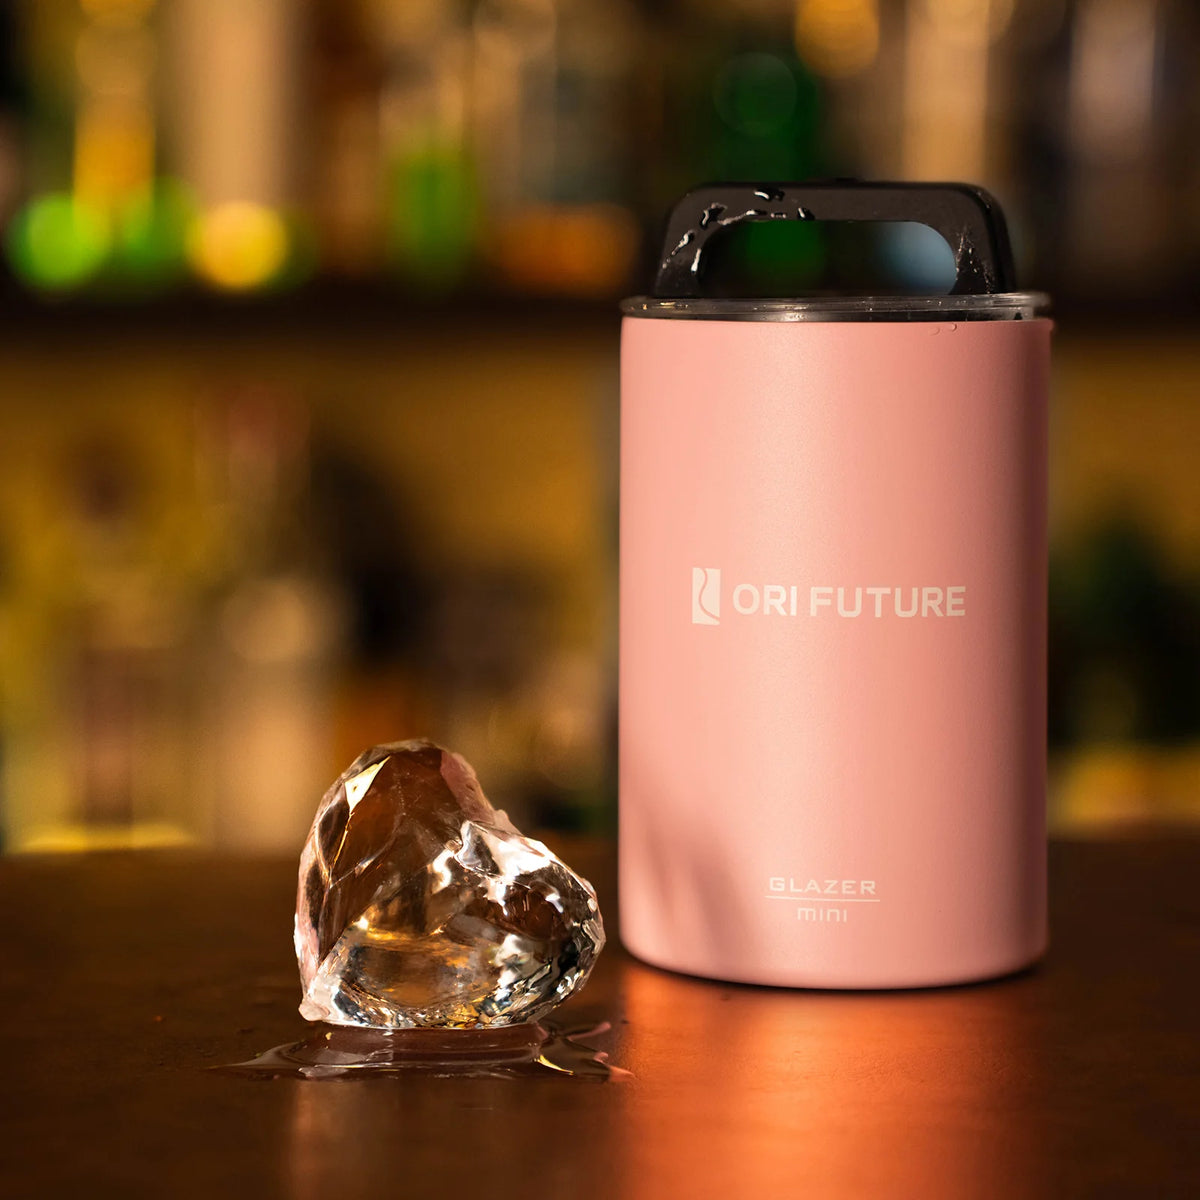
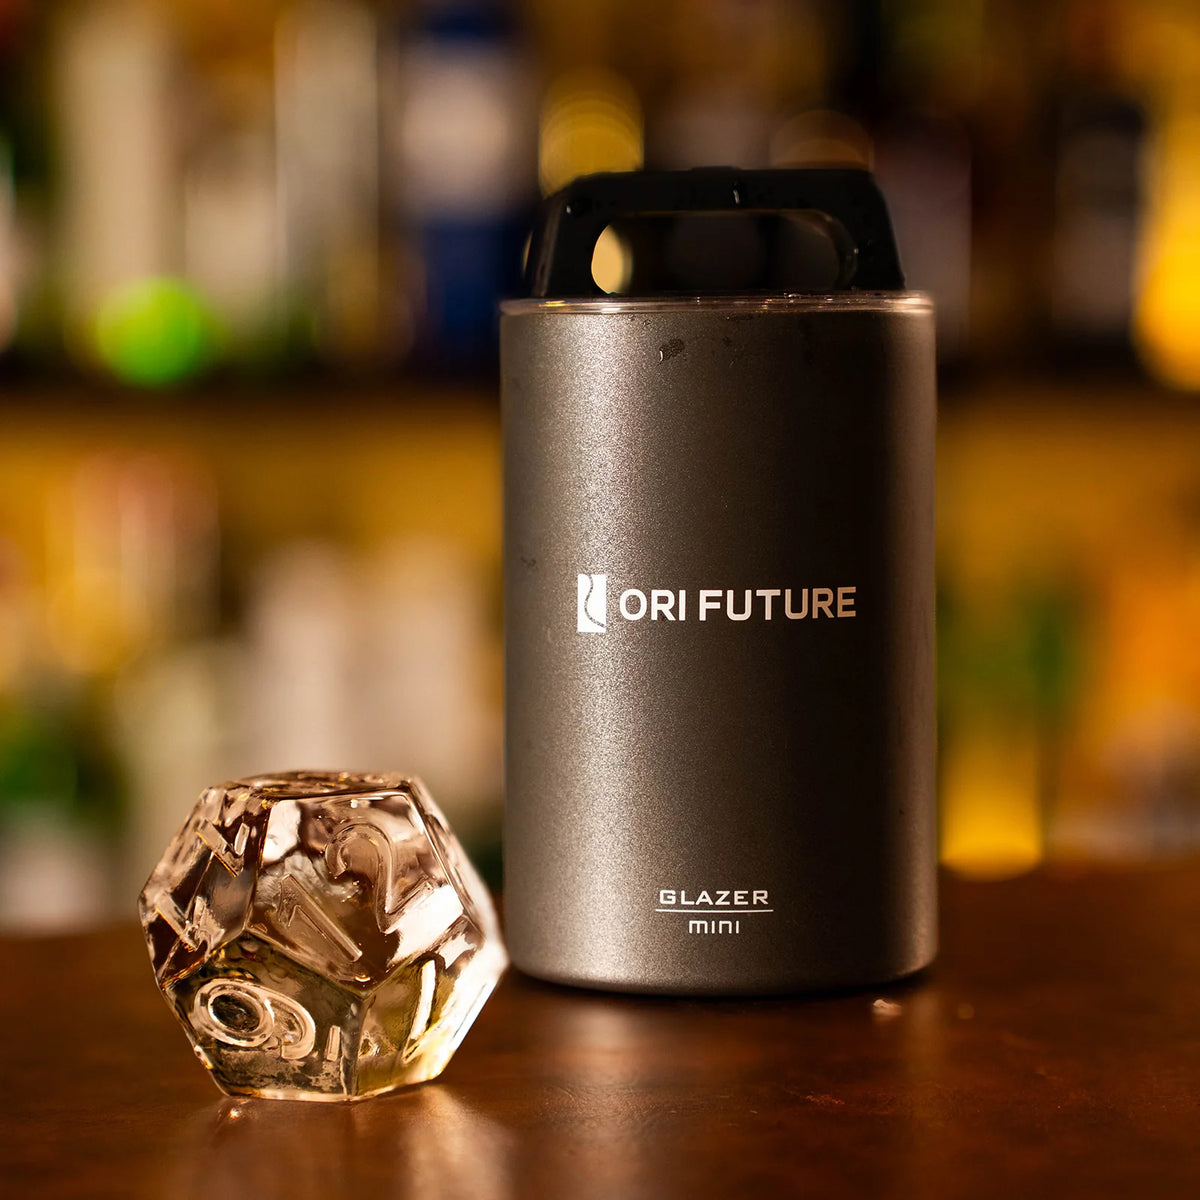
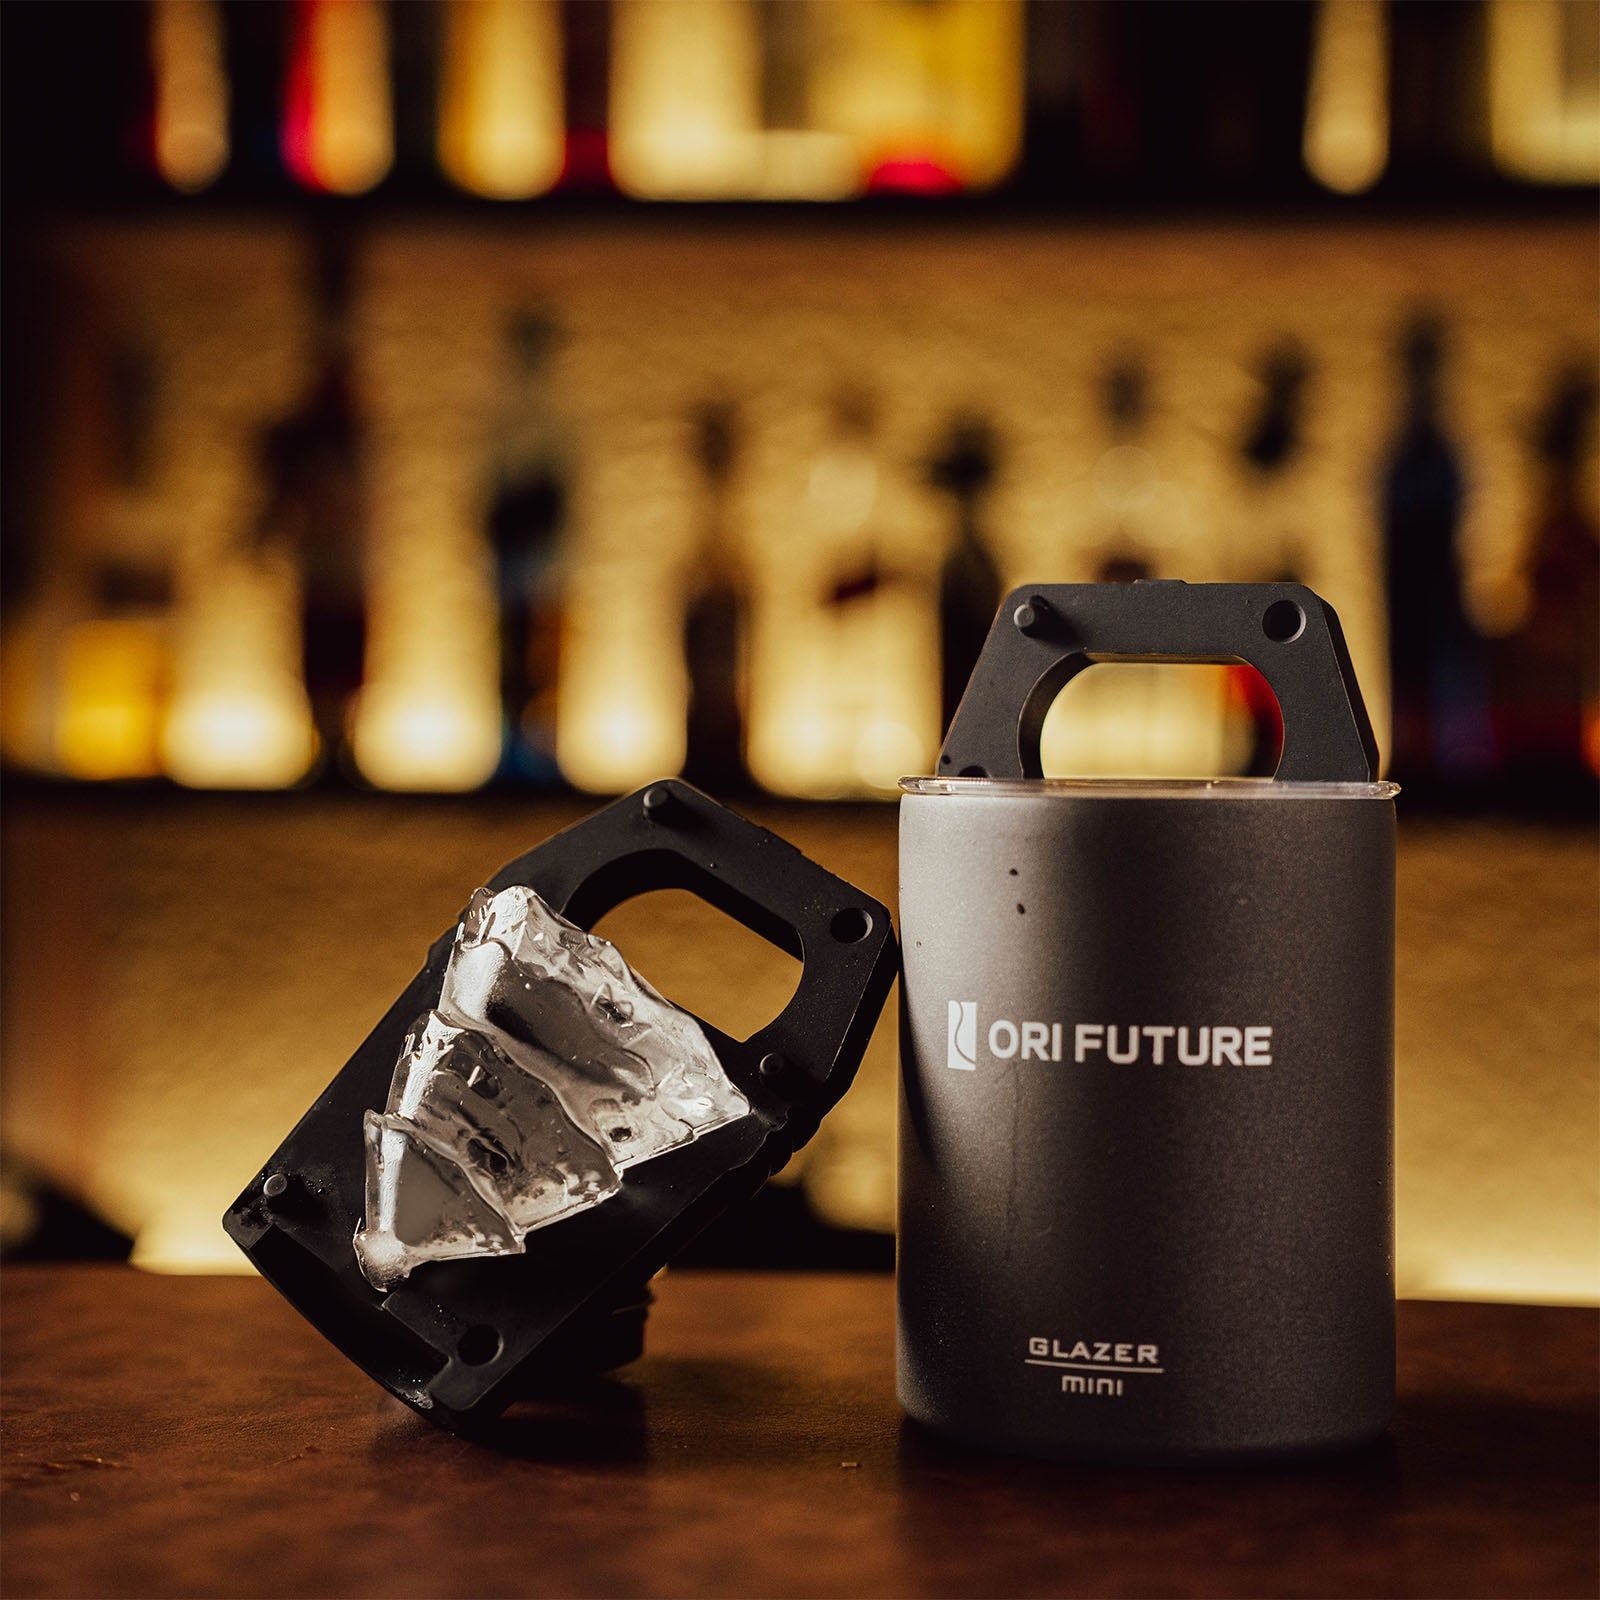
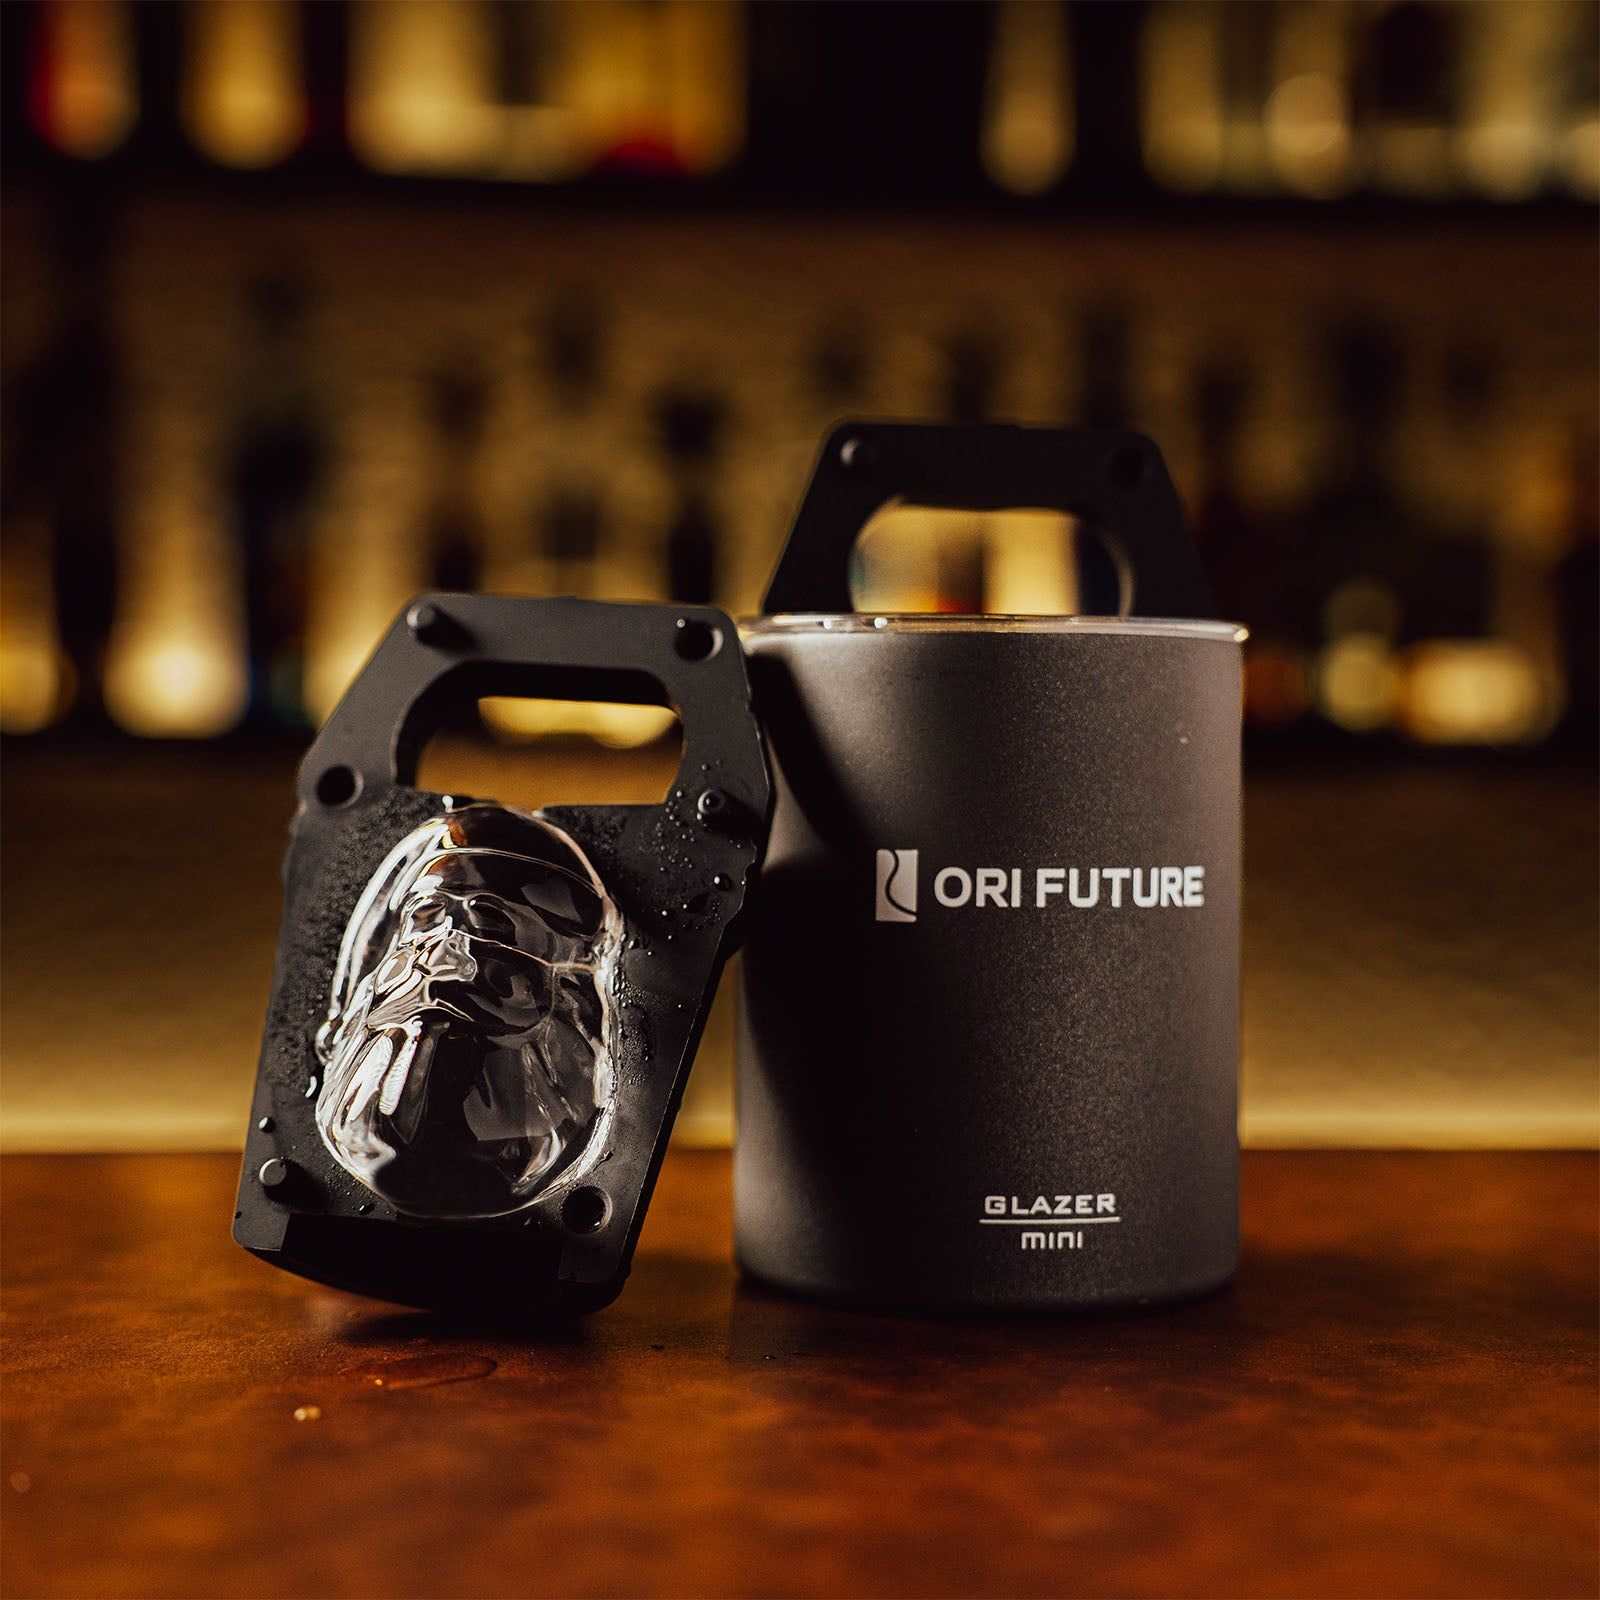
A dedicated maker does the same job more easily. The ORI Future GLAZER mini uses this principle. Its body directs air away from the water. You get ice without extra work. Make clear ice in your freezer at home with this method. No special skills required.
Easy Ways to Make Clear Ice at Home
You do not need expensive machines to get clear ice. Two proven methods work well in a home freezer. Both rely on pure water and directional freezing. These are the methods for creating crystal clear ice.
Boil the Water First
This simple step removes dissolved gases from your water. Trapped gases cause cloudy centers in ice cubes. The double-boil technique ensures maximum degassing.
Start with filtered water. Filtered water has fewer minerals. Bring it to a rolling boil. Let it boil for at least three to five minutes. This forces dissolved oxygen to escape as bubbles. Turn off the heat. Let the water cool completely. Then boil it again for another three to five minutes. The second boil removes any remaining gas. Let the water cool to room temperature before freezing.
This process reduces trapped air significantly. The resulting water is purer. Your ice will freeze with fewer blemishes. However, boiling alone cannot guarantee transparent results. Water still freezes from the outside in. This reintroduces some cloudiness. Combine boiling with directional freezing for the best outcome. Many home mixology guides recommend this sequence for making clear ice.
Use an Insulated Cooler or Clear Ice Mold
The cooler method is a guaranteed way to achieve clear ice. Home mixology guides confirm this. It does not cost much. But it takes time and freezer space.
Follow these steps for the cooler method:
Select a small cooler. Clean it well. Fill it with filtered water.
Leave the lid open. Place the cooler in your freezer.
Freeze for at least 24 hours. The water freezes from the top down. This directional freezing pushes impurities and air to the bottom.
Remove the ice block. The top part will be transparent. The bottom will remain slushy. Cut away the cloudy portion.
Cut the transparent block and you make clear ice cubes. Store them in an airtight container to avoid freezer odors.
This method gives a high yield of clear ice. It works every time. But it occupies significant freezer space. It also requires you to cut and shape the ice. For many home users, a dedicated ice maker offers a simpler solution.
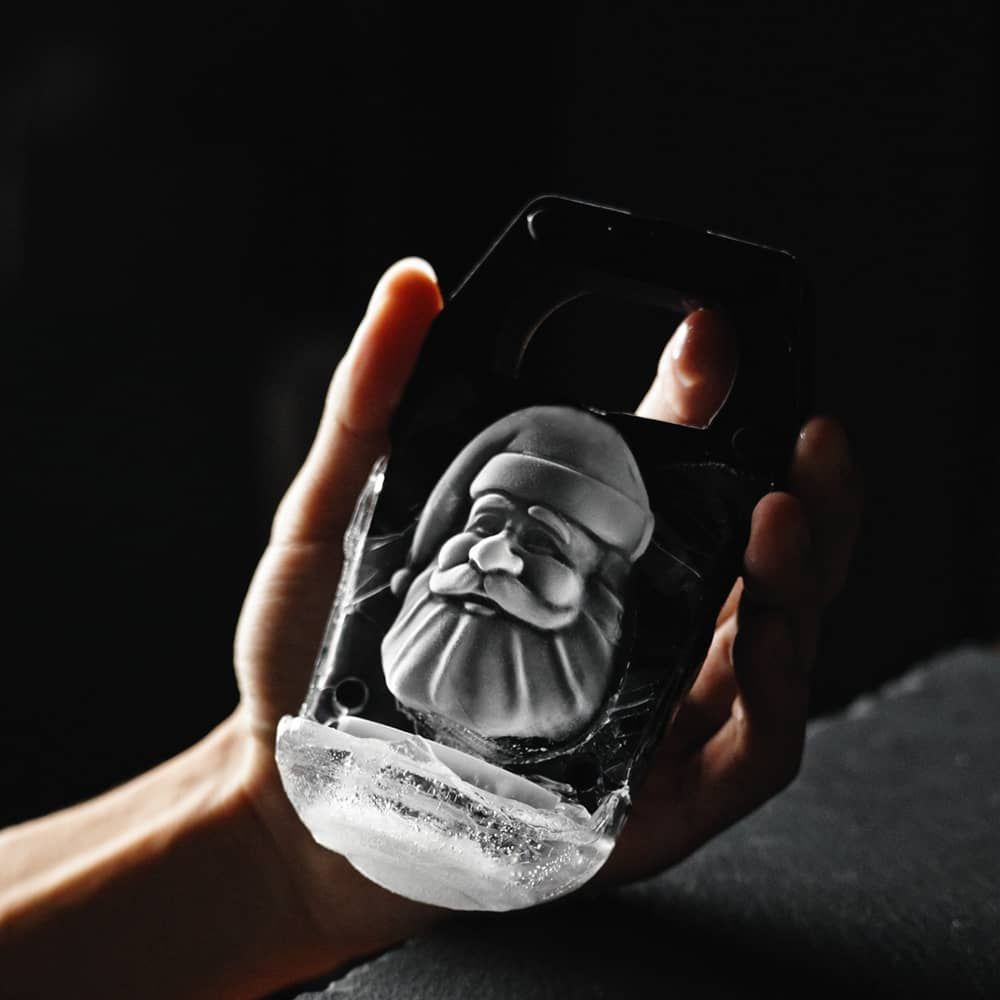
The ORI Future GLAZER mini Xmas Gift Ice is a compact alternative. It uses the same directional freezing principle. Its stainless steel body and insulated design guide air away from the water. A dedicated plastic liner creates a non-stick layer. You release the ice with a gentle twist. No tapping or hot water needed. The mold is BPA-free silicone. It comes with a 12-month warranty. Over 1,200 verified reviews give it a 4.73-star rating. The mold measures 3.5 x 6 inches. This size fits most freezers and rocks glasses.
You can choose from festive shapes:
Christmas Tree (2.6 x 2.8 inches)
Jolly Santa (1.9 x 2.7 inches)
Snowman (2.1 x 2.7 inches)
Christmas Pack (all three)
Ultimate Collection (all 14 shapes)
These shapes fit most tumblers. They add a fun holiday touch to your drinks. The GLAZER mini produces dense, slow-melting ice. Your whisky stays cold without dilution. This tool simplifies making clear ice at home. You can use it for whisky or whiskey. It also works as a best whiskey Christmas gift for cocktail lovers. The device removes the hassle of the cooler method while delivering the same crystal-clear results.
How to Cut and Shape Your Clear Ice Block
Let the Block Temper Before Cutting
You pull your clear ice block from the freezer. It looks perfect. Now you want to cut it into smaller pieces. Do not rush this step. Ice straight from the freezer is brittle. It can crack and shatter under sudden stress. Let the block sit at room temperature first. This short wait makes the ice stronger and easier to control.
If you're working to shape a large block of ice into smaller cubes, let it sit at room temperature as long as 20 to 30 minutes before you start to shape unless you want your block to crack and shatter as you work it.
Place the block on a towel or baking tray. This catches the meltwater and stops the ice from sliding. A tempered block cuts cleanly. You get better shapes with less waste.
Break or Carve Ice Into Serving Pieces
You have several ways to break down your clear ice. Gather the right tools before you start. A large serrated knife works best for scoring. An ice pick helps split pieces along natural lines. A mallet drives the knife through thicker sections. A large cutting board protects your counter. A sharp paring knife cleans up rough edges. A linen cloth gives you a safe grip on slippery ice.
Follow this sequence for consistent results:
Chill the clear ice block completely in the freezer.
Quench the block under a faucet with water to cause it to shatter along natural lines.
Break up the shattered block with an ice pick, splitting the ice where it naturally shattered.
Note that thinner ice shatters into small pieces, while thicker ice shatters into larger pieces; a very thick block shatters into very large pieces that require a heavy-duty ice pick to break down further.
Aim for cubes that fit your whiskey glasses. Irregular shapes work fine for a rustic look. Your clear ice cubes will melt slowly and look stunning in every pour.
Troubleshooting Common Clear Ice Mistakes
Freezing Too Fast or Using Tap Water
Fast freezing traps air and minerals inside your ice. The water freezes from the edges inward. Dissolved gases and small particles get pushed toward the center. These trapped pockets create a cloudy appearance. You can slow the process by insulating the mold or using a cooler. A small cooler works well. Fill it with filtered water. Leave the lid off. Place it in the freezer for about 24 hours. The insulation forces the water to freeze slowly from the top down. This method produces a block of mostly clear ice with a thin cloudy layer near the bottom. Remove the cloudy section and keep the clear portion.
Tap water adds minerals and odors to your ice. These impurities make the ice cloudy. Switch to filtered or distilled water for better results. Many people try boiling the water first or using distilled water alone. Testing shows these methods often fail to produce clear ice. The real key is controlling how fast the water freezes. Slow freezing lets air bubbles escape. Give the water about 24 hours so impurities can move away from the center.
Trapped Bubbles and Cloudy Centers
Silicone spherical molds often create cloudy ice. These molds have upper and lower halves with a hole on top. Dissolved gases have nowhere to escape. The ice comes out cloudy every time. Avoid stacking molds too close together in the freezer. Good airflow around each mold helps the freezing process.
If your ice center still looks cloudy, try freezing longer. One method uses a cooler for about 36 hours. This directional freezing produced very clear ice in testing. Another approach left a sphere mold for about 15 hours. That batch yielded almost perfectly clear ice with plain tap water. The water should not freeze completely. Water expands during freezing. This expansion can crack your container at the base. Check your ice before it fully freezes. Remove the block while a slushy layer remains at the bottom. You can then cut away the cloudy part and keep the crystal-clear section for serving.
Party Prep for Clear Ice and Whiskey
Great party drinks start with good planning. You want your ice ready before guests arrive. This step removes stress on party day. It also gives you time to fix any problems. Start making ice three to five days before your event. Freeze in batches so you build a good supply. This timeline lets you check quality and make more if needed.
Clear ice brings real benefits to your Christmas gathering. The table below shows why the extra effort pays off.
Benefit |
How It Helps at a Christmas Party |
|---|---|
Visual appeal |
Crystal-clear ice makes cocktails and mocktails look professionally made, impressing guests and acting as a conversation starter. |
Flavor preservation |
Clear ice melts more slowly than regular ice, so drinks stay cold without becoming watered down, keeping flavors bold and balanced. |
Themed shapes |
Ice can be made in festive shapes such as Christmas trees, matching the holiday theme and adding a memorable, decorative touch. |
Guest experience |
Unique, slow-melting ice transforms ordinary drinks into special moments, sets a festive mood, and makes the party feel distinctive. |
Advance preparation value |
The compact ice maker fits in a freezer and allows several shapes to be prepared ahead, so hosts can keep themed ice ready for the event. |
Freeze Ahead and Store Without Odors
Your freezer holds many smells. Onions, leftovers, and frozen meals release odors over time. Ice absorbs these smells like a sponge. This ruins the taste of your whisky. Store your clear ice cubes in a sealed bag or airtight container. Ziploc-style bags and Tupperware work well. For superior protection, use odor-proof bags. These fully contain smells and stop your ice from absorbing them.
Designate a specific area in your freezer just for ice. This avoids cross-contamination with food. Keep all food wrapped or in containers. Clean your ice trays periodically with a water and vinegar solution. This removes built-up odors. Clear ice can stay in the freezer for several weeks up to a couple of months when stored properly. For best quality, use it within one to three months. After that, it remains safe but may develop small cracks or lose clarity.
Handle Ice Quickly to Keep It Clear
Warm hands melt ice fast. This creates surface moisture and clouds the outside. Keep a small cooler near your bar for serving. Use tongs to move ice into glasses. Avoid touching ice with bare hands. Work fast when you fill each glass. This keeps the ice crystal-clear and dry.
The GLAZER mini makes a thoughtful host gift. It also works as the best whiskey christmas gift for a cocktail lover. This compact mold produces dense, slow-melting ice. Your whisky stays cold without dilution. The device helps you control temperature and dilution in every pour. It also makes a great best whiskey christmas gift for anyone who enjoys using clear ice for whiskey and other spirits. Consider it as another best whiskey christmas gift option for friends who love a good dram.
Guests notice the difference. One user said the clear ice maker is fun and satisfying to use. They love the unique shapes that make drinks look amazing. The slow-melting ice keeps bourbon or whiskey cold and strong. Clear ice makes drinks look fancy and expert-made. It melts slowly so drinks taste better and do not get watery. It works for any event, like parties or date nights, making every drink feel important.
Your Pre-Party Clear Ice Checklist
Final Checks Before Party Day
A smooth party starts with a simple review. You want every detail ready before guests arrive. Run through this checklist a few days ahead. First, confirm you have filtered water on hand. Check that your cooler or mold is clean and ready to use. Make sure your freezer has enough open space for your ice trays. Crowded freezers slow the freezing process and trap warm air.
Next, verify that your ice is fully frozen. Pull one piece out and inspect it. A solid, transparent block means success. If you see a cloudy center, freeze it longer. Store your finished clear ice in an odor-free container. Sealed bags or airtight boxes work best. This step protects the taste of every drink you serve.
Serving Day Reminders
Party day brings its own tasks. Chill your glasses in the freezer an hour before guests arrive. Set out tongs near your bar station. Tongs keep your hands off the ice and slow the melting. Keep your clear ice in a small cooler until the moment you serve. This simple habit preserves the quality you worked to achieve.
You can now enjoy the payoff. A crystal-clear cube makes a whisky or whiskey pour look elegant. The slow melt keeps flavors bold and balanced. Your guests will notice the care you put into each glass. Clear ice and whisky make a simple, elegant holiday pairing. You mastered clear ice at home, and now you can relax. Raise a glass, share the moment, and enjoy your Christmas party.
Clear ice is simple when you start with filtered water and freeze from the top down. You now have the tools to make beautiful ice at home. Make your ice in batches ahead of time. This removes party-day stress and gives you a steady supply.
Your whiskey drinks will look stunning. Each glass of whisky will taste bold and clean. Your whisky will stay cold without dilution. Guests will notice the care you put into every pour. Raise a glass this Christmas. Enjoy the holiday with friends and family. Your clear ice makes the season bright and festive. Cheers to a wonderful celebration with your guests.
FAQ
How long does it take to freeze clear ice at home?
You need patience for this process. A small cooler takes at least 24 hours. A dedicated mold like the GLAZER mini works faster. Check your ice before it freezes completely. You want a slushy layer at the bottom. This means impurities stayed away from the top.
Can I make clear ice without a cooler or special mold?
Yes, you can. Boil filtered water twice and let it cool. Pour it into a regular tray. Cover the tray with a lid or plastic wrap. This slows the freezing process. Your results may vary. A dedicated mold gives you better and more consistent clear ice every time.
Why does my ice still look cloudy after boiling the water?
Boiling removes dissolved gases. It does not remove all minerals. Your freezer temperature may also freeze water too fast. Try distilled water instead. Give the water more time to freeze. Insulate the sides of your container. These steps push air and minerals to the bottom.
What is the best water for making clear ice?
Filtered water works well for most home freezers. Distilled water gives you the best results. It has almost no minerals or dissolved solids. These impurities cause cloudy centers in ice. Start with distilled water for crystal-clear results. Your whisky will look and taste better.
How should I store clear ice before my party?
Keep your clear ice in an airtight container. A sealed bag also works well. Your freezer holds odors from food. Ice absorbs these smells quickly. Store ice away from strong-smelling items. Use your ice within one to three months for the best quality. Your whisky drinks will stay fresh and clean.
