


How to Make Clear Ice Cubes Top 3 Methods Tested
You want to know how to make clear ice cubes at home without frustration. After testing, the 3 inches Clear Ice Mold stands out as the best way to get clear ice every time. Many people struggle with cloudy cubes, slow freezing, and tricky methods. You will see how to make clear ice cubes using three top methods. You can compare how to make clear ice cubes for quality, speed, and ease. With the right tips, you can master how to make clear ice cubes and impress guests. Making clear ice is simple if you follow the right steps.
Key Takeaways
The 3 Inches Clear Ice Mold is the simplest way to make clear ice cubes at home.
Directional freezing makes lots of clear ice. It is great for parties. But it needs more time and work.
Using boiled or filtered water can help make ice clearer. Results are not always the same. You might see some bubbles.
To get the best ice, freeze it slowly. Keep ice in airtight containers to keep it fresh.
Plan ahead because most methods need 24 to 48 hours to make clear ice. Get ready early for your parties.
How to Make Clear Ice Cubes: Quick Comparison
When you want to make transparent ice cubes at home, you have a few main options. Each method gives you different results for clarity, ease, and time. Here’s a quick look at how the top three methods stack up:
Method |
Clarity |
Ease of Use |
Time Needed |
|---|---|---|---|
Directional Freezing |
Crystal clear ice |
Hard |
12–24 hours |
3 Inches Clear Ice Mold |
Crystal clear ice |
Easy |
24–48 hours |
Boiled Water Method |
Transparent ice cubes |
Easy |
24–48 hours |
Effectiveness
You want your drinks to look amazing with transparent ice cubes. Directional freezing and the 3 Inches Clear Ice Mold both give you crystal clear ice. The boiled water method can make transparent ice cubes, but sometimes you still see a few bubbles. If you need a lot of clear ice for a party, the cooler method (directional freezing) works best. It pushes out air and impurities, so you get dense, transparent ice cubes that melt slowly and keep your drink tasting great.
Difficulty
Not all methods are the same when it comes to effort. The 3 Inches Clear Ice Mold is the easiest. You just fill it and freeze. Directional freezing takes more work. You need to set up a cooler and watch the freezing process. The boiled water method is simple, but you might not always get perfect results. If you want crystal clear ice without much hassle, the mold is your best friend.
Time Needed
Time matters when you want transparent ice cubes fast. Directional freezing can take 12 to 24 hours. The 3 Inches Clear Ice Mold and boiled water method both need about 24 to 48 hours for the best results. If you plan ahead, you can always have clear ice ready for your next drink.
Results
Here’s what you can expect:
Directional freezing: Large batches of crystal clear ice, perfect for parties.
3 Inches Clear Ice Mold: Single, beautiful crystal clear ice cubes or spheres, great for cocktails.
Boiled water method: Decent transparent ice cubes, but not always flawless.
Tip: For the clearest results, use filtered or distilled water and freeze slowly. This helps you get transparent ice cubes every time.
Directional Freezing
Steps
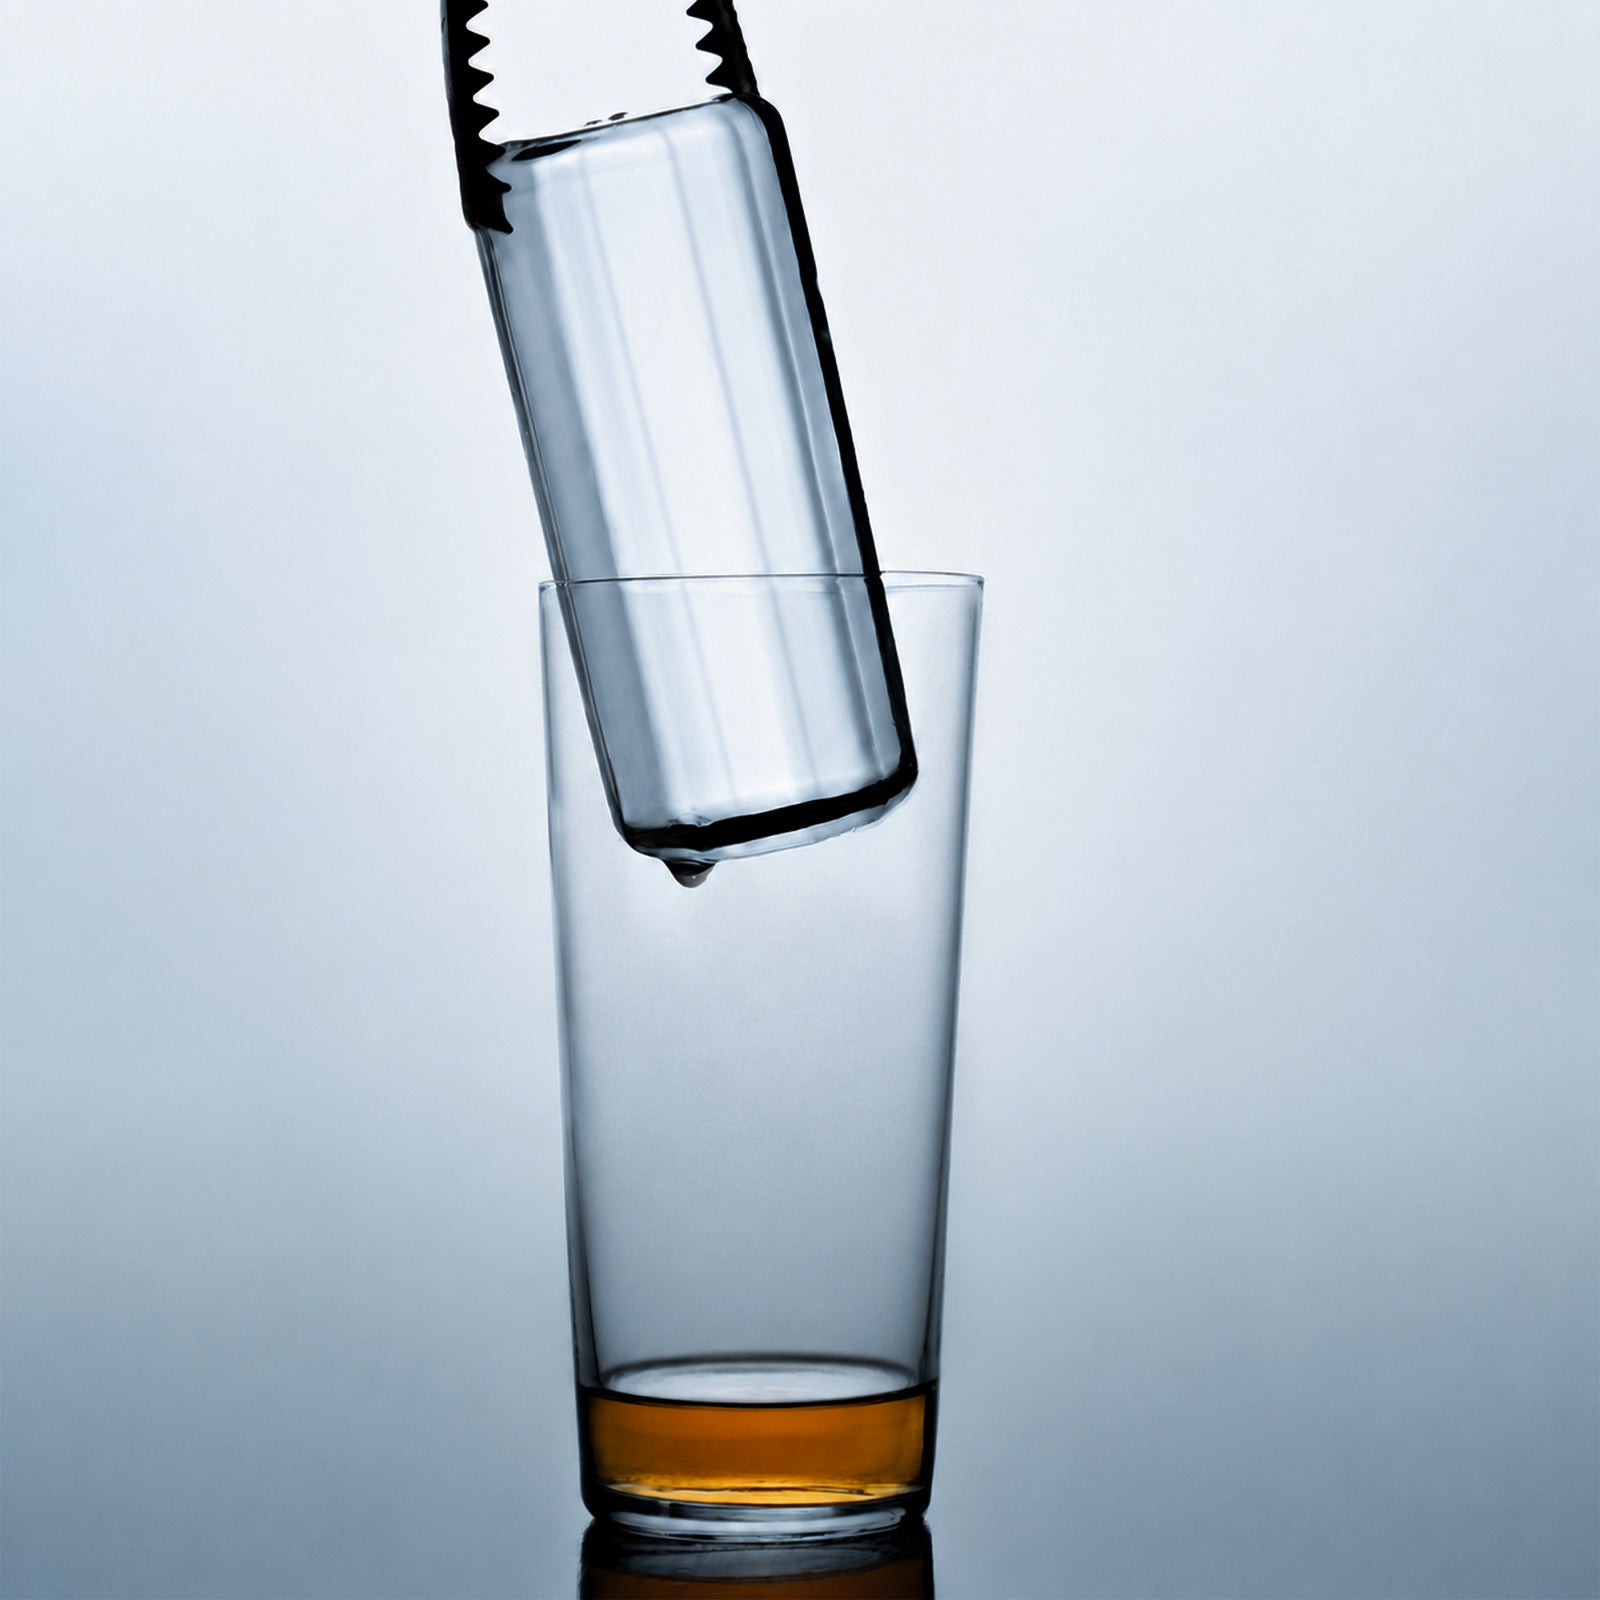
You can make transparent ice cubes at home using directional freezing. This method uses a diy cooler method to freeze water from the top down. You start by grabbing a small insulated cooler that fits inside your freezer. Fill it with boiled or filtered water. Leave the lid off and place the cooler in your freezer. The freezing process begins at the top and moves downward. After about 24–36 hours, the top and sides turn into clear ice. The bottom stays cloudy because impurities and air get pushed down. Take out the ice block and cut away the cloudy part. Now you have crystal clear ice for your drinks.
Results
Directional freezing gives you clear ice that looks amazing in any glass. You get transparent ice cubes with almost no bubbles or cloudiness. A recent study found that ice made this way lets 92% more light pass through than average cubes. Clear ice melts slower and keeps your drink tasting fresh. You can make big batches, so this method works well for parties or gatherings.
Pros & Cons
Pros |
Cons |
|---|---|
Inexpensive and accessible |
Time-consuming |
Highly effective with minimal tools |
Requires trimming and shaping |
You don’t need fancy equipment for directional freezing. The diy cooler method costs less and works for large amounts of clear ice. You do need to wait for the freezing process and trim the ice block to get perfect cubes.
Tips
Want the clearest results? Try these steps:
Use a small insulated cooler for the diy cooler method.
Fill it with boiled or filtered water.
Place the cooler in your freezer with the lid off.
Wait 24–36 hours for the freezing process to finish.
Remove the block and cut away the cloudy bottom to get crystal clear ice.
You can make transparent ice cubes at home with directional freezing. This method pushes impurities and air downward, so you get clear ice every time. If you want crystal clear ice for your next party, directional freezing is your best bet.
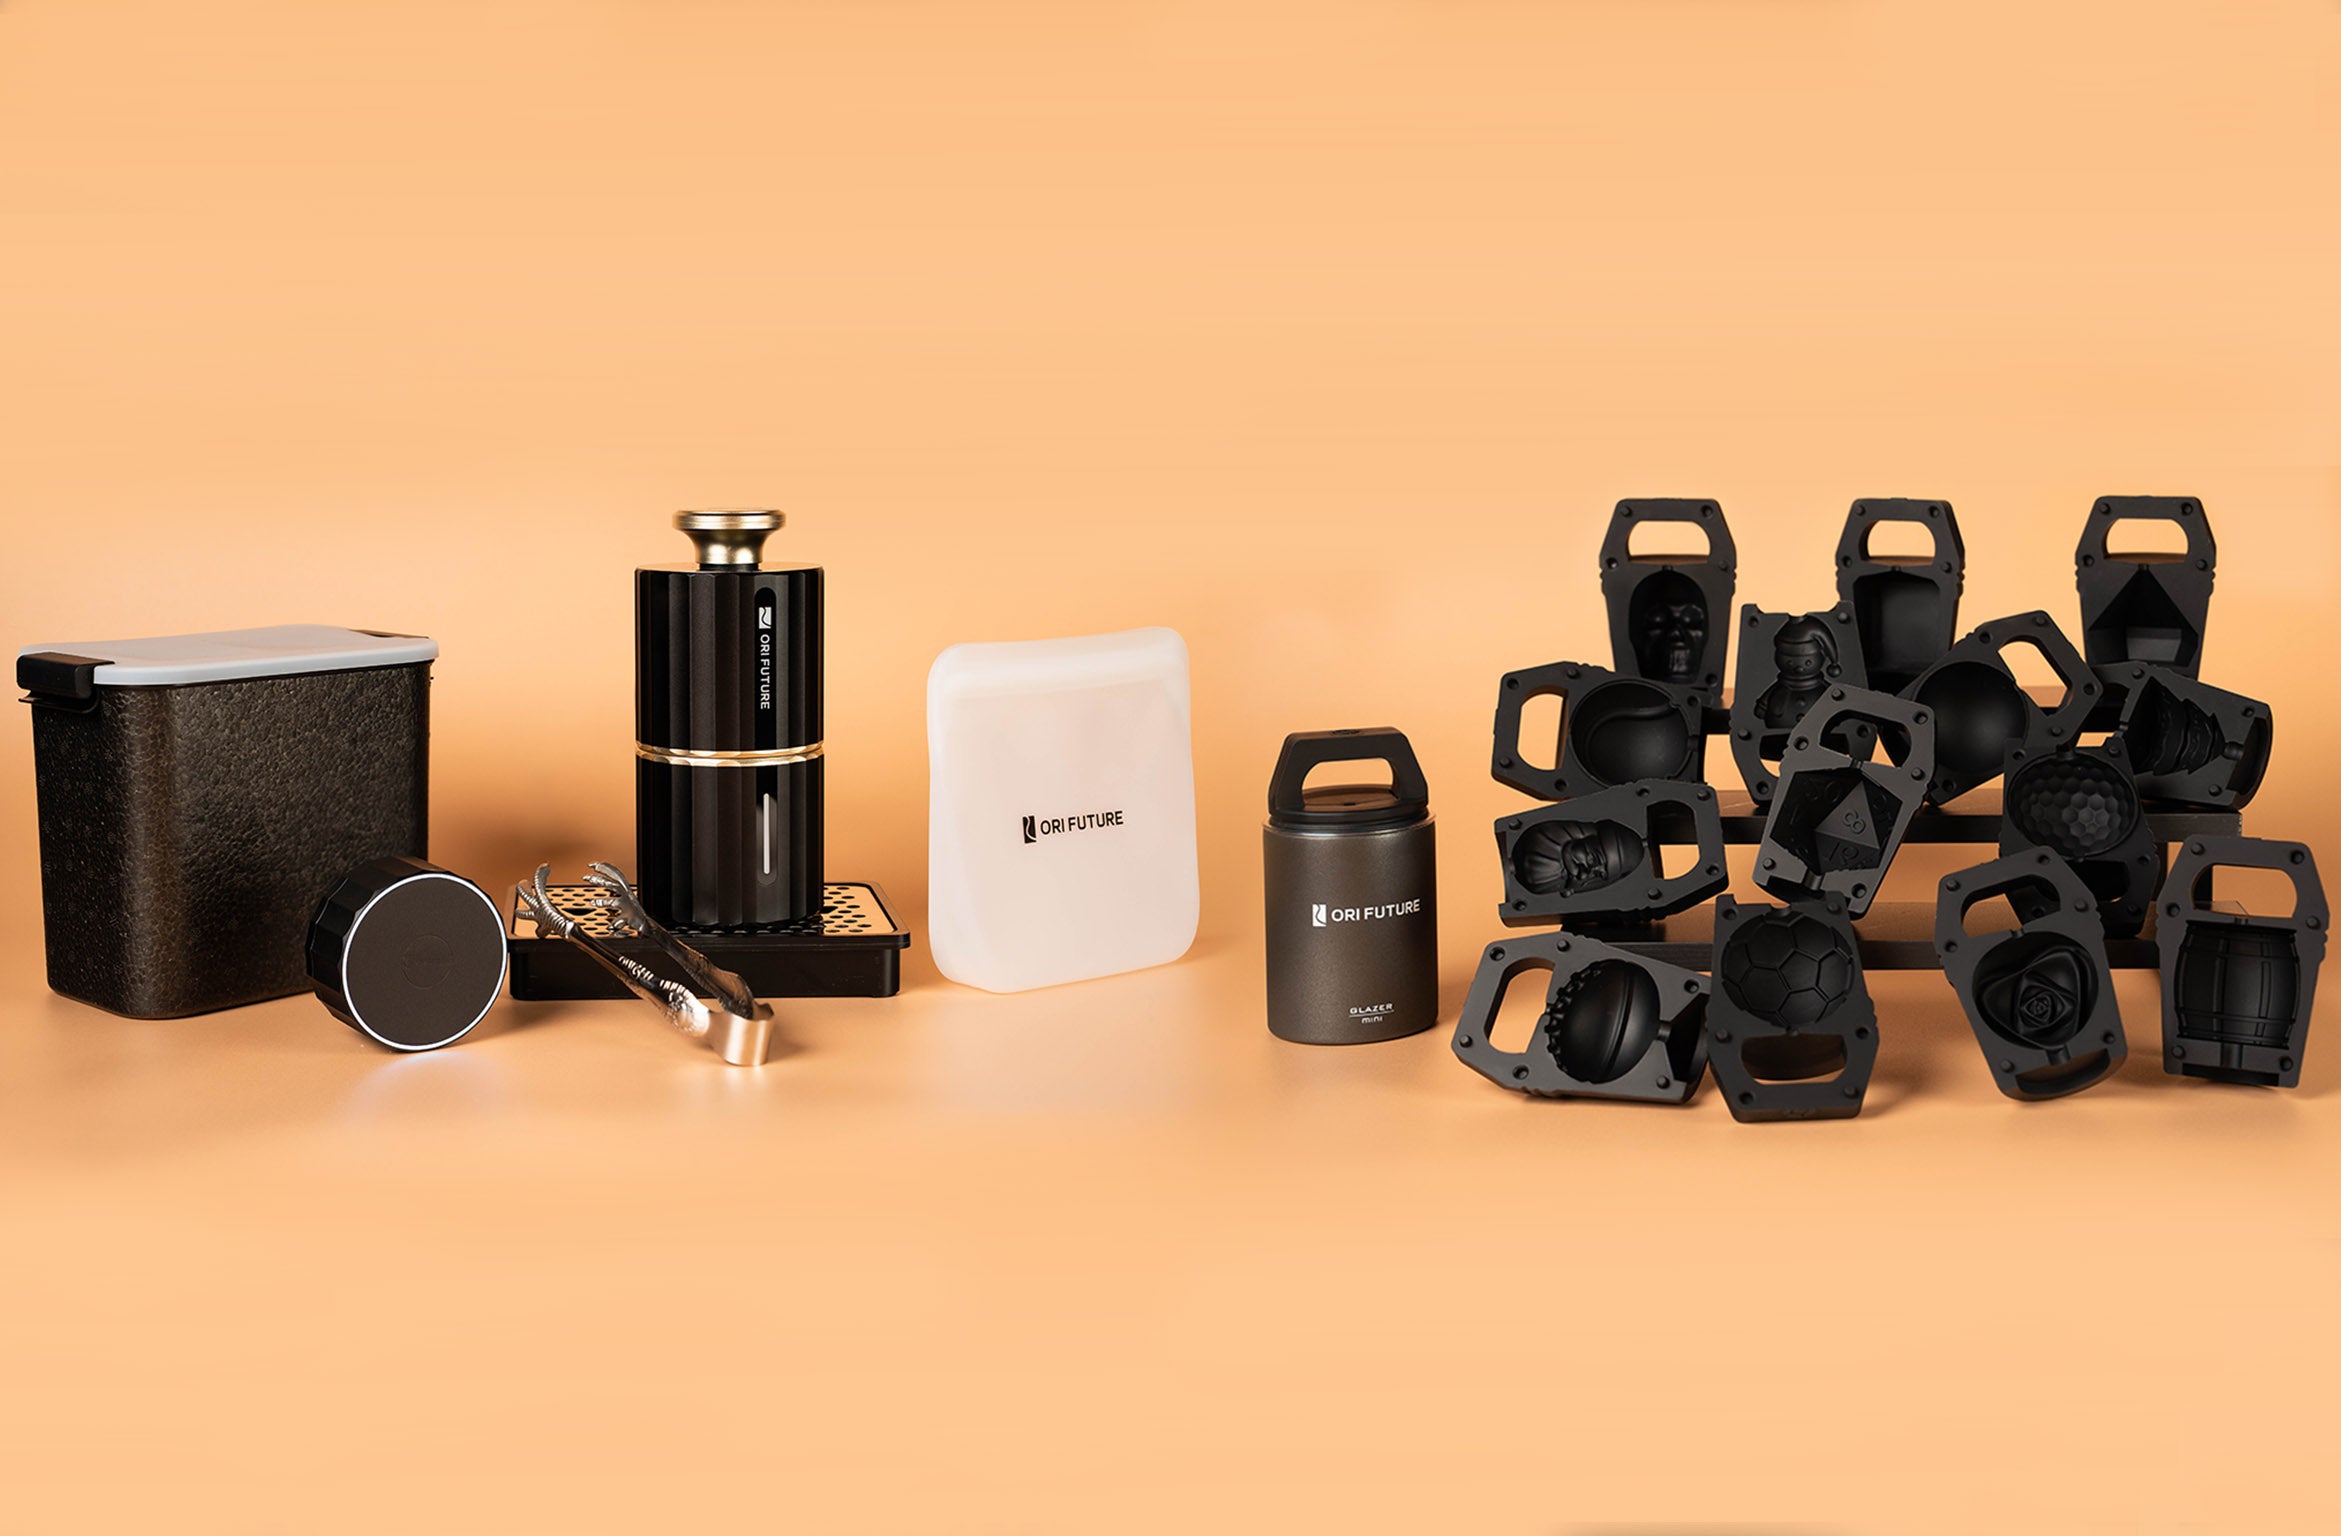
3 Inches Clear Ice Mold
How It Works
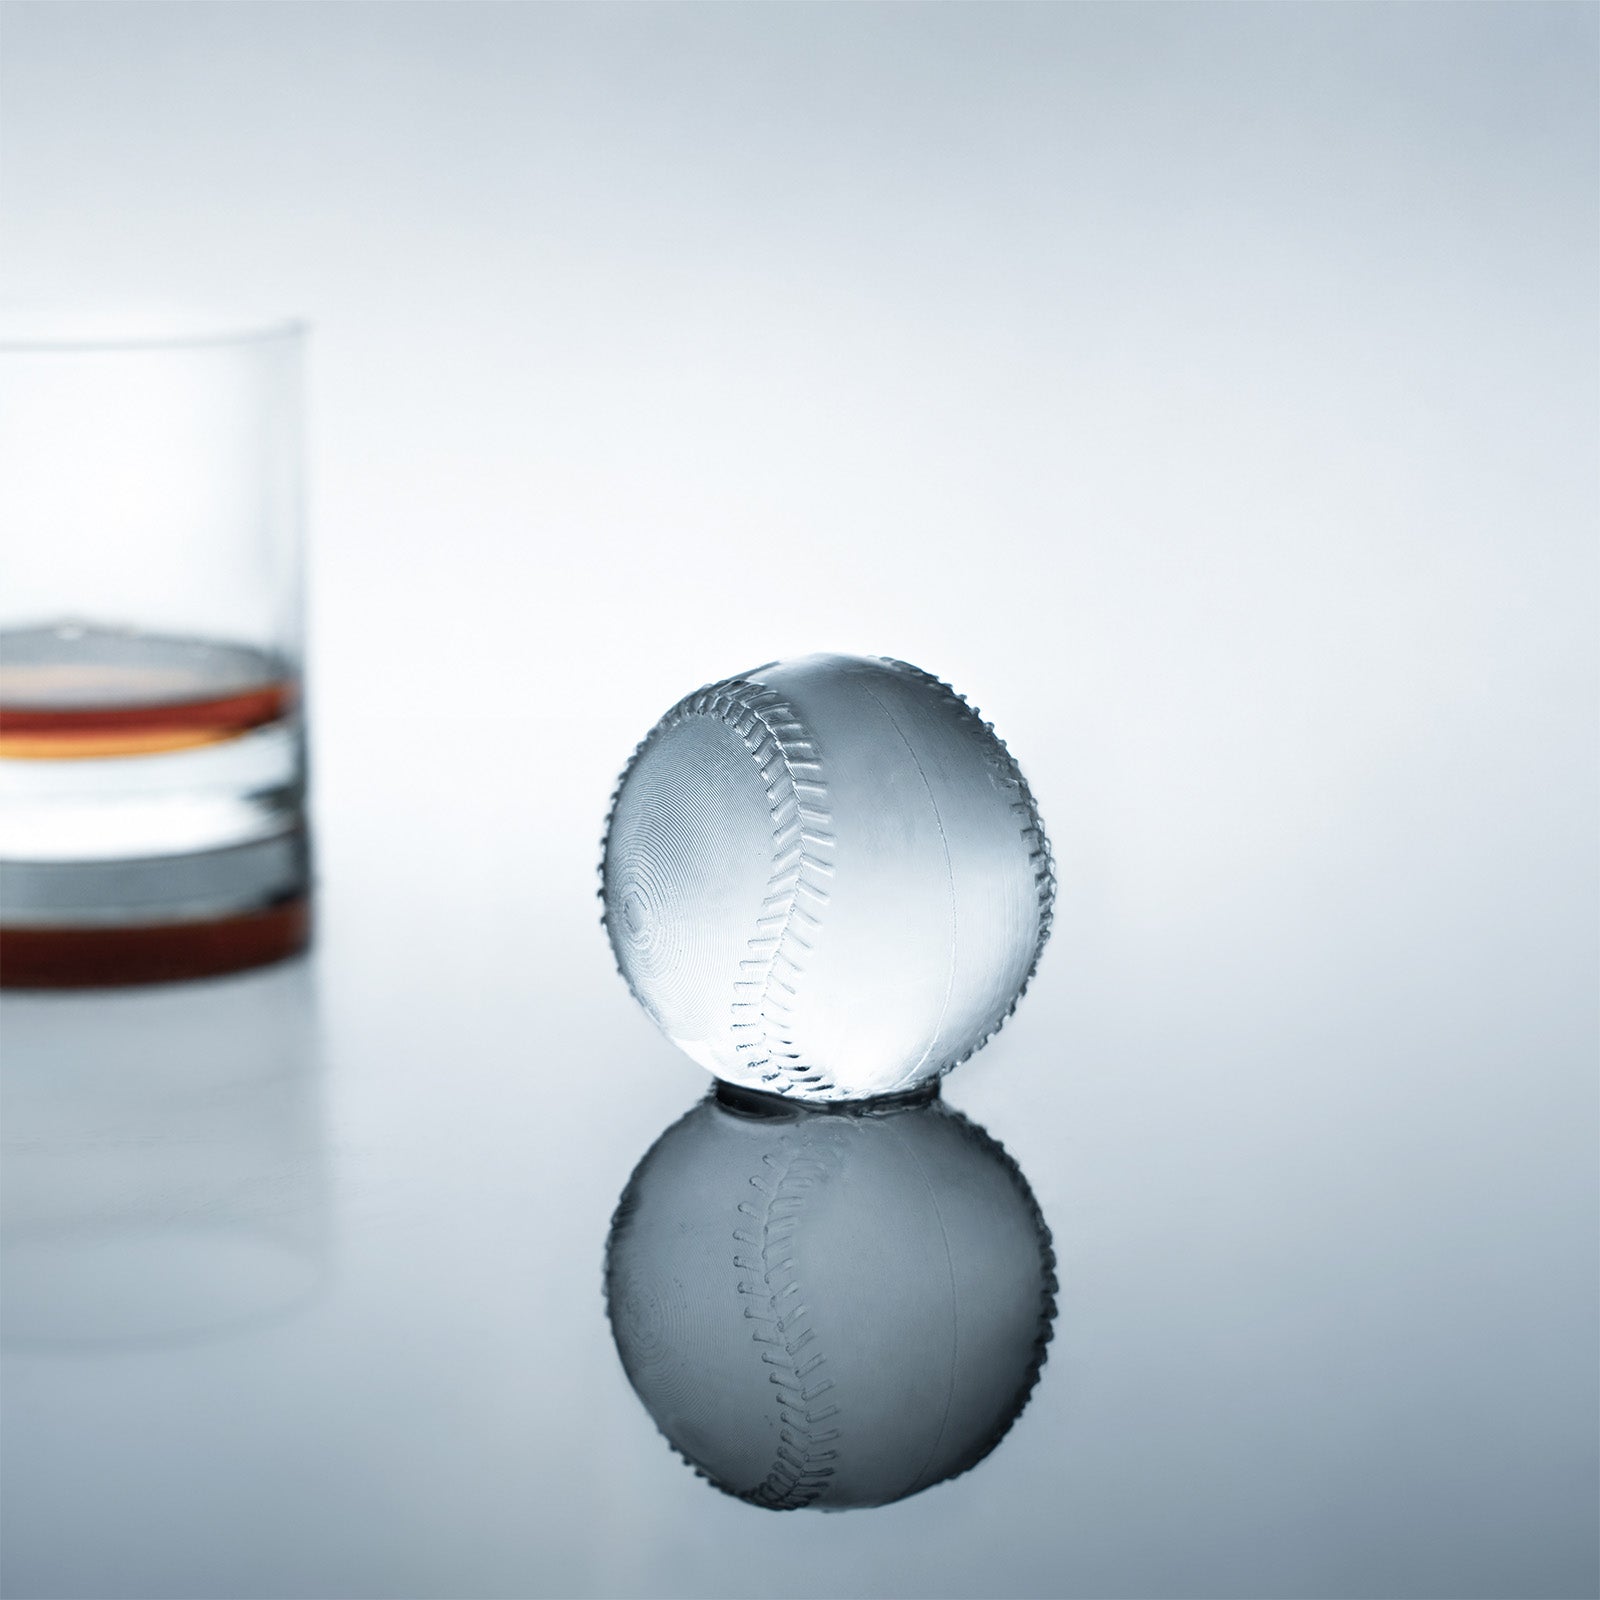
You want transparent ice cubes that look amazing in your glass. The 3 Inches Clear Ice Mold makes this easy. These specialized molds use insulation and a slow freezing process to push air and impurities down, leaving you with clear ice on top. You can make crystal clear ice cubes or spheres that look just like the ones at fancy bars. Many ice sphere molds let you pick the shape you like best. You just fill the mold with water, freeze it, and pop out your clear ice.
Steps
You can make transparent ice cubes at home with just a few steps:
Fill your 3 Inches Clear Ice Mold with distilled or boiled water.
Place the mold in your freezer. Try to keep it level.
Wait 24 to 48 hours for the freezing process to finish.
Remove the mold and open it. Take out your crystal clear ice.
Store your ice in an airtight container to keep it fresh.
Results
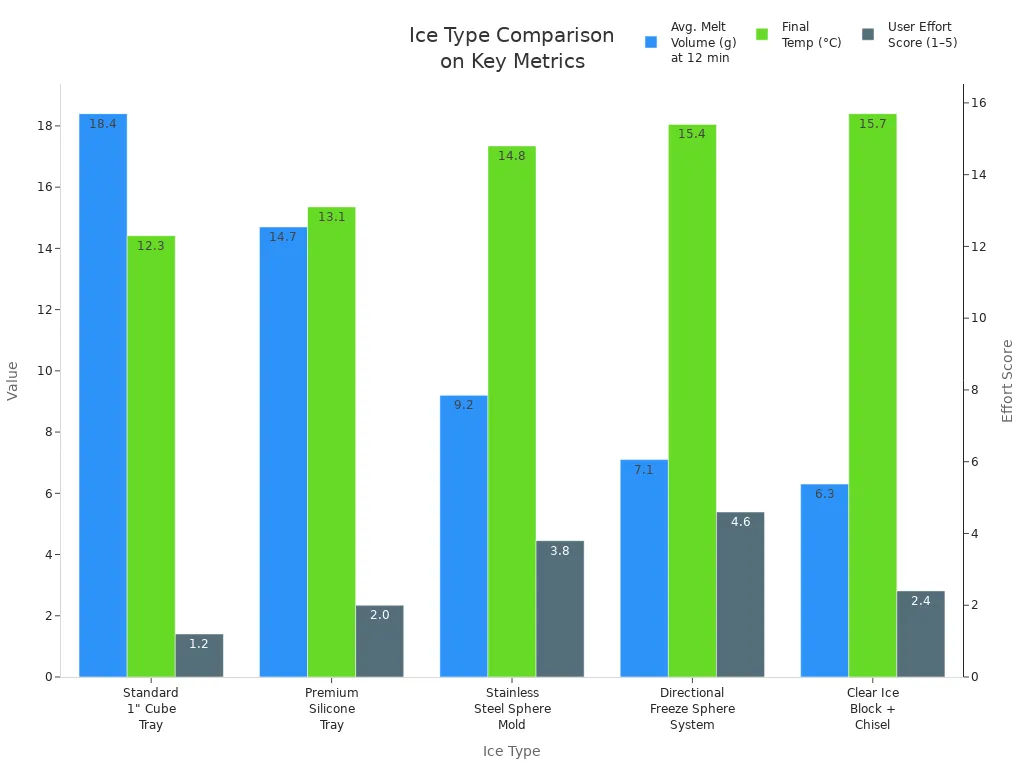
You get clear ice that melts slowly and keeps your drink cold without watering it down. The cubes or spheres look beautiful in any glass. You can see the difference when you compare these to regular ice trays. Check out this table to see how the 3 Inches Clear Ice Mold stacks up against other options:
Ice Type |
Avg. Melt Volume (g) at 12 min |
Final Temp (°C) |
Dilution Impact (Perceived) |
User Effort Score (1–5) |
|---|---|---|---|---|
Standard 1" Cube Tray (Plastic) |
18.4 g |
12.3°C |
Moderate—noticeable softening, some loss of spice |
1.2 |
Premium Silicone Tray (Flexible, 2" Cube) |
14.7 g |
13.1°C |
Low—retains backbone, subtle rounding |
2.0 |
Stainless Steel Sphere Mold (2.5") |
9.2 g |
14.8°C |
Minimal—spirit remains focused, oak and vanilla intact |
3.8 |
Directional Freeze Sphere System (2.5") |
7.1 g |
15.4°C |
Negligible—no perceptible dilution in first 10 minutes |
4.6 |
Clear Ice Block + Chisel (Hand-Cut Sphere) |
6.3 g |
15.7°C |
None detected—full aromatic expression preserved |
2.4* |
Pros & Cons
You want to know if these specialized molds are right for you. Here’s a quick look:
Advantages |
Disadvantages |
|---|---|
Ease of use: Simply fill with water and freeze to make ice cubes. |
Ice quality: Ice may contain bubbles, affecting clarity and aesthetics, and may melt quickly, diluting the drink. |
Variety: Offers a range of shapes and sizes to meet different drink needs and personal preferences. |
Material issues: Some low-quality ice molds may use unsafe materials, potentially releasing harmful substances with long-term use. |
Cost-effective: More affordable than ice presses, making them suitable for everyday use. |
Inconsistency: Depending on water quality and freezing conditions, the quality of ice may vary, resulting in the surface being uneven with cracks. |
Time-efficient: Can make a large quantity of ice at one time. |
Hygiene risk: Plastic materials are not easy to clean, and when not dried promptly, can breed bacteria. |
Tips
Want the clearest results from your ice sphere molds? Try these tips:
Use distilled or purified water for transparent ice cubes.
Boil tap water twice to remove air and impurities.
Store your clear ice in airtight containers so it does not pick up freezer smells.
Clean and dry your specialized molds after each use.
Stack molds carefully to keep their shape.
For the best crystal clear ice, try freezing slowly.
You can make transparent ice cubes at home with these easy steps and tips. Your drinks will look and taste better with clear ice every time.
Boiled Water Method
Steps
You want to make transparent ice cubes at home without fancy tools. The boiled water method is one of the simplest ways to try. Here’s how you do it:
Boil filtered or distilled water. This step removes most of the dissolved gases and impurities that cause cloudiness.
Let the water cool for a few minutes. You don’t want it to be too hot for your molds.
Pour the water gently into your ice cube trays or molds. Try not to splash or create bubbles.
Place the tray in your freezer. For best results, keep it away from the freezer door so the temperature stays steady.
Wait 24 to 48 hours for the transparent ice cubes to form.
Boiling water helps release gases and impurities. When you freeze it, fewer bubbles get trapped, so you get clearer ice.
Results
You will notice that the boiled water method can give you clearer ice than regular tap water. The cubes often look more transparent, especially if you use filtered water. Sometimes, you might still see a few bubbles or a cloudy center. This method does not always give you crystal clear ice like the diy cooler method or a special mold. If you want a large ice cube for a fancy drink, you may see some cloudiness in the middle. Still, your transparent ice cubes will look much better than standard freezer ice.
Pros & Cons
Pros |
Cons |
|---|---|
Easy and quick to try |
Not always 100% clear ice |
No special equipment needed |
Results can vary with water quality and freezing speed |
Good for small batches |
Rapid freezing can trap impurities and cause cloudiness |
Tips
Want to boost your chances of getting crystal clear ice? Try these tips:
Use filtered or distilled water for your transparent ice cubes.
Boil the water twice for even fewer impurities.
Let the boiled water cool a bit before pouring to avoid damaging your molds.
Pour slowly and gently to keep air bubbles out.
Freeze your tray in a calm spot, away from the freezer door.
For the clearest results, combine this method with the diy cooler method or freeze slowly.
You can make clear ice at home with just a pot and some patience. While the boiled water method may not always give you crystal clear ice, it’s a great way to upgrade your drinks without much effort.
Method Comparison
Clarity
You want your drinks to shine with clear ice. When you compare the three methods, the 3 Inches Clear Ice Mold and directional freezing both give you crystal-clear results. The boiled water method can make ice look better, but you might still see some bubbles. If you look at side-by-side tests, models like Scotsman CU50 score five stars for clarity consistency. Kold-Draft K80 comes close with four stars. HomeLabs HIC15 falls behind with only two stars. You can see the difference in this chart:

Ease of Use
You probably want a method that fits your routine. The 3 Inches Clear Ice Mold is the easiest. You just fill it, freeze, and pop out clear ice. Directional freezing takes more steps. You need a cooler and some patience. The boiled water method is simple, but results can vary. If you want clear ice without much effort, the mold wins.
Practicality
You need a method that works for your lifestyle. Directional freezing lets you make big batches of clear ice, perfect for parties. The mold is great for single cubes or spheres, ideal for cocktails. Boiled water works for small batches. If you want clear ice for whiskey nights or special occasions, the mold is a smart choice. For large events, directional freezing gives you more ice.
Note: You can use clear ice molds for budget-friendly, everyday drinks. Directional freezing is best for big gatherings.
Best Overall
You want the best method for most home users. Reviews show that clear ice molds stand out for clarity, price, and ease. If you check the comparison table, clear ice molds offer crystal-clear cubes, low cost, and simple steps. You get reliable results every time. For most people, the 3 Inches Clear Ice Mold is the best way to make clear ice at home.
Ice Maker |
Clarity |
Speed |
Price |
Reliability |
Best Use Case |
|---|---|---|---|---|---|
Clear Ice Mold |
Crystal-clear |
Slow |
Low |
Simple |
Whiskey, cocktails, budget |
Directional Freezing |
Crystal-clear |
Slow |
Low |
DIY |
Parties, large batches |
Boiled Water |
Good |
Slow |
Low |
Easy |
Small batches, quick upgrade |
You can impress your guests and enjoy clear ice every day with the right method.
You now know the 3 Inches Clear Ice Mold is the best way to get clear ice at home. It gives you crystal-clear cubes with little effort. Directional freezing works well for big batches, while boiled water helps but isn’t perfect. For the clearest ice, try these tips:
Use an insulated cooler or clear ice mold.
Freeze at 32°F and let impurities settle.
Boil or filter your water before freezing.
Cover trays to keep out particles.
Don’t forget to give your ice space, store it in a sealed container, and use it fresh. Try these steps and share your results!
FAQ
Can I use tap water to make clear ice cubes?
You can use tap water, but filtered or distilled water works better. Tap water often has minerals and impurities that cause cloudiness. If you boil tap water, you might get clearer cubes.
Why does my ice turn cloudy even after boiling water?
Cloudy ice usually happens because air and impurities get trapped during freezing. Try freezing slowly and use a directional freezing method. You can also use a clear ice mold for better results.
How do I store clear ice cubes?
Store your clear ice cubes in an airtight container. This keeps them fresh and prevents freezer smells. You can use a zip-top bag or a plastic box. Avoid leaving ice exposed in the freezer.
Can I speed up the freezing process?
You can freeze ice faster by lowering your freezer temperature. Fast freezing traps more bubbles and impurities, though. For clear ice, slow freezing works best. Patience pays off!
